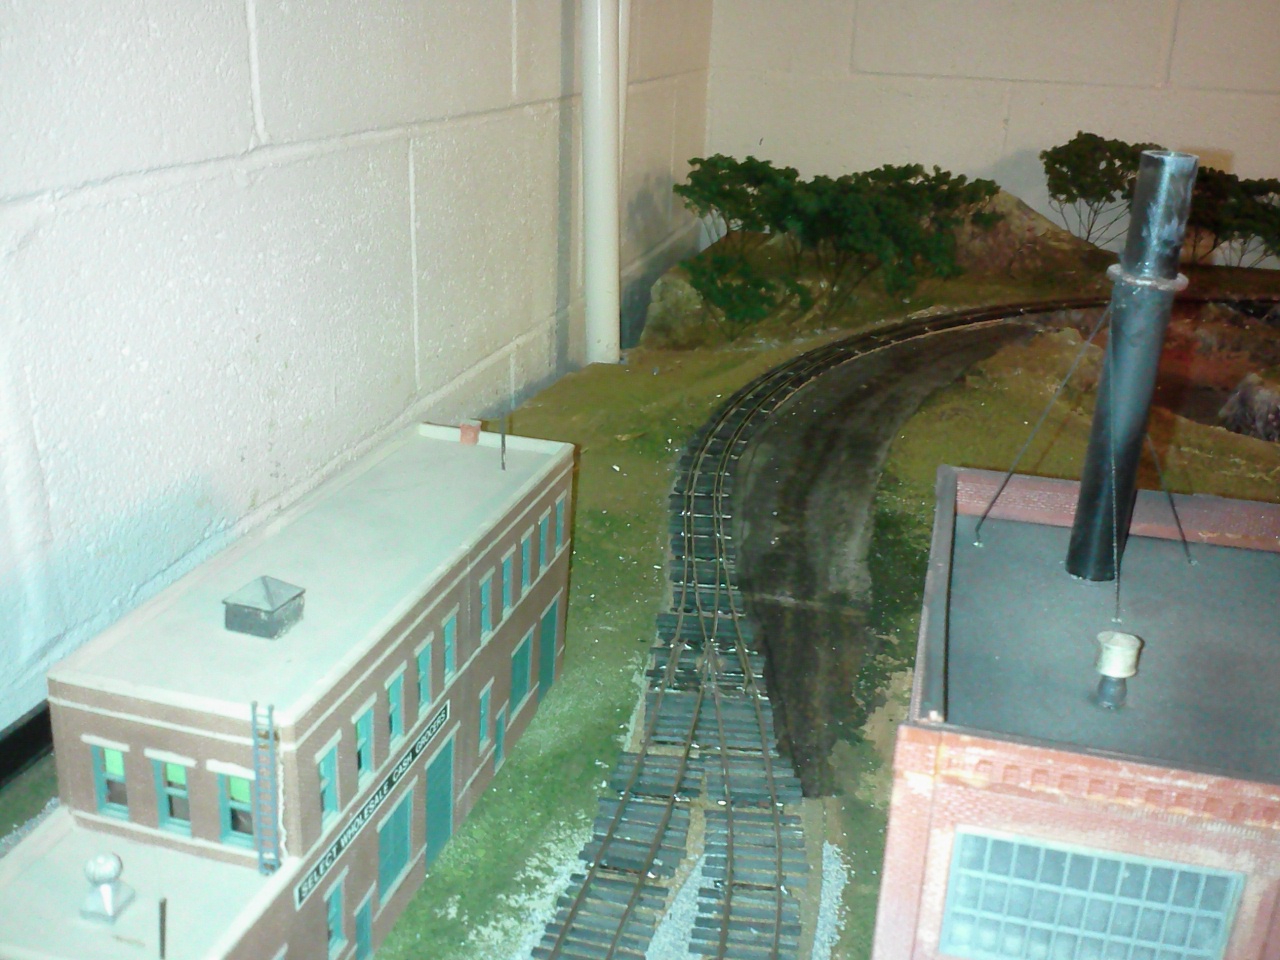
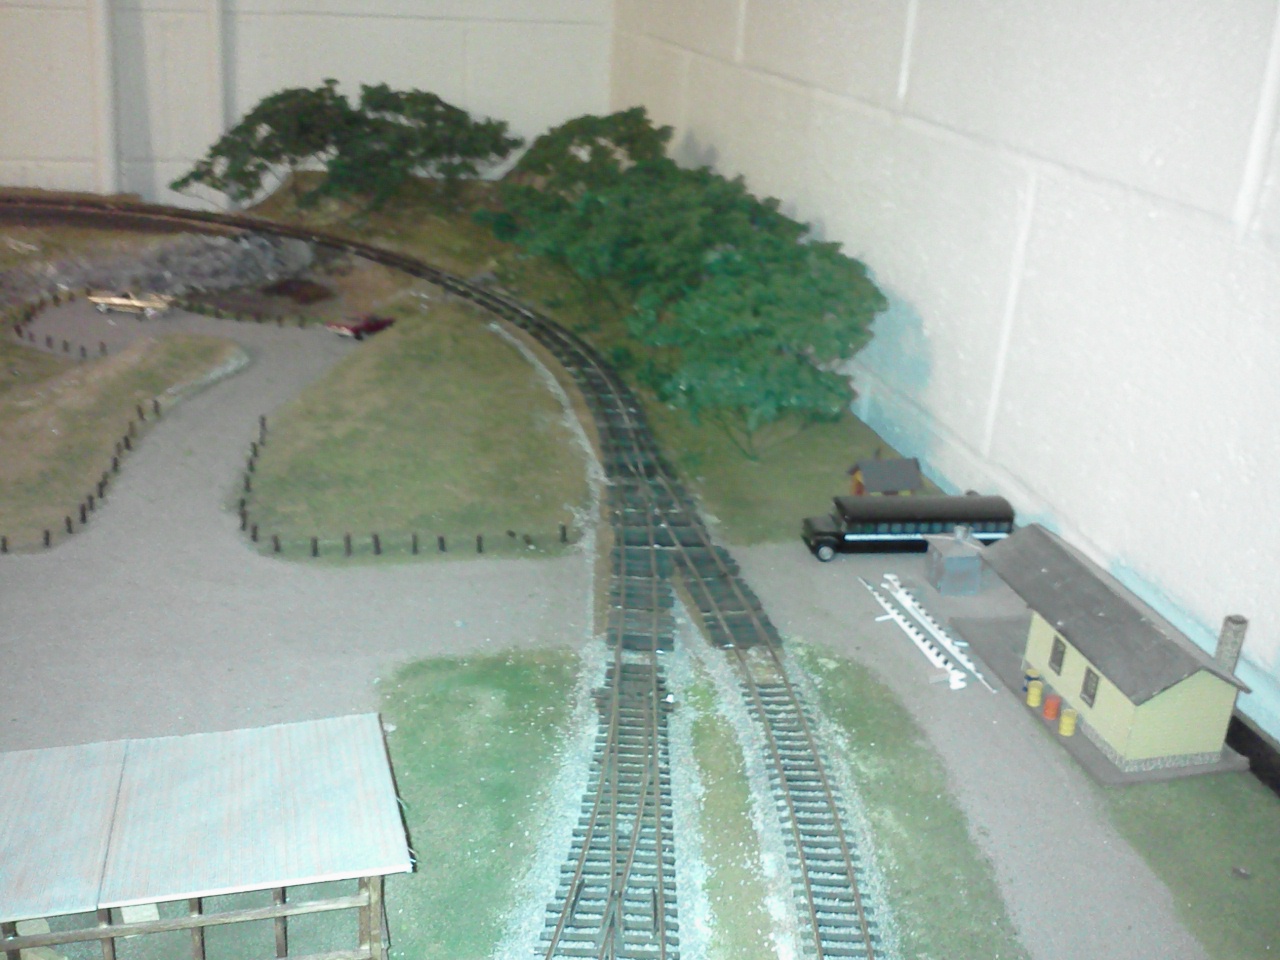
I started out with a single mainline with several sidings around the layout. When I went to a dual mainline I still wanted a corner with a single track. The mainline of the layout had a switch at either end of the single curved track which no one could keep straight as to which track that they started on and which track they ended up on. This was a problem that resulted in head-on collisions and derailments farther down the line. The dual mainline requires that the front track goes in one direction and the rear track goes the other direction. The fix was to hand-lay and install a gauntlet at that spot. A gauntlet configuration is when two tracks take up the space of one track, by running two rails next to each other. The distance between the rails are still gapped like the normal rails, so there is no change in the direction of the trains on the tracks. This page will show how it is made.
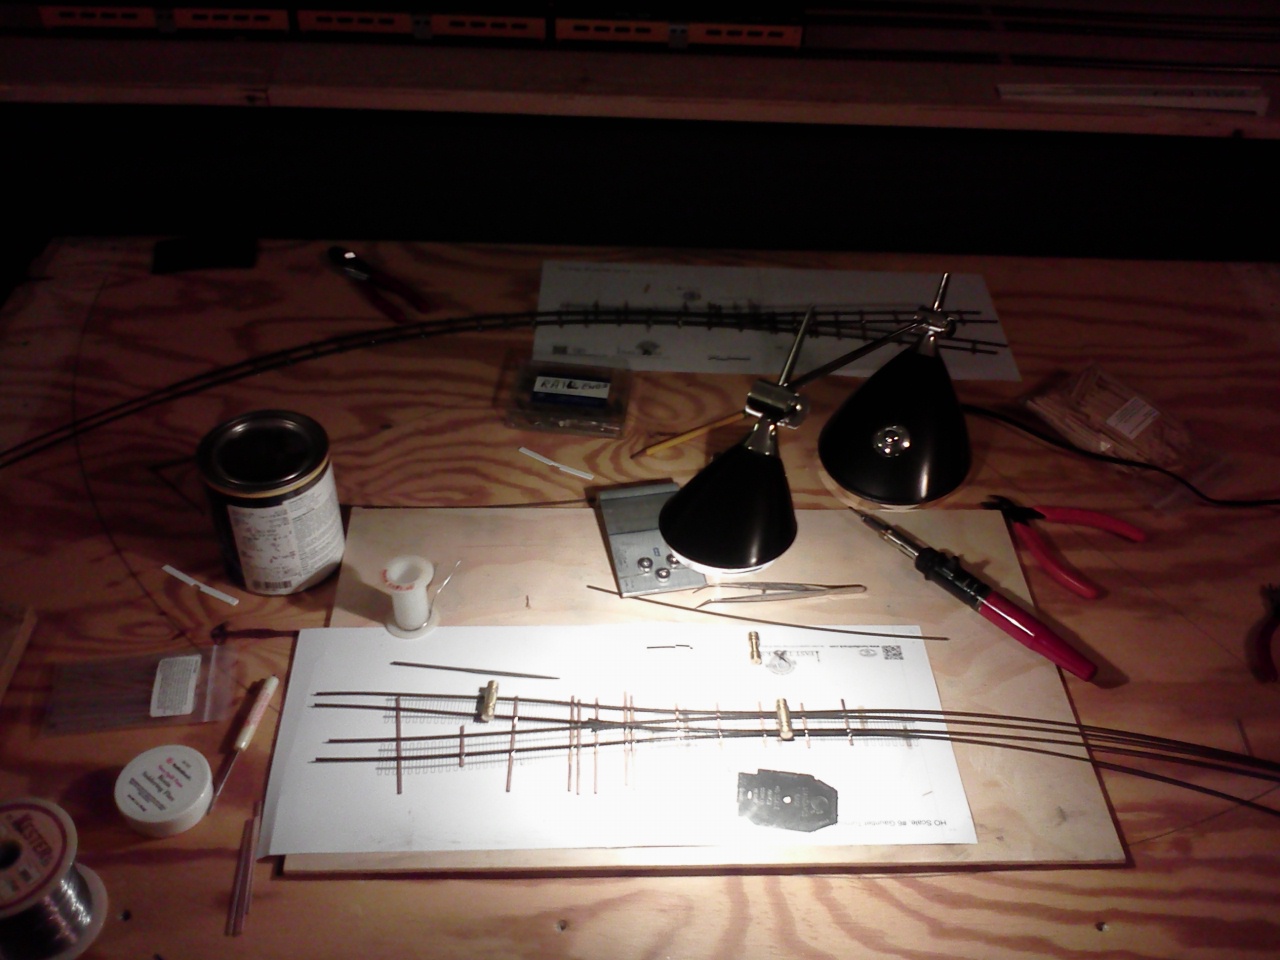 A copy of a template is put on a paper and the switch is built on top of it. I made spacers to hold the track in gauge. Ties had to be soldered into place to hold the track. The curve follows a line that was put on the plywood to show the degree of angle of the curve to be made. I started on the left side of the gauntlet.
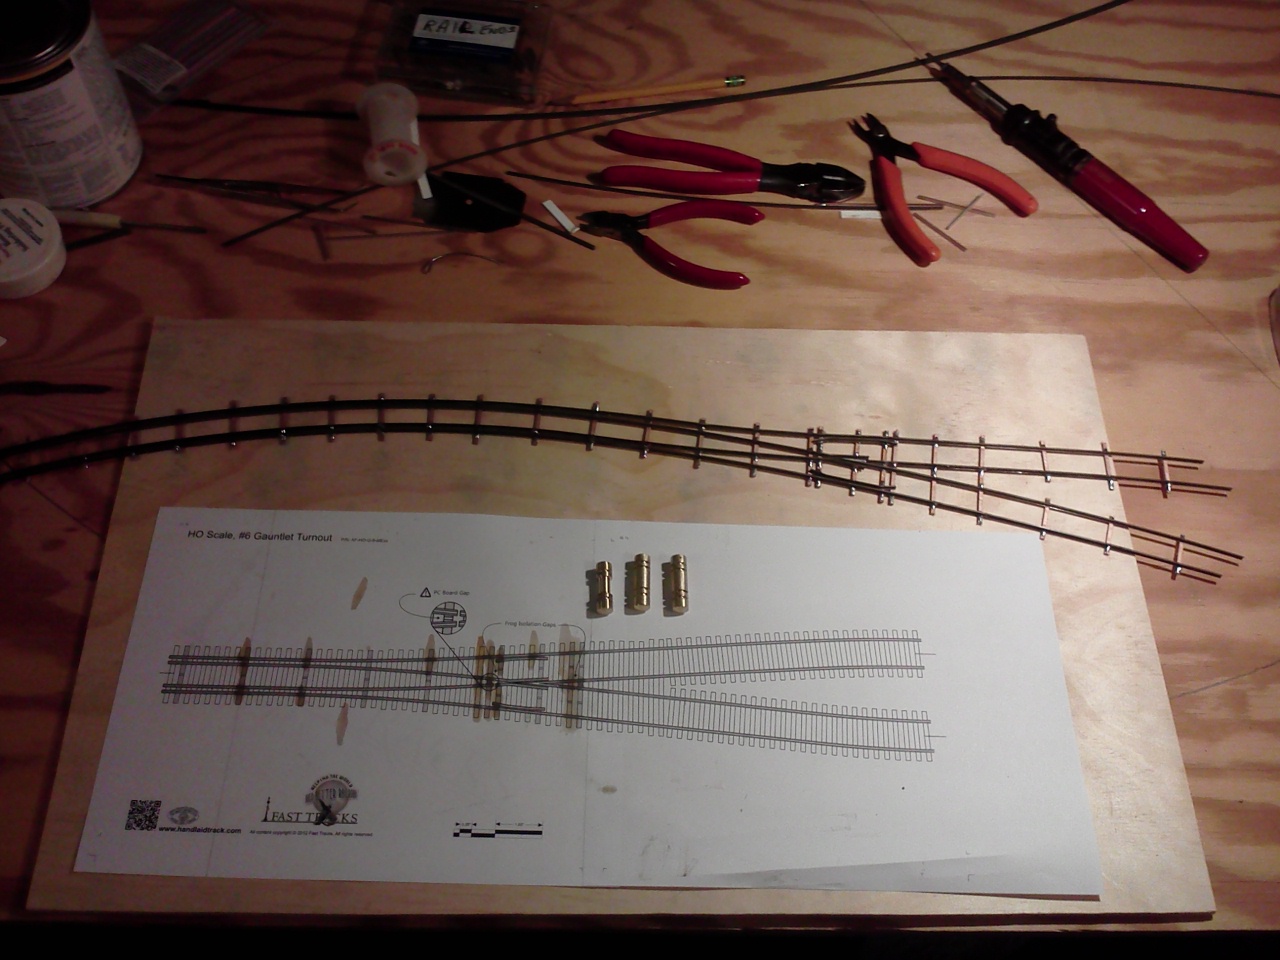 Working on a template you have to flip the template to start the right side. I had to make the track curve the opposite direction on a board. I built a rail bender to get all the rails to curve the same. The spacers that I made let me align the tracks to keep them in gauge. In the photo the three spacers are on the template. The spacers are two that are cut the same and one is cut to align rails in switches.
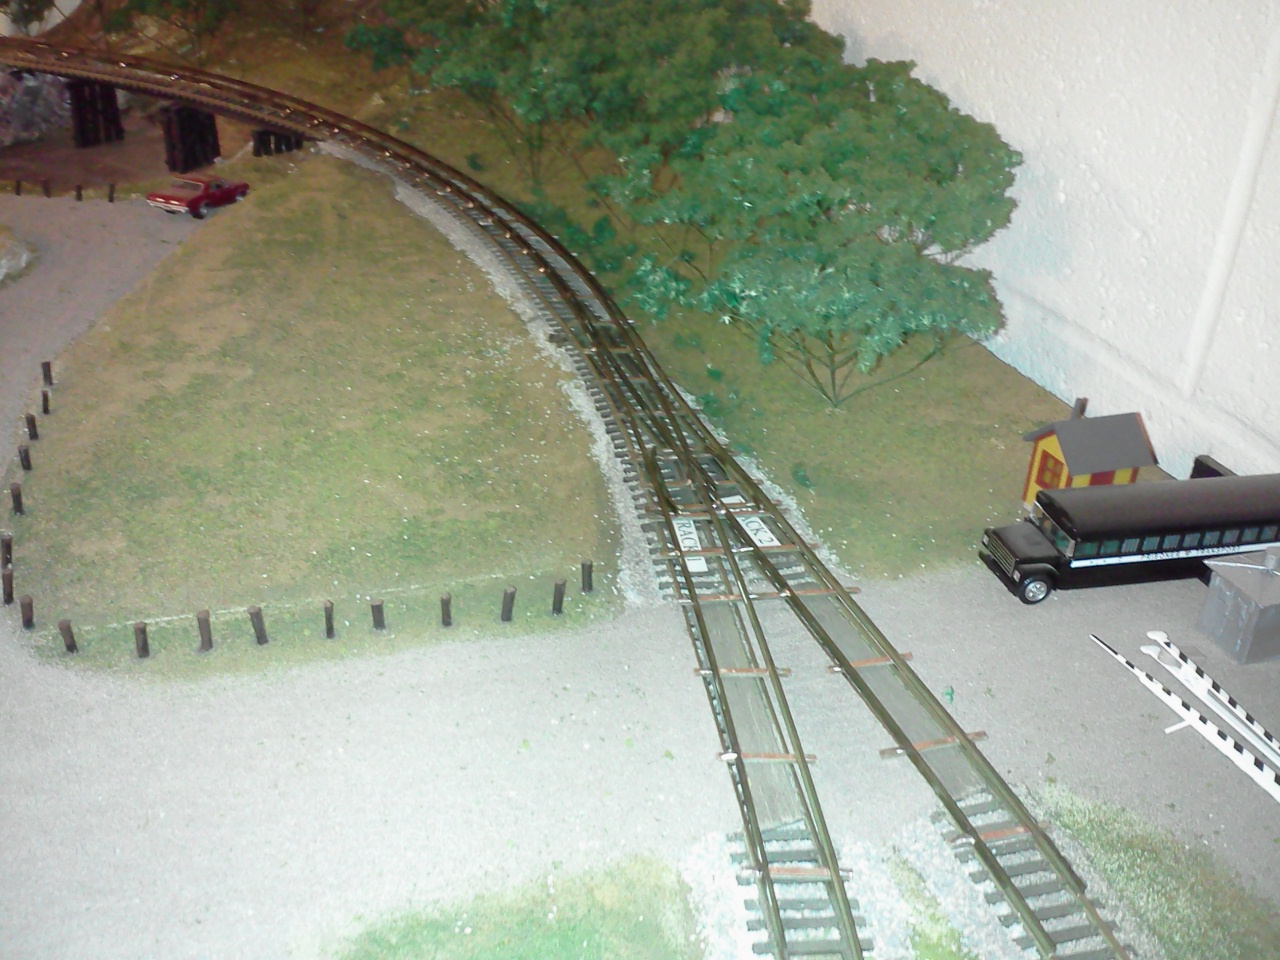 Many times I would set the rails on the track to check out the alignment of the two tracks at the ends. The photo shows how I made it fit to the existing right side of the gauntlet.
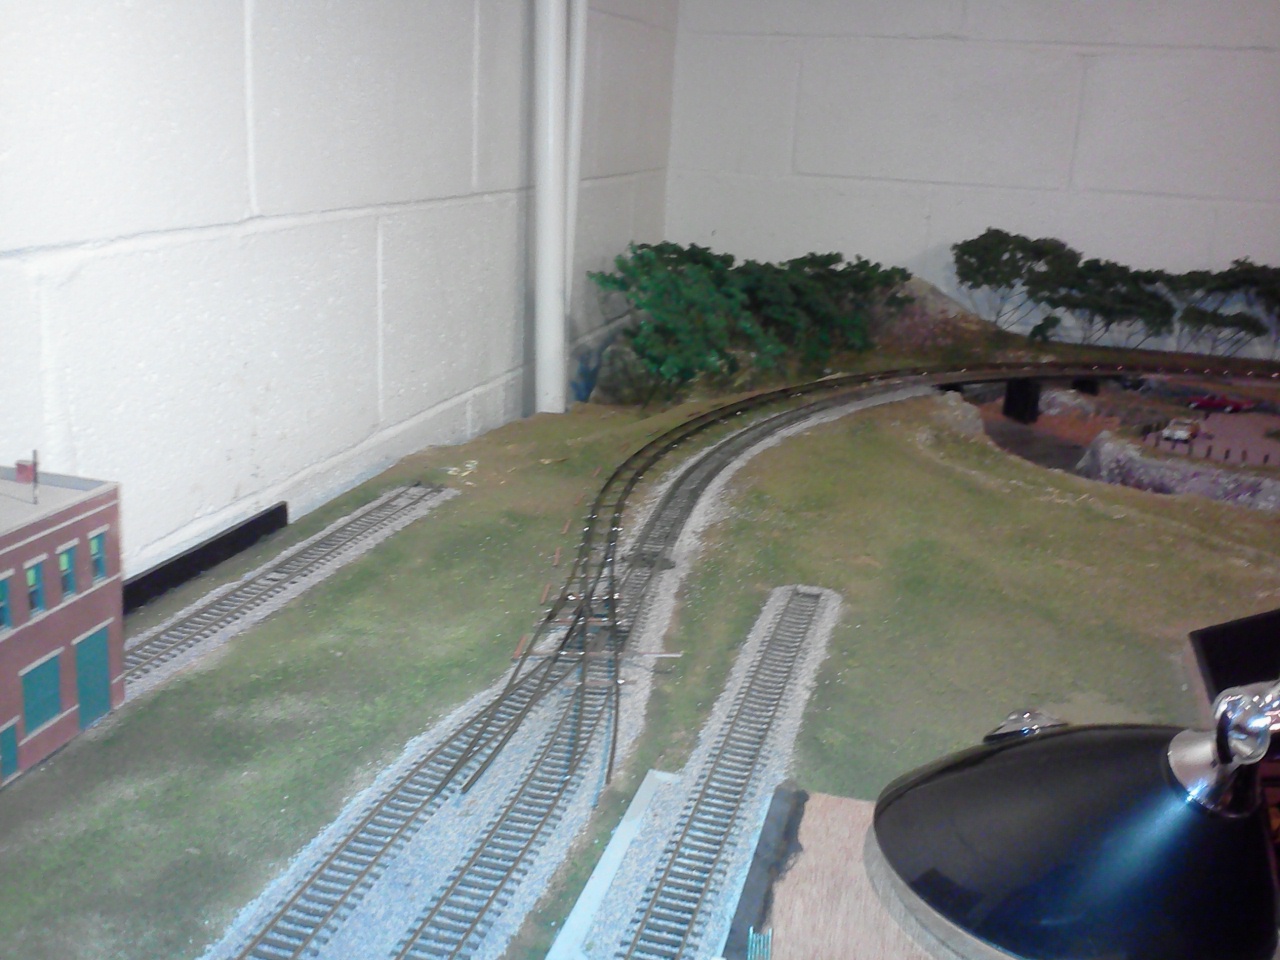 Adjustments on the left side didn’t come out as good as the right side, but with a little bit of persuasion I reset the track to match the gauntlet. The original track had to be taken out to make room for the gauntlet.
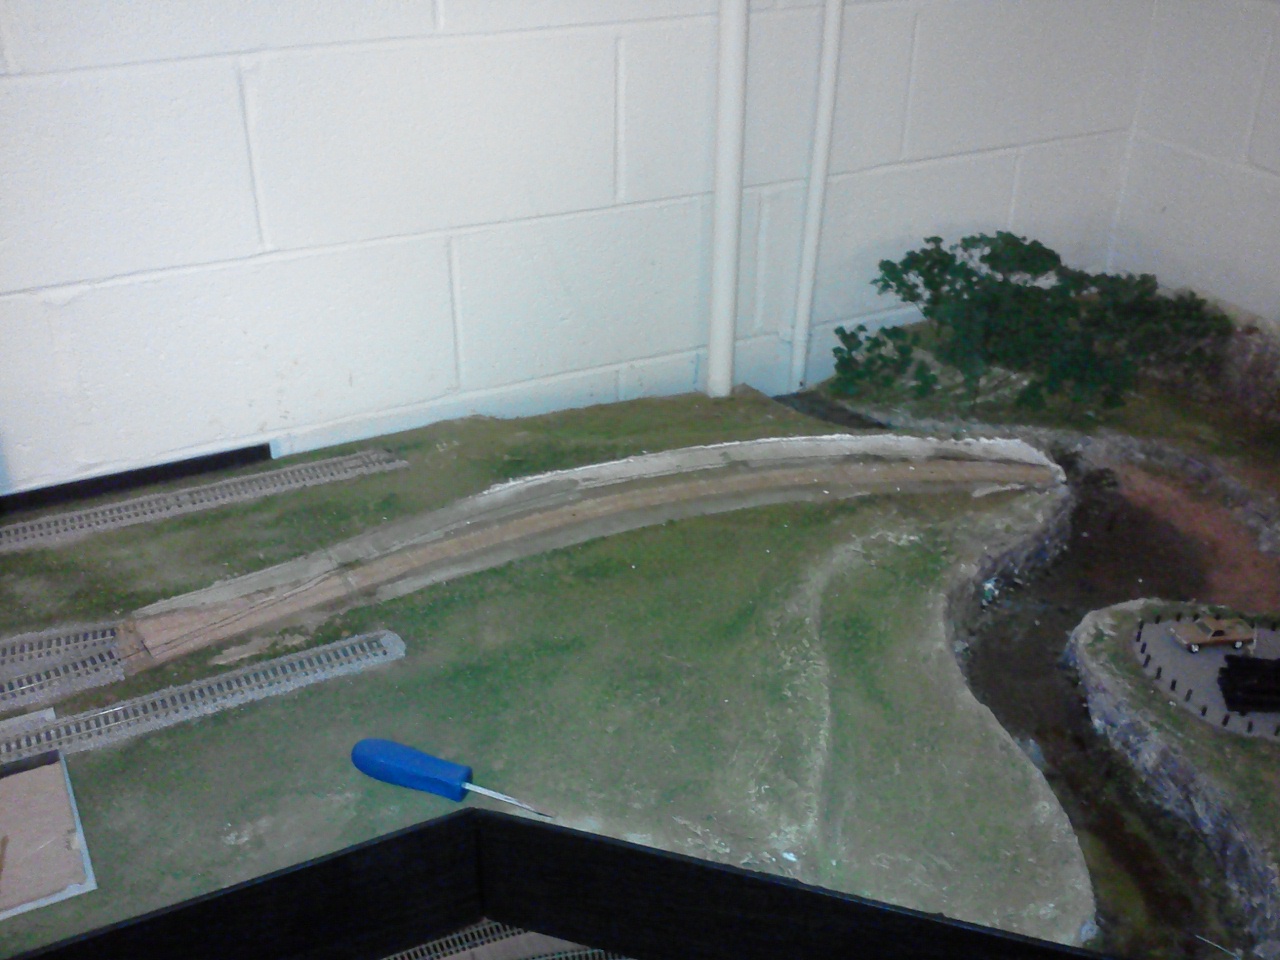
Cutting out the scenery and the plaster from the old scenery was not as easy as I thought it would be. The single track bridge had to be removed and pushed back one inch. The old cork road bed had to be removed.
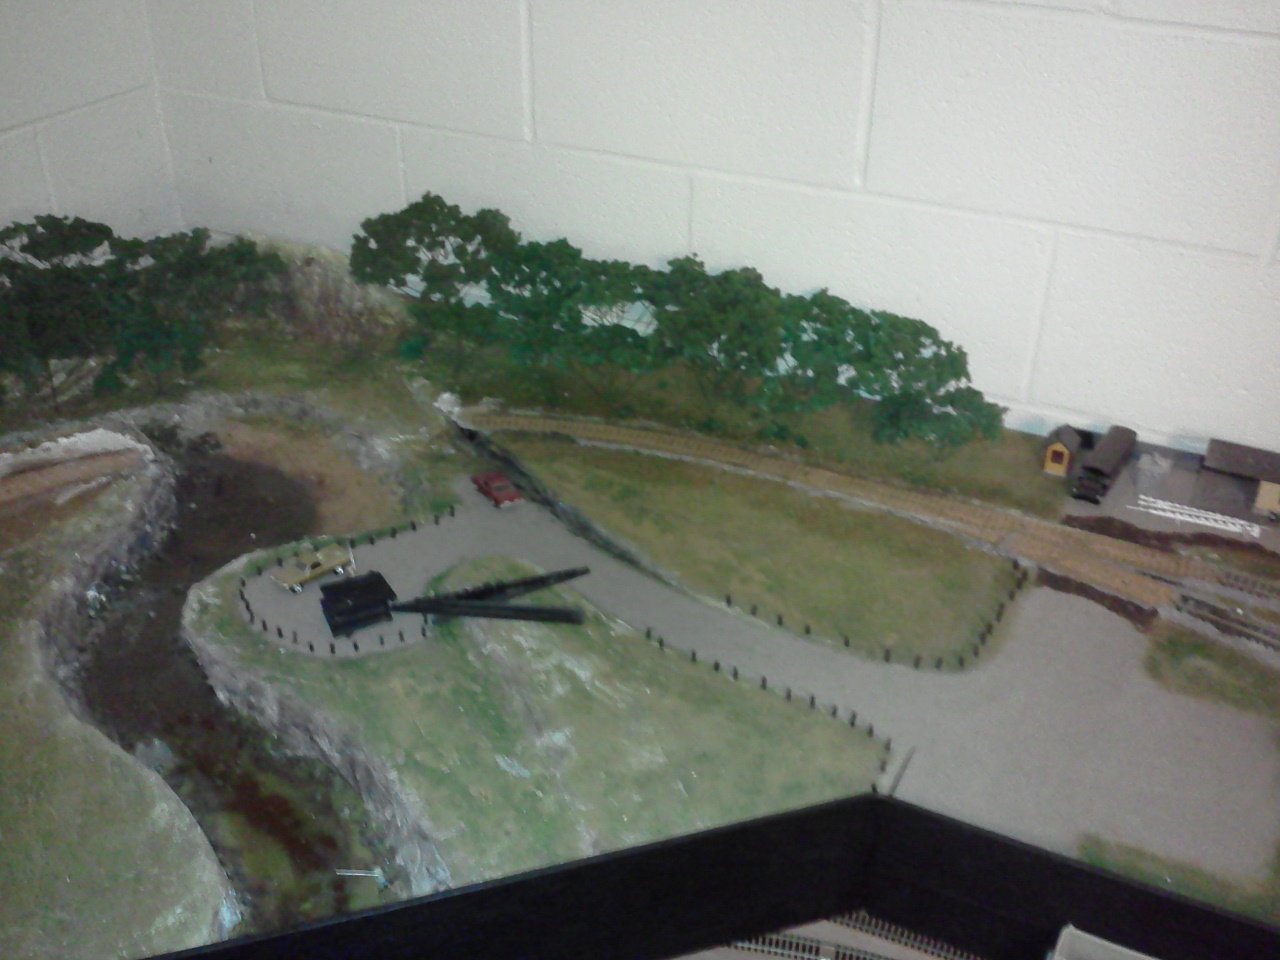
New cork was put down under the footprint of the new track. Some of the trees had to be moved. The bridge over the river was rebuilt to hold the train. The track was remounted and the ends were connected to the old track.
Final alignment on the left side was not looking too bad after some adjustment was made.
Final alignment to the right fit right in and the ties were put under the track.
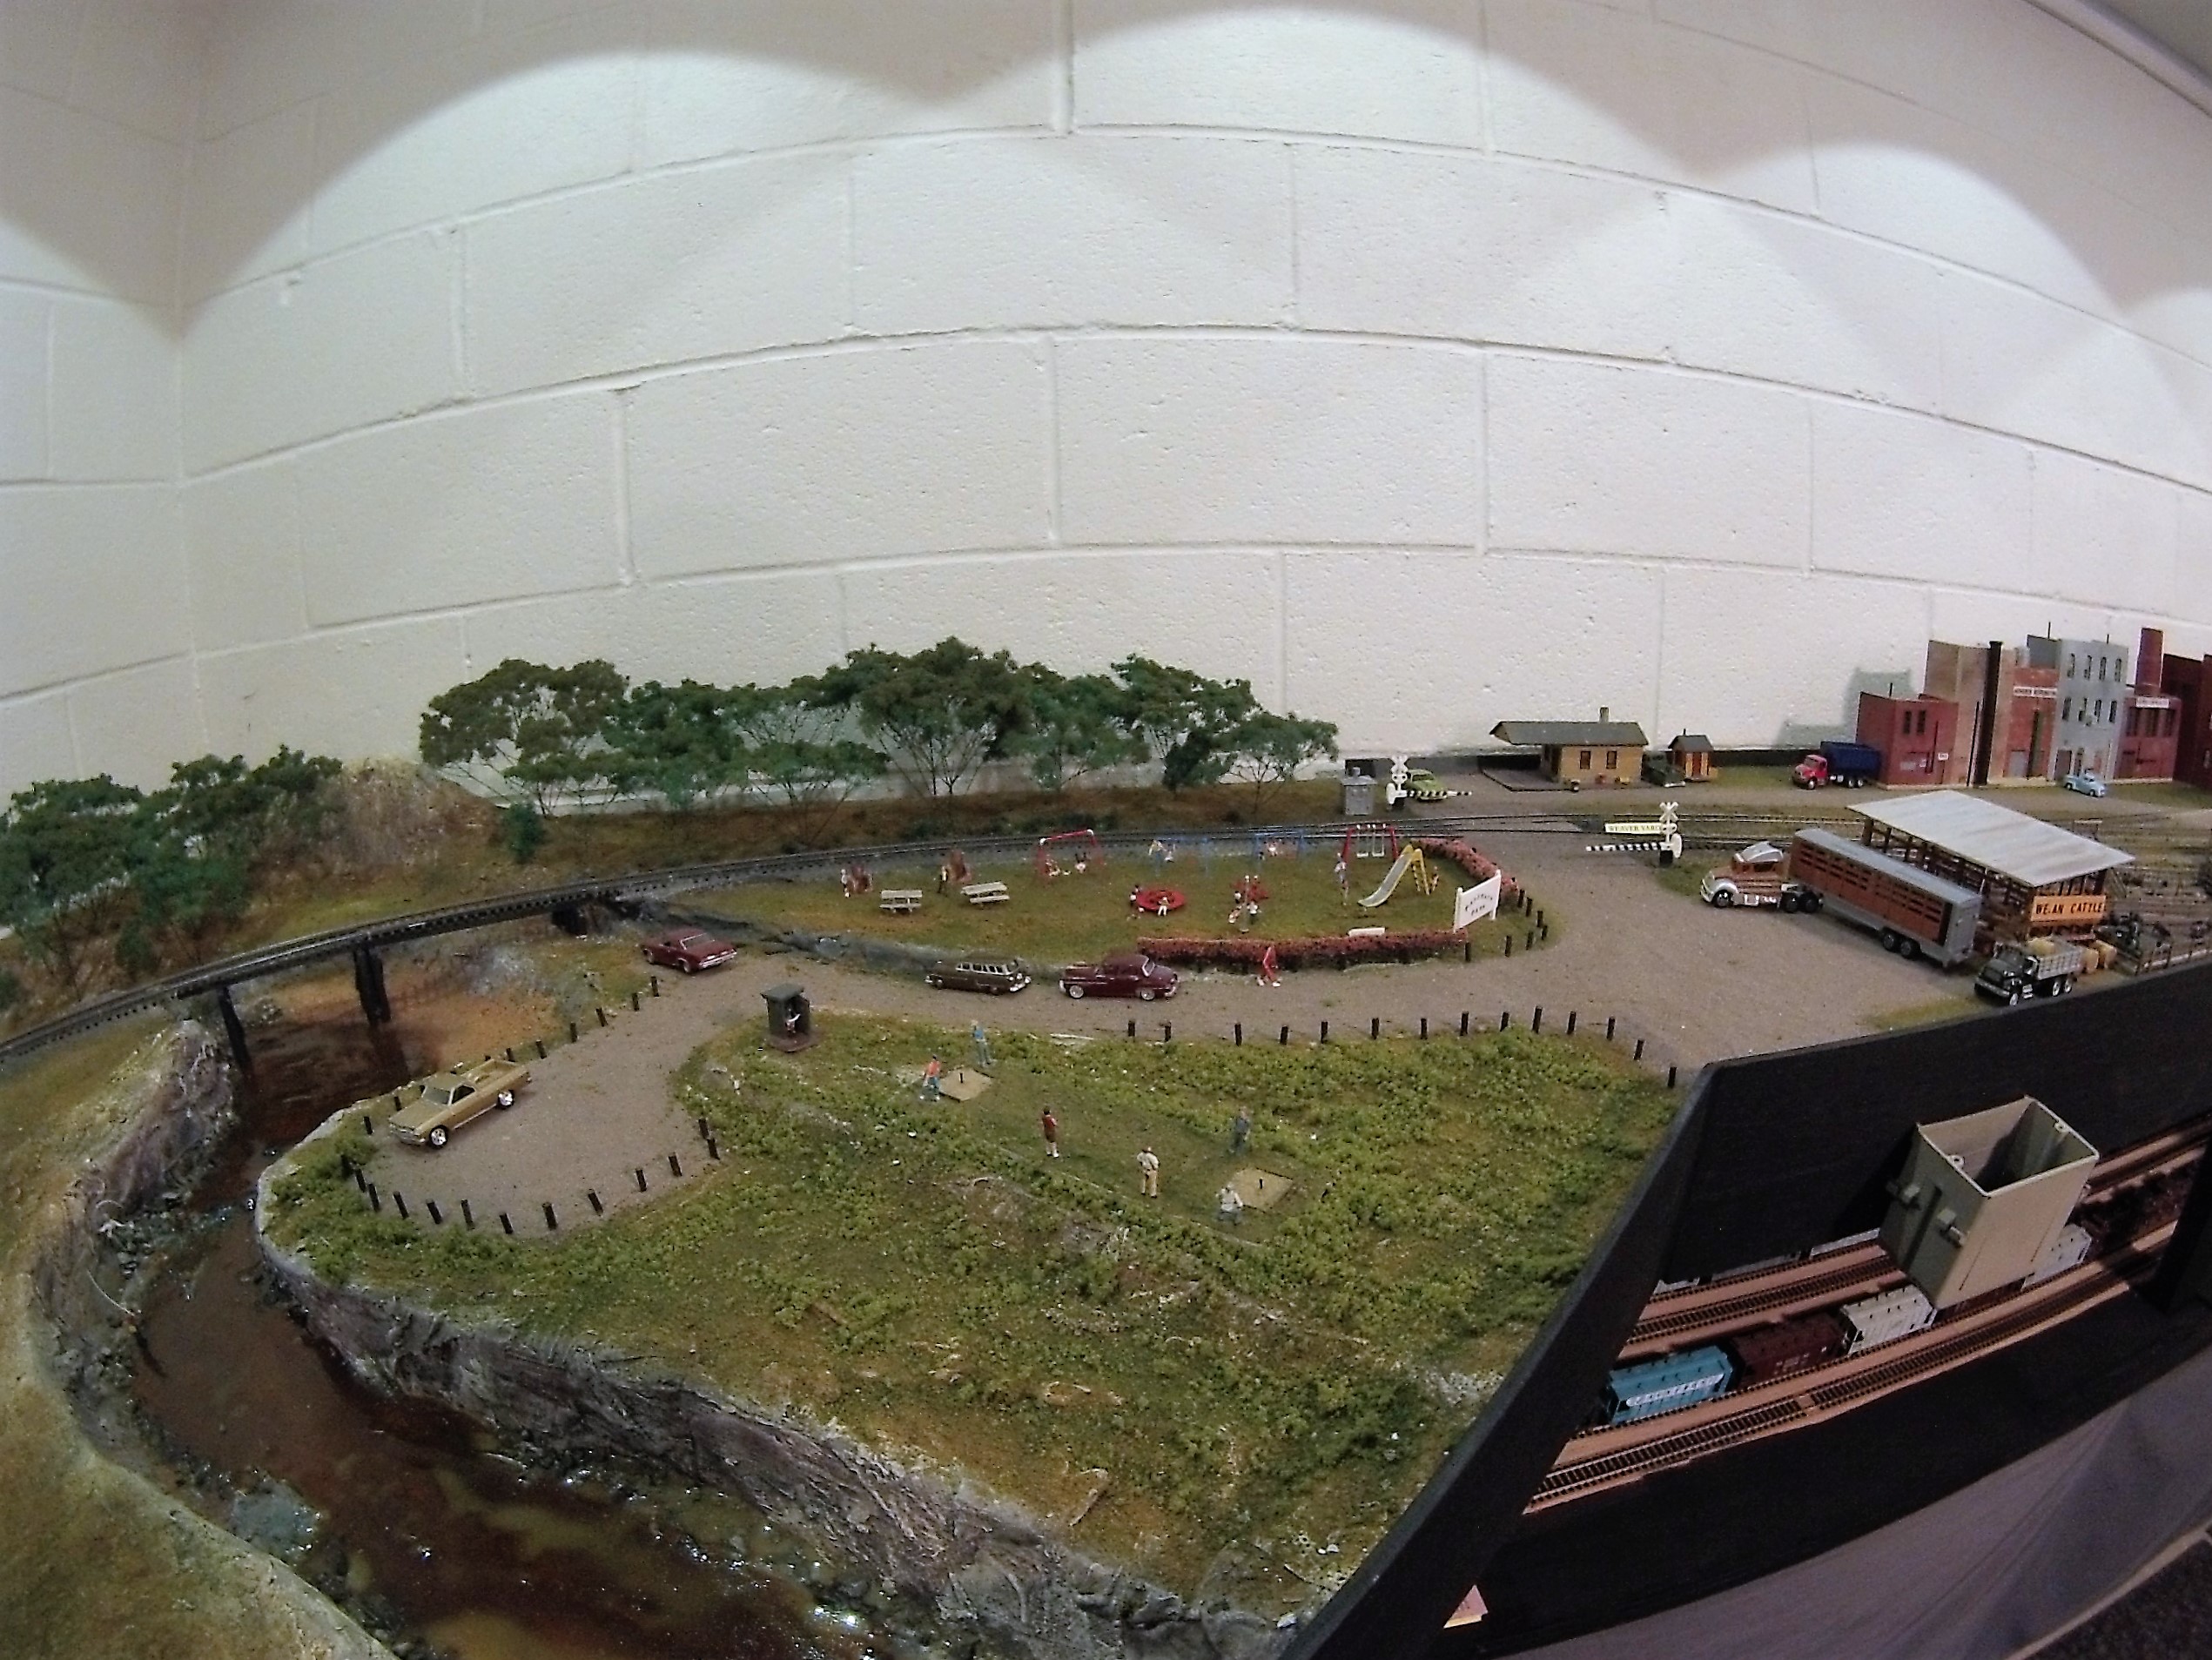 Rebuilding of the area was done after the track was tested.
Hope this will help you in trying to make a gauntlet of your own.

