
Ever wonder how to find more space to have your layout get bigger with out adding a new room on? I had an open corner in the room and the next thing I know I’m expanding. The reason for the helix was to lower the layout to connect to a staging yard. I wanted the underneath of the railroad for storage. I already had one helix on the railroad, but the height of this one was larger than the first. I also wanted an area to have a large station for my large passenger trains to go. With the measurements of the station and the clearance to run trains under it was a challenge to undertake. When I started to build the platform I checked out the height clearance on the upper deck and found out that the upper deck had to start dropping along the back wall to allow clearance between the bottom of the railroad deck to the top of the first turn of the helix.
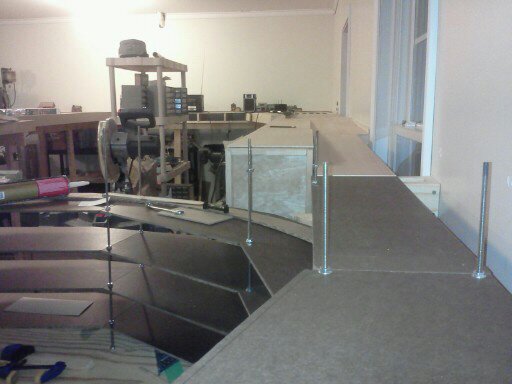
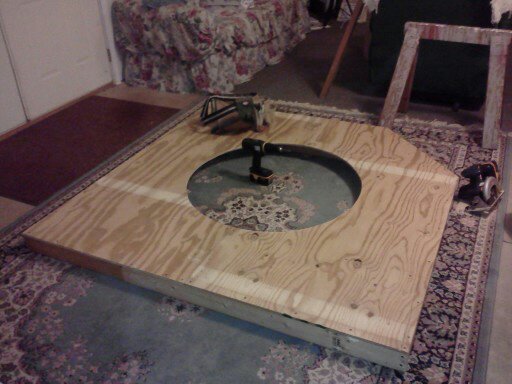 I started out making the base for the helix to sit on. I first made the main platform. 5 1/2 feet by 5 1/2 feet out of a box made up of 2×4 inch boards for a frame. I cut one foot off of the one corner to give more room in the aisle to walk. Then I put a sheet of 1/2 inch plywood on the top of the 2×4 inch boards, and cut out the center so I could get into the center more easily . The legs were adjusted to the finished measurement and screwed to the platform.
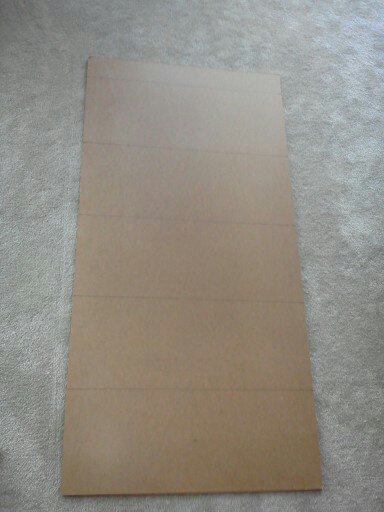 I used a piece of 4×8 foot masonite for the layers of the decking. I cut the board into 2 foot wide x 4 foot long strips the length of the sheet. I started marking the boards into 8 inch tall x 2 feet wide sections to start. I then cut them to make five sections putting the small piece to the side to use later.
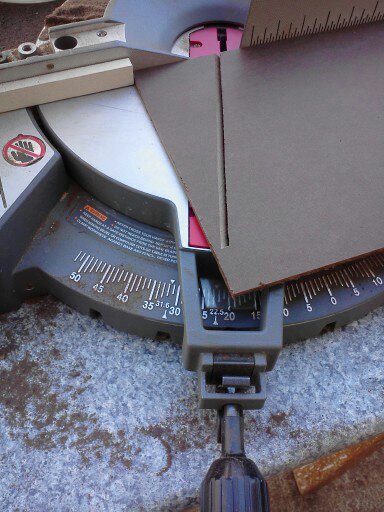
At a 20 degree angle on the miter saw I cut the board at a 45 degree angle then flip the board end for end over and cut again. This gave me the two angles to make up the curve. The math showed that nine boards would be the magic number to make the circle.
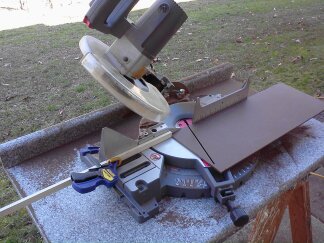 This is a photo showing the stop I made to make the cuts on the boards all the same. The last cut on the boards was done when the blade was straightened up to 90 degrees.
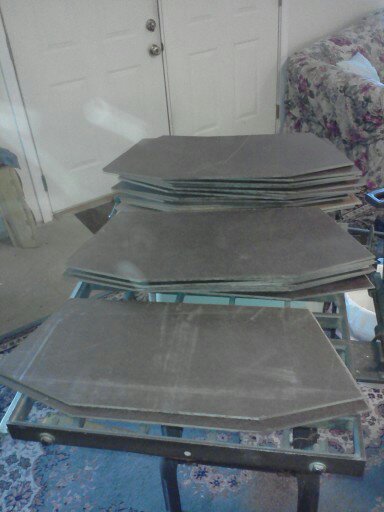 All the sections from the 4×8 sheet are stacked up and ready to be test fitted into a circle.
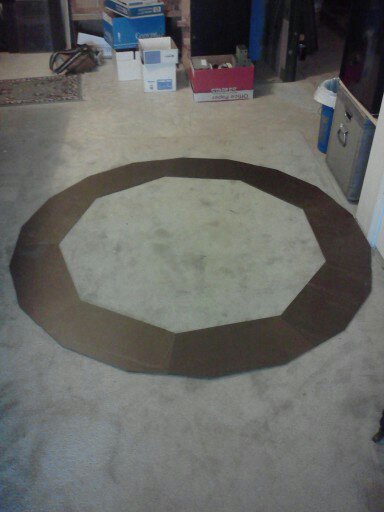 All the ends overlap each other on the 45 degree angles. The angle cut on the ends made the boards match up to make the circle. It took nine boards to make the circle and one of the boards was made 3/4 of an inch shorter to get the curve exact. The overlap was set up to give the joint something to hold on to.
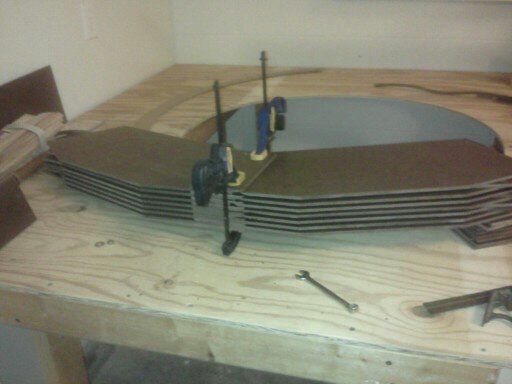 To glue it all together, I took two boards and glued a rectangular board (from the scrap wood) to the upside down 45 degree angle. I pressed them together and let them dry. I drilled holes in the boards to lock them together when assembling them. As you see, you can do several at a time.
 Several sections are mounted together in this photo. I used 1/4 inch x 20 rods with nuts that have a washer built onto them. One nut on the bottom and one on the top of each board. Only two boards are glued together. The other sets have the shelf board added to the upside down 45 degree angle side.
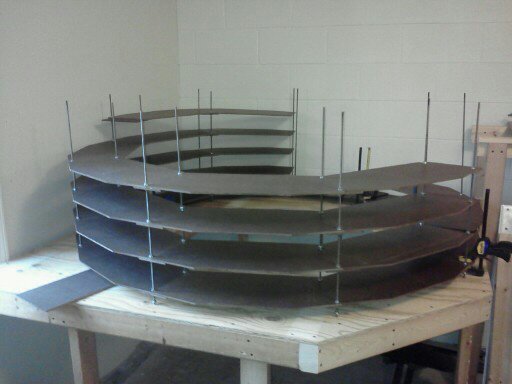
 Final assembly and adjustments made to the height and levelness between the rods. To get the decks level I used a bubble level that hooks to a string. That level was small enough to reed across the two threaded rods. Each one of the sections were adjusted by sliding one 1/16 inch piece of cork under one end of the level. You can see the difference in the height of the two track decks for the clearance at the other side.
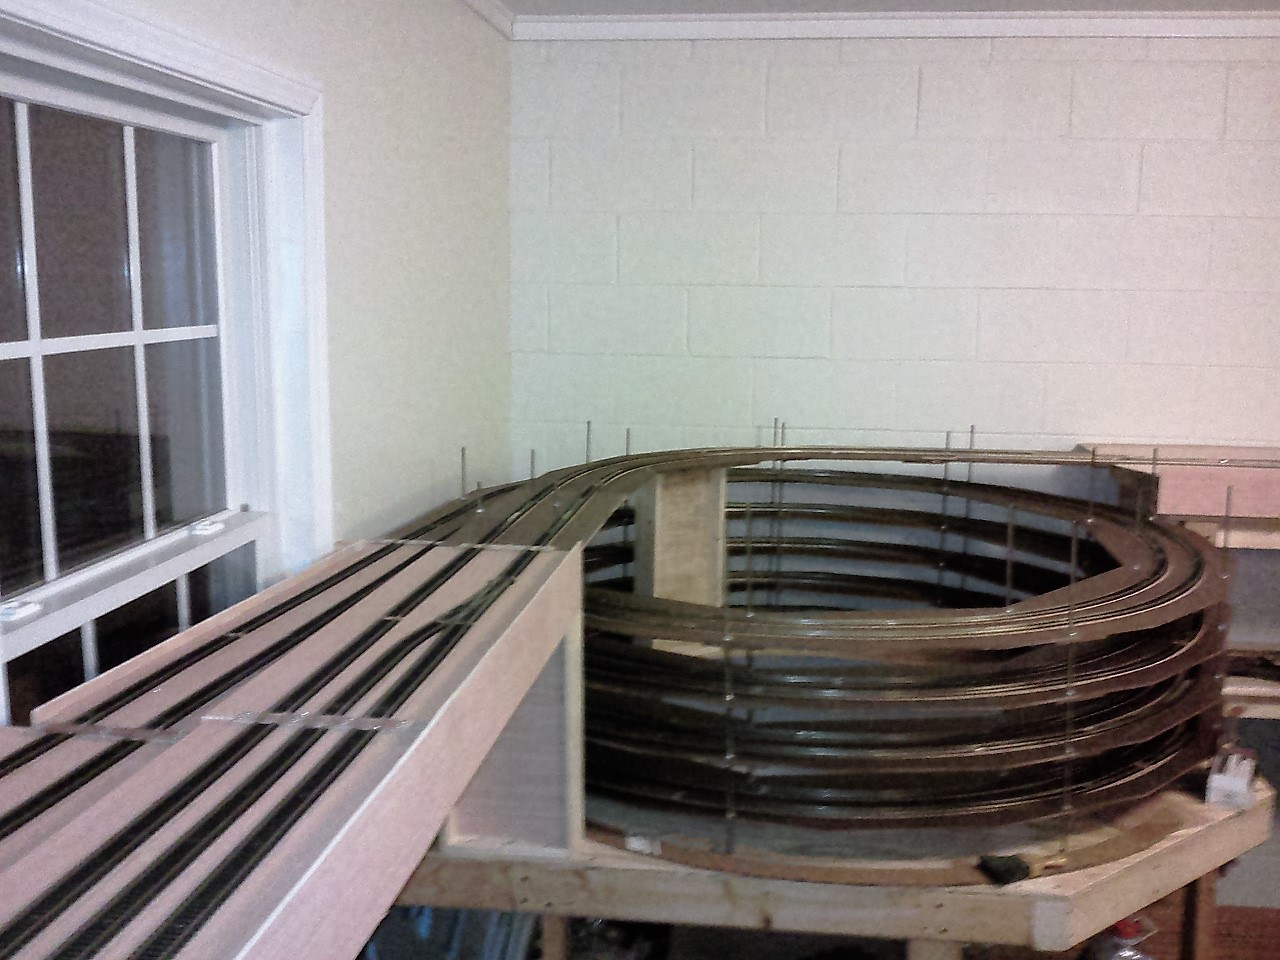 Meeting up with the upper front tracks and the ones going into the helix was definitely a challenge to master. Six feet of the track along the wall had to be set to a slope to clear the top track that crosses over.
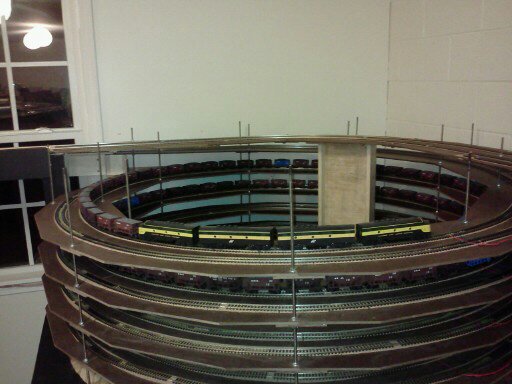 Running trains on the helix to check out the work is very exciting to do. You learn that the cars start to push your train down the track when you go down and you have to keep your speed set evenly to not run off the track. Trains running up will need more power to pull the cars.
Thanks for reading and visiting my web page.
Hi,
Great stuff. Would like to know how you laid the track on this project It looks like tight working area.
Thanks,
Bob Fink
layout committee,
Black Cat railroad, N. Wilkesboro
The track is held in place with Elmer’s style Yellow glue so moisture will not let it move after it is set in place.