
It all started with the trains running so long that the modules in the Club layout wouldn’t let but 4 trains run at a time, and when more were added there were problems.
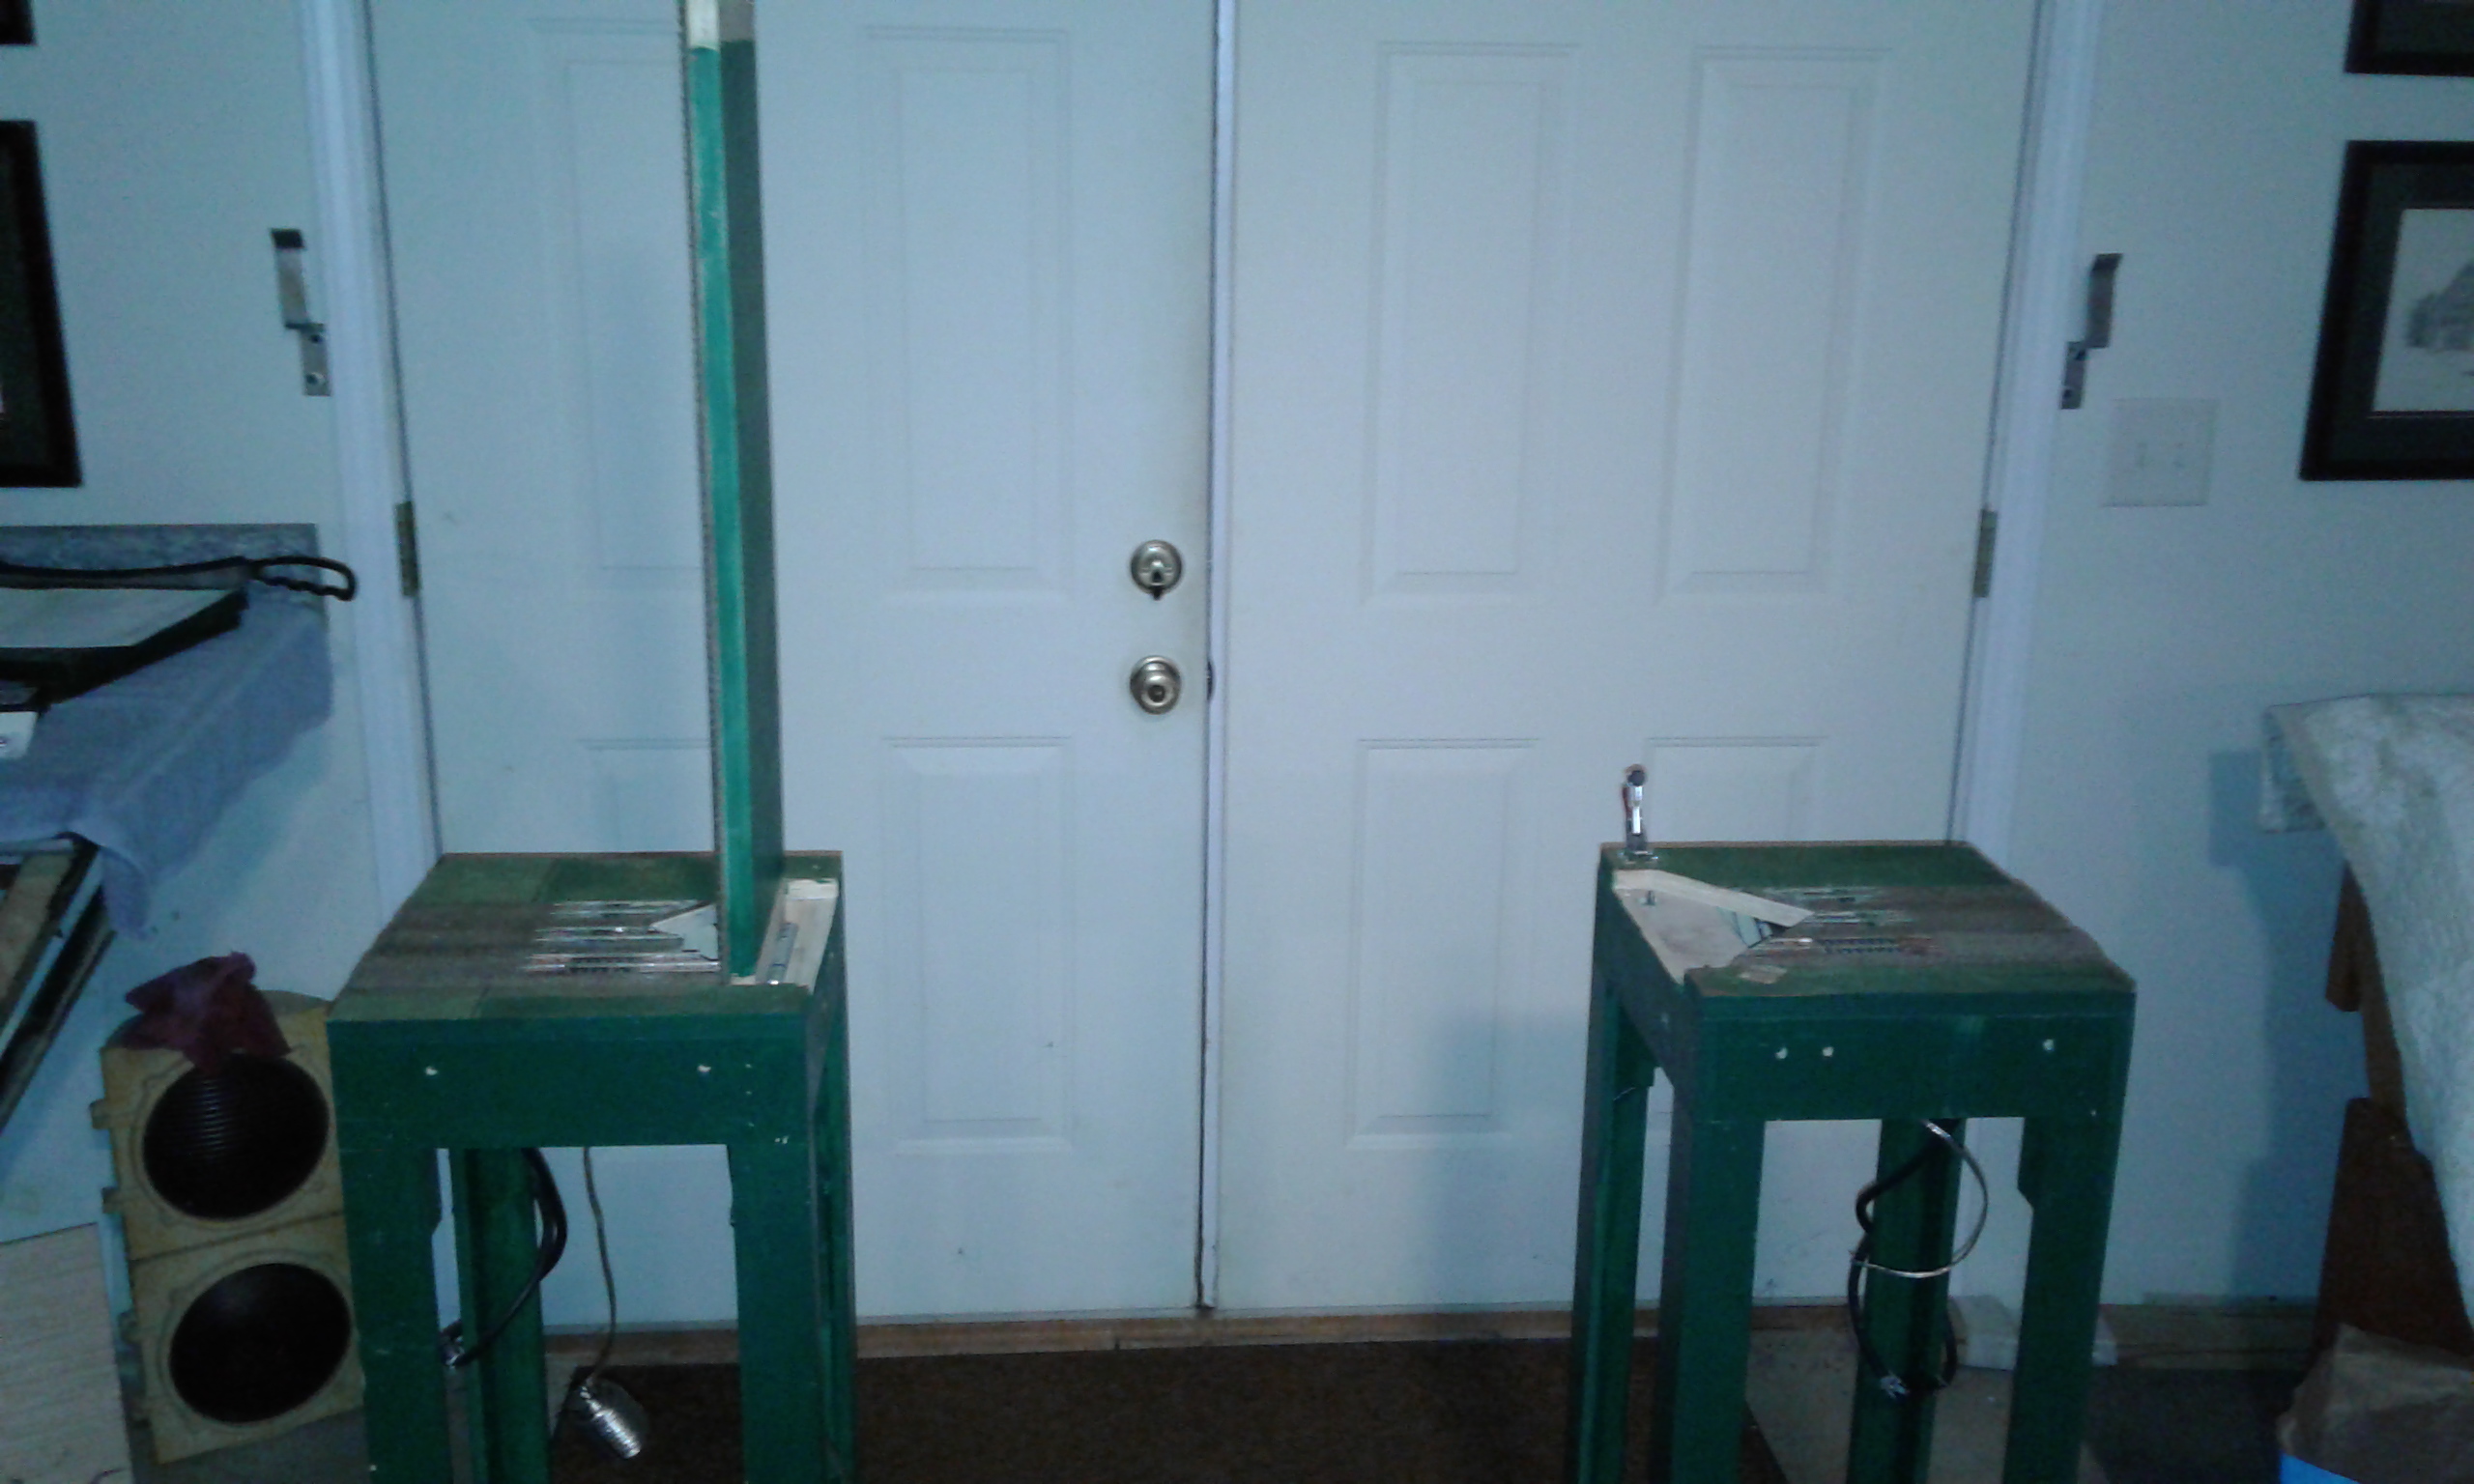
The Club made the rules follow the NMRA standards set for modules. This is a lift bridge to let members get in and out without crawling under or going over.
Click on any photo to enlarge it.
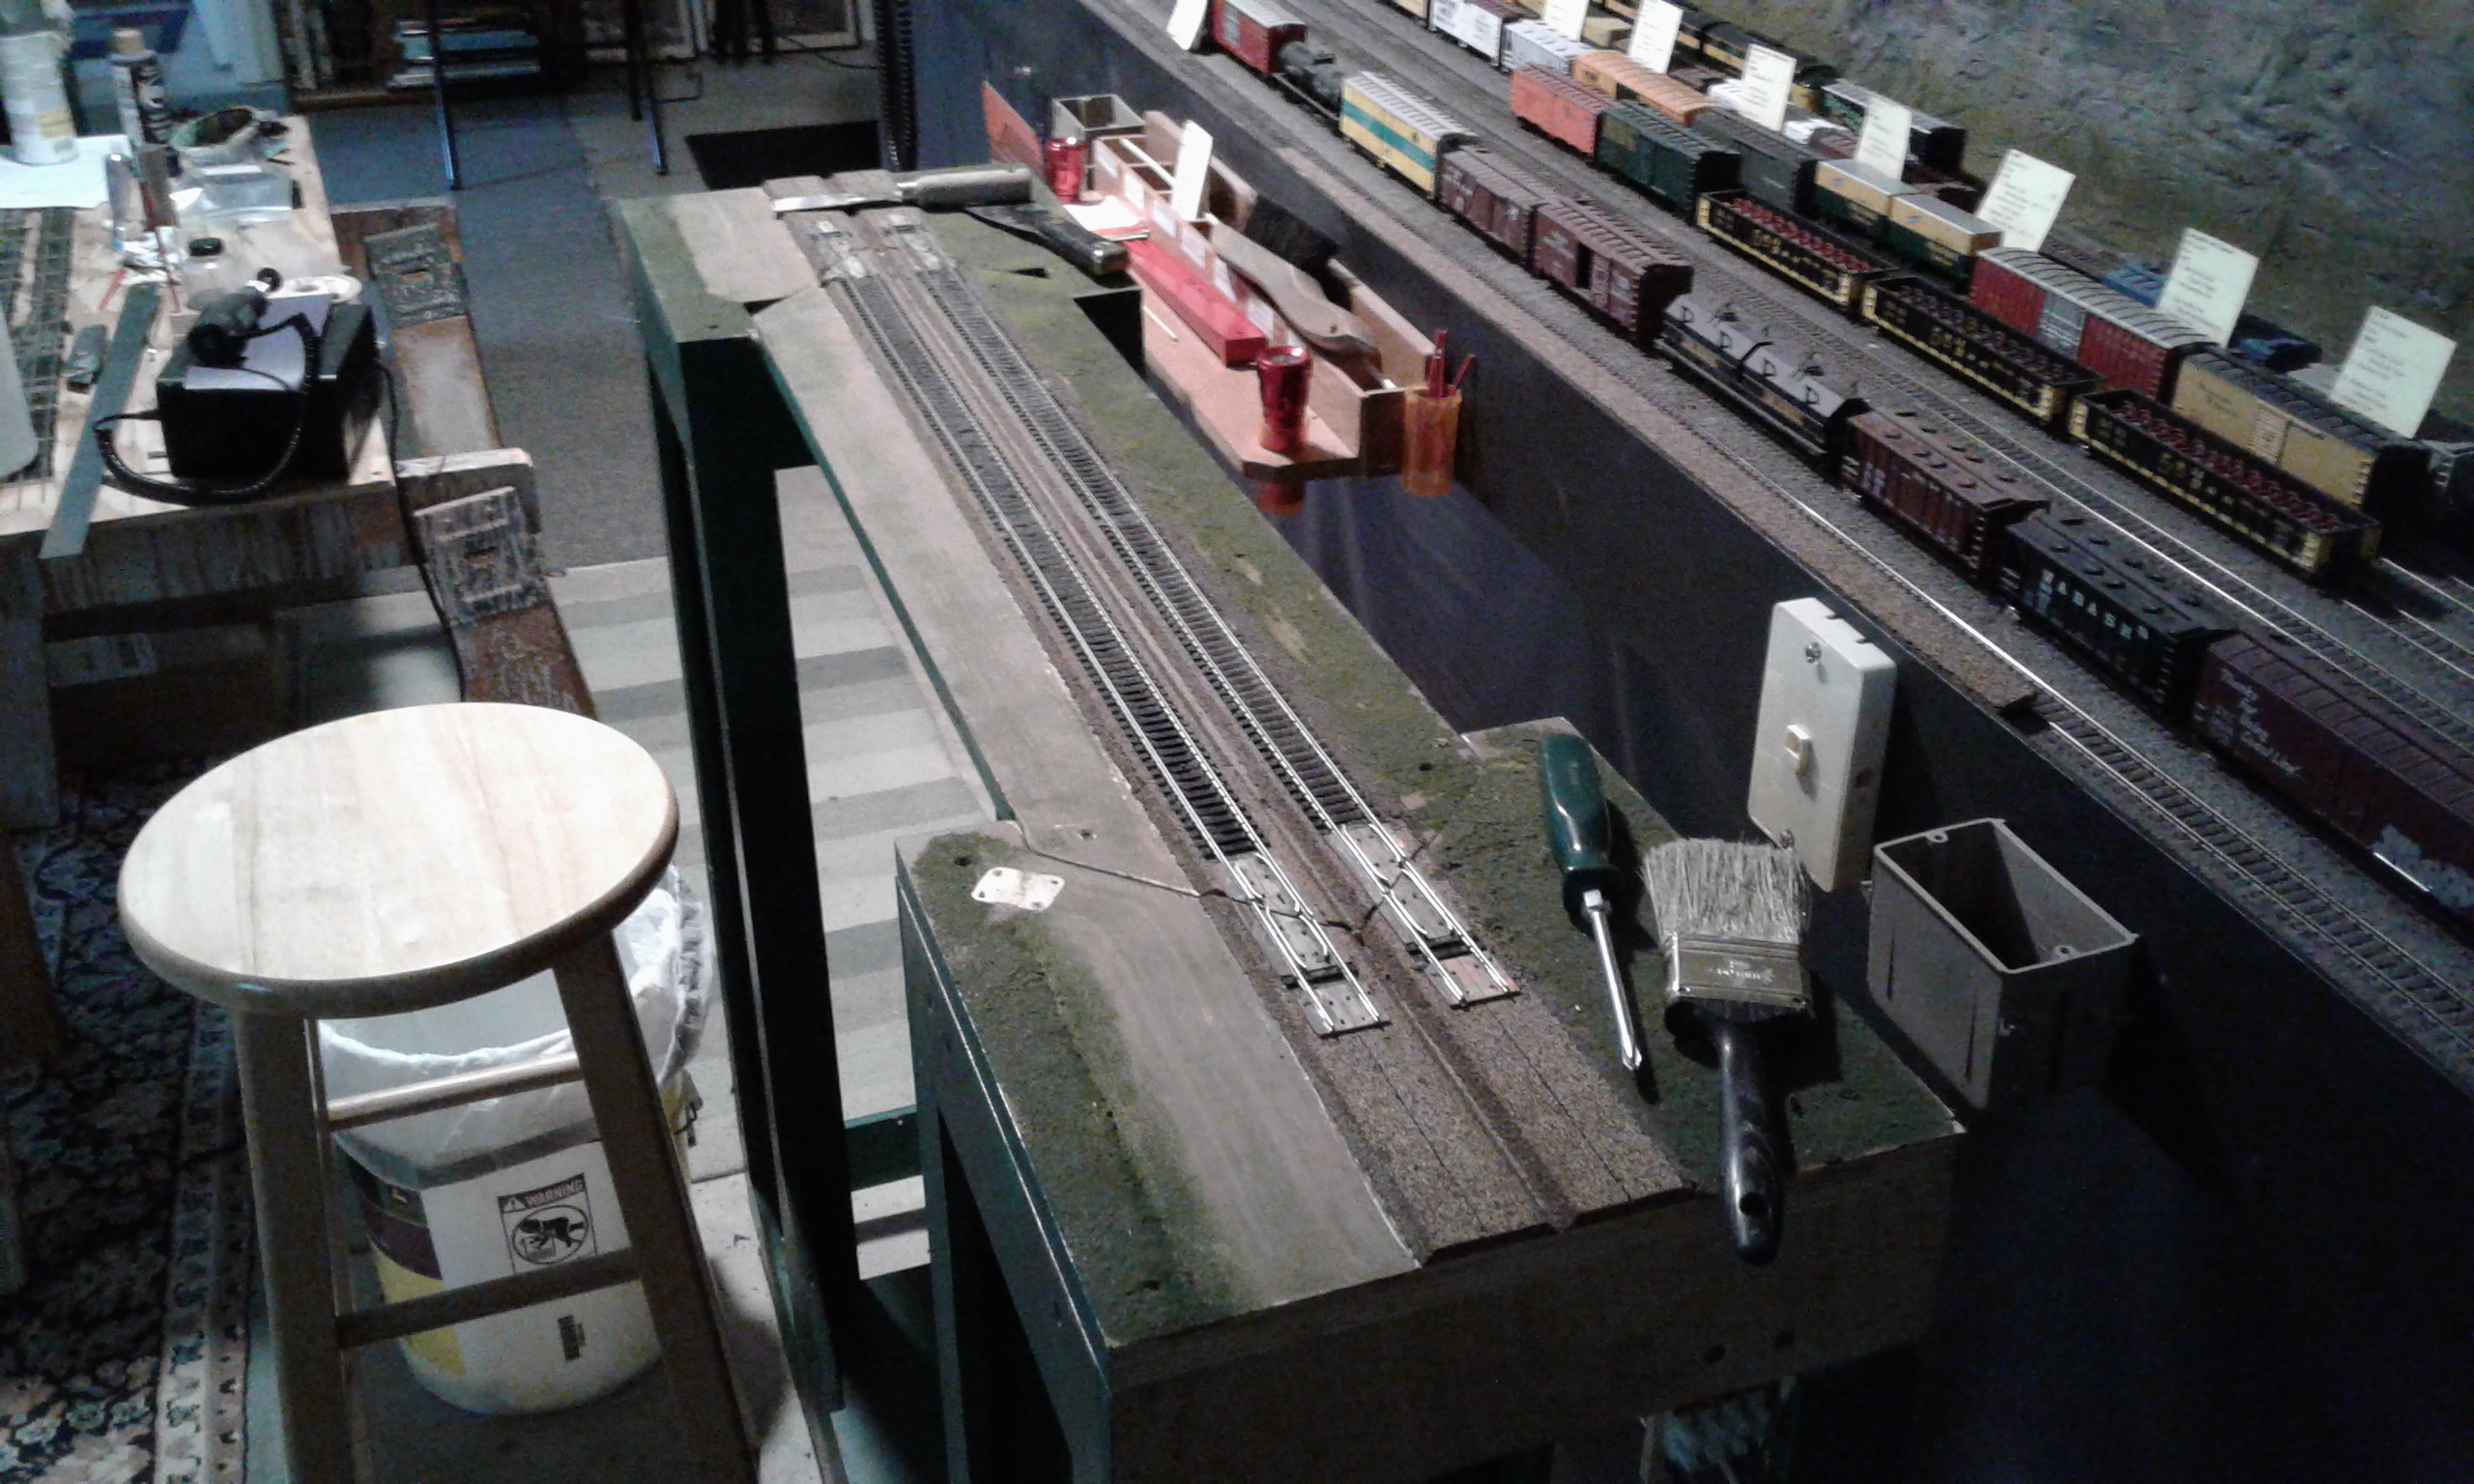 The track is working on the two original tracks in the photo. The idea is to add a third track to the module. This makes the rail centers at 3″ 5″ and 7″ from the front of the module.
The bench work has been cleaned up and all extra parts have been removed to make room for the third track in this photo.
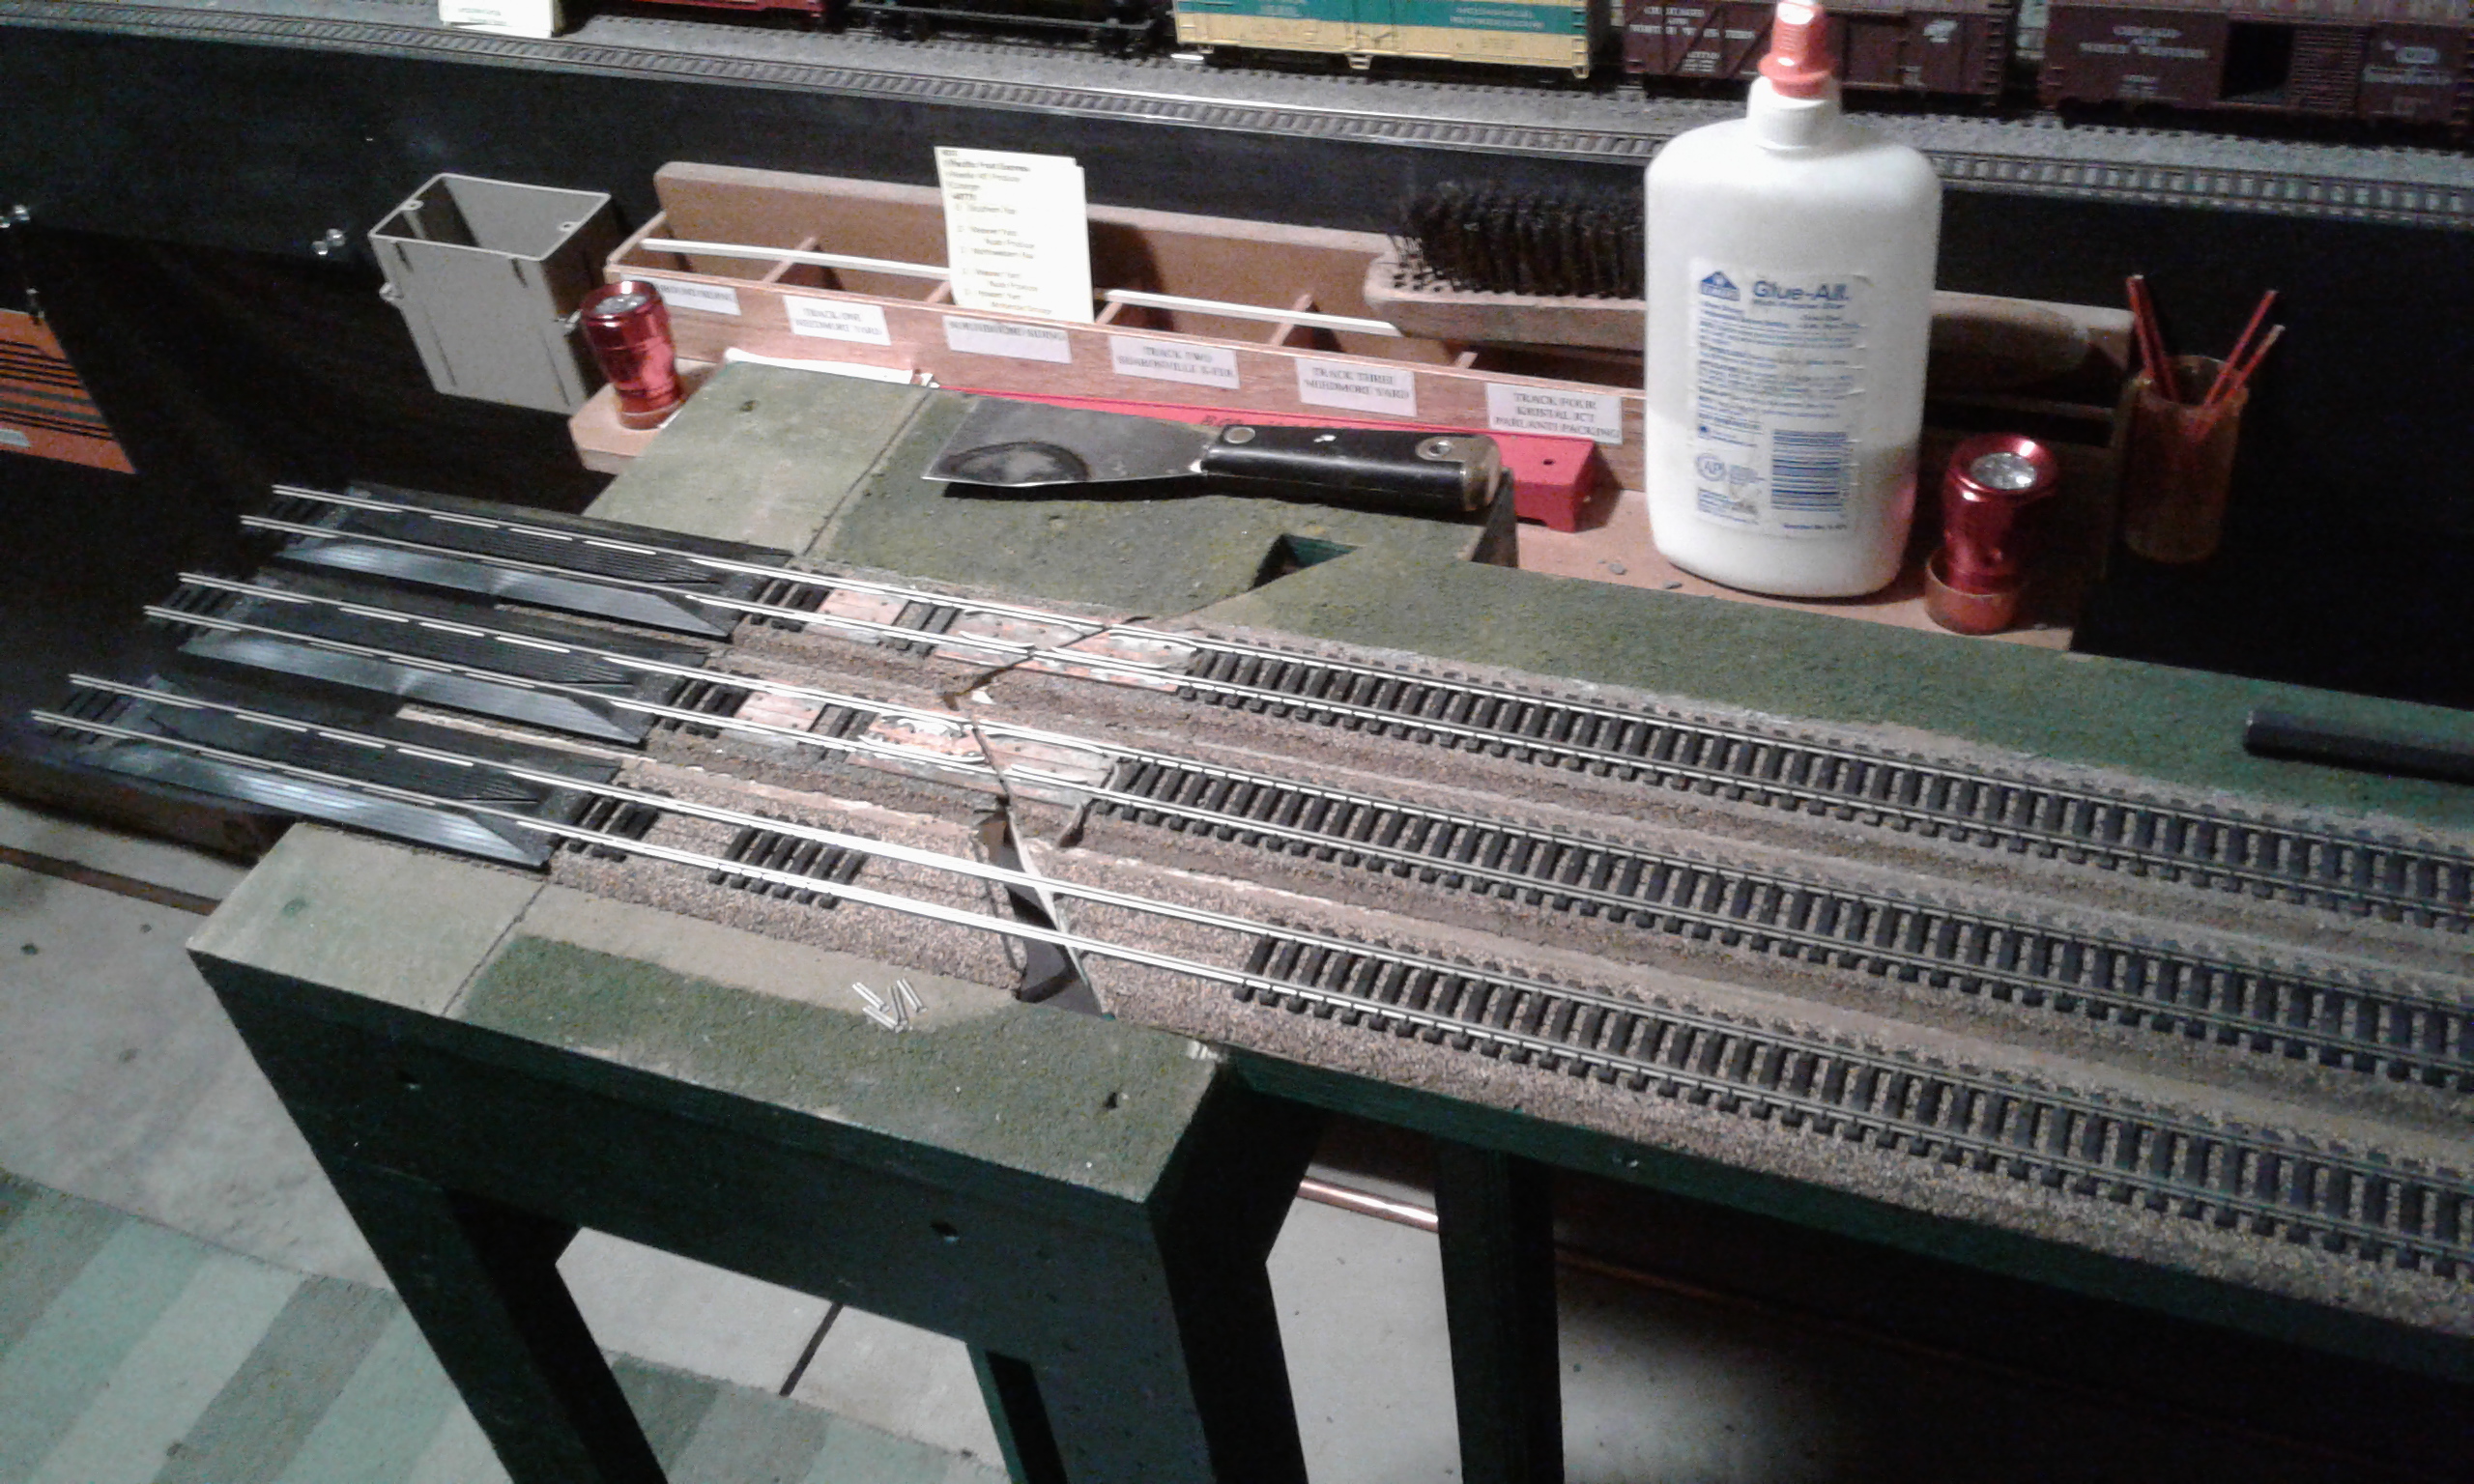 The cork has been set into place. The track has been lined up and measured for the third track to clear the lift bridge to be set into place.
The ties have been removed to make way for the copper plated board to hold the tracks in alignment so the trains won’t derail.
A road will be added to the side of the module to hide the fact that there are rerailers to help the trains back on the track.
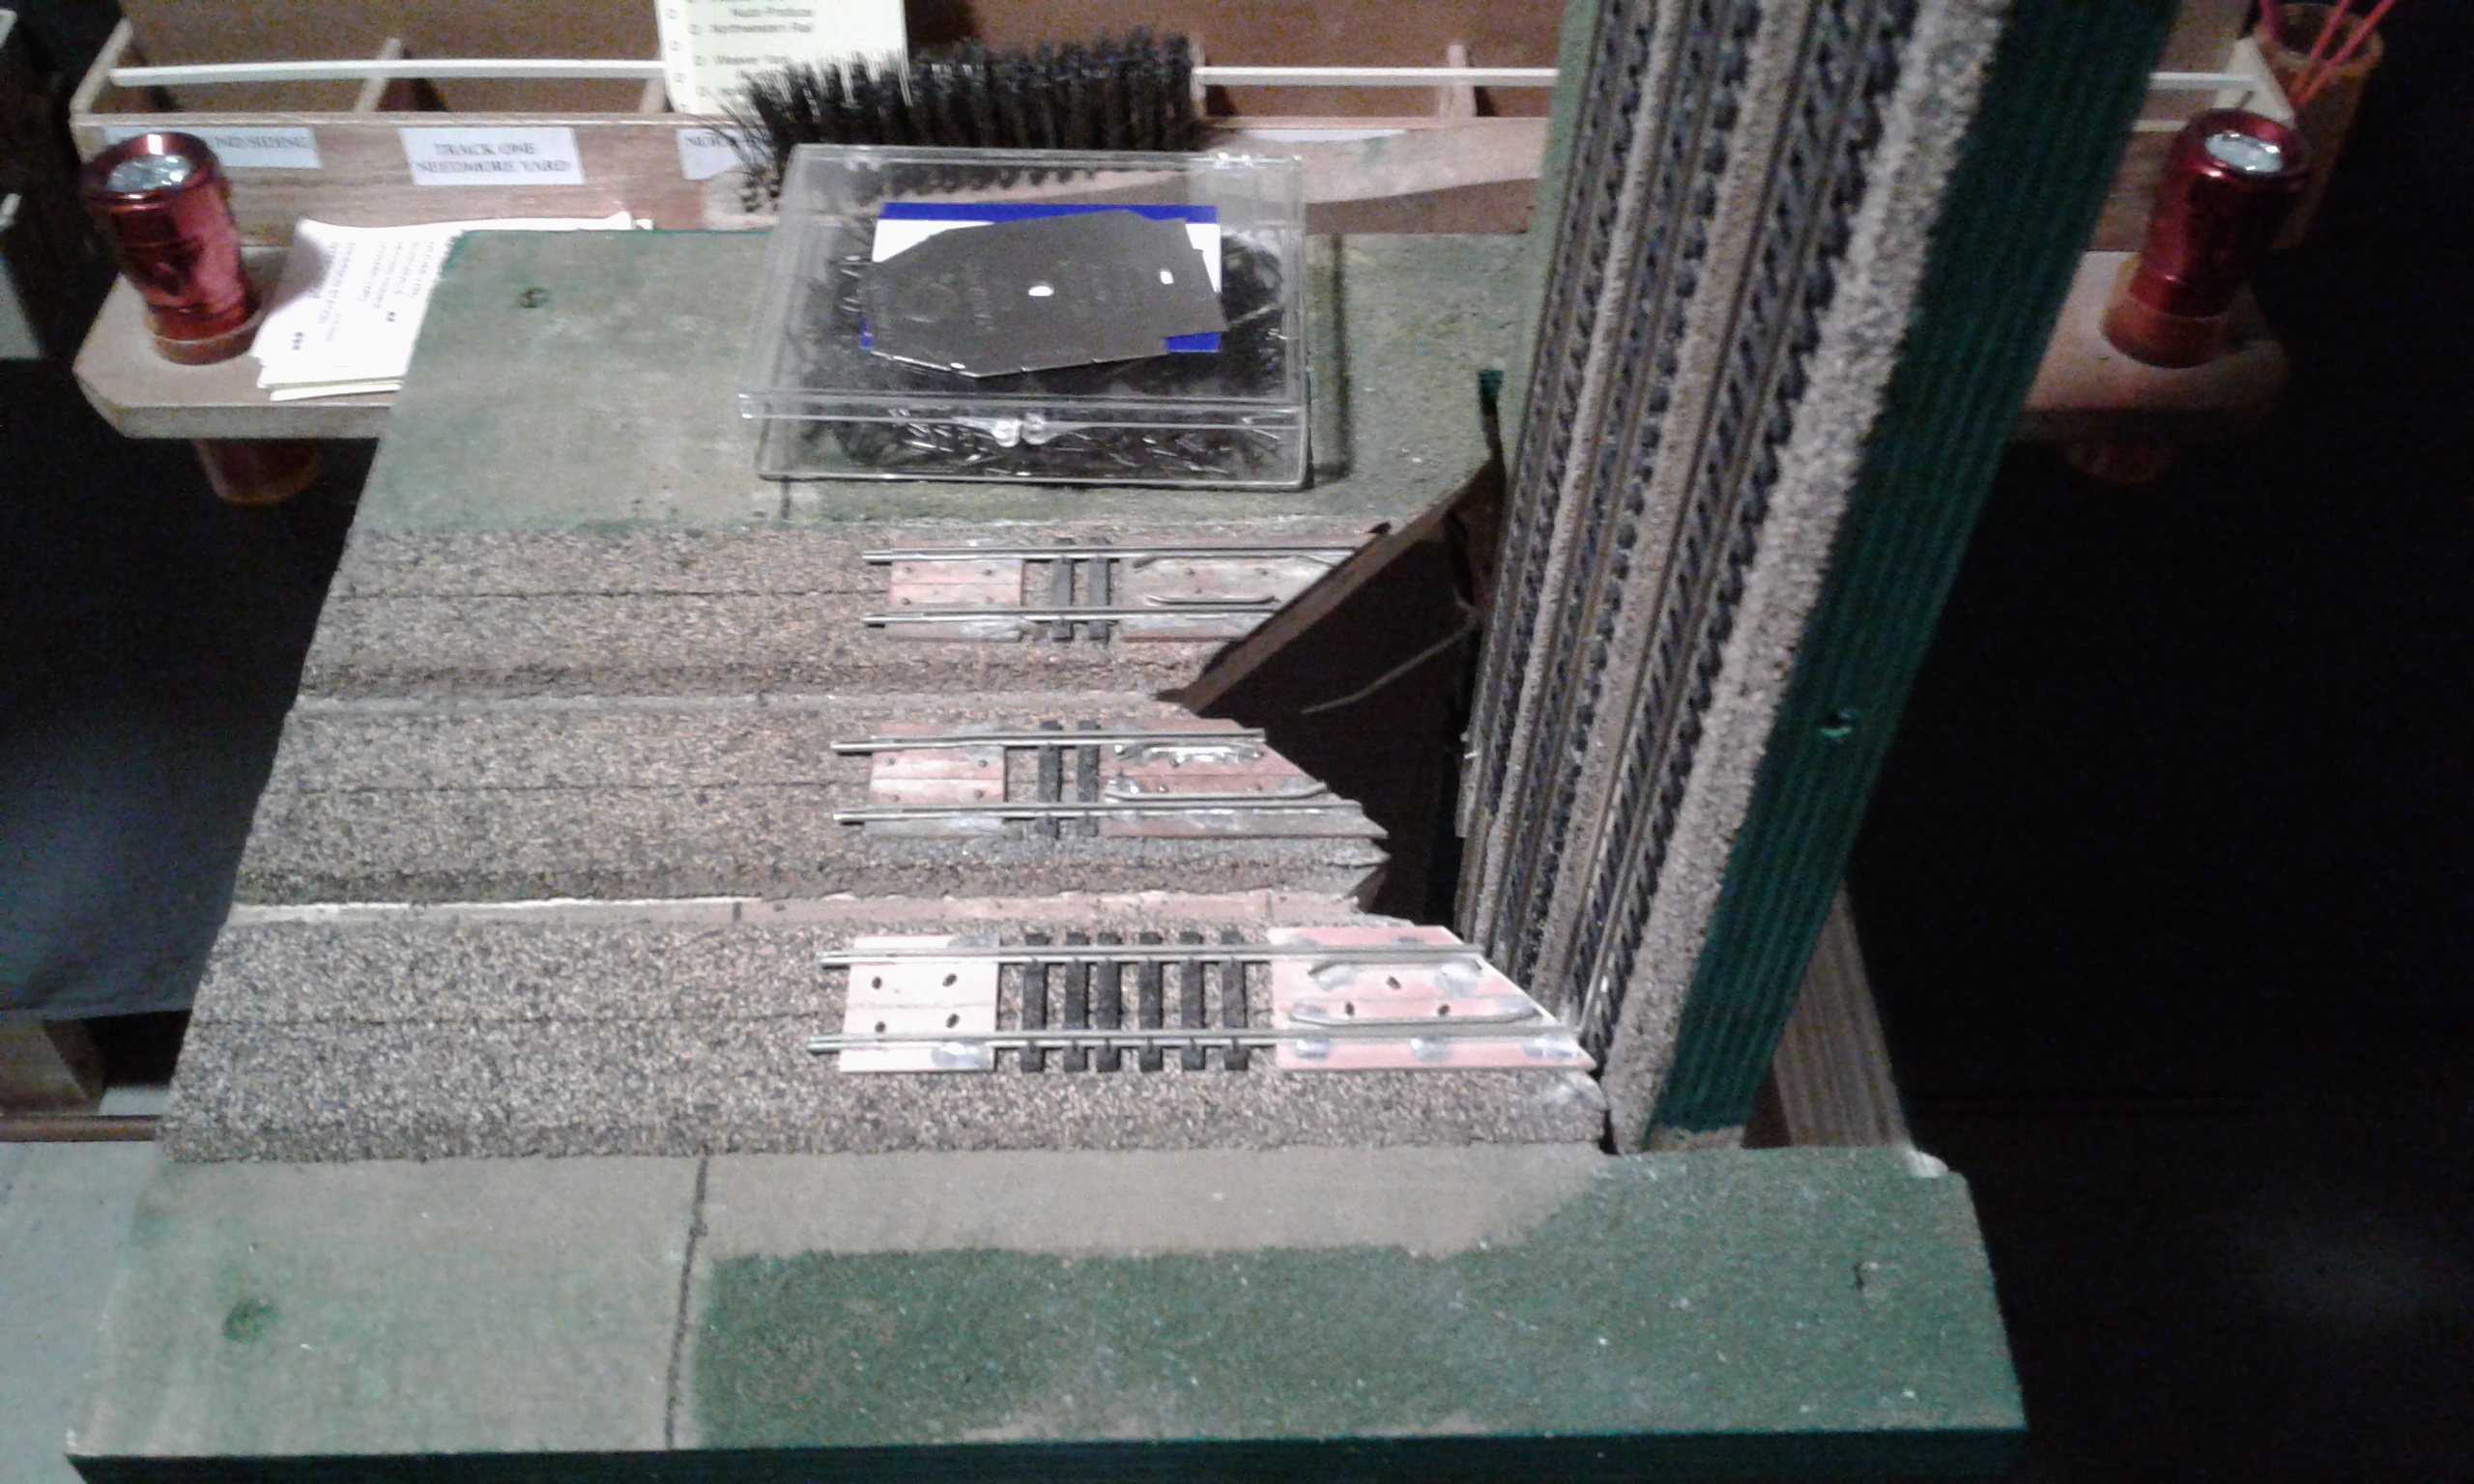
 The tracks are cut at an angle so one axle will stay on the rail at all times. The guard rails will hold the wheels to the tracks edge so it won’t come off the track when it goes over the cut section of track.
There has to be clearance for the track on the lift up section to clear the base of the non-moving side.
 The Bridge has to stand straight up with out hitting the non-moving side of the track. This takes some time to set up, because the hinge is under the plywood and that makes the rail move toward the base track.
This is a photo with the bridge in the down position, with all the electrical drops in place.
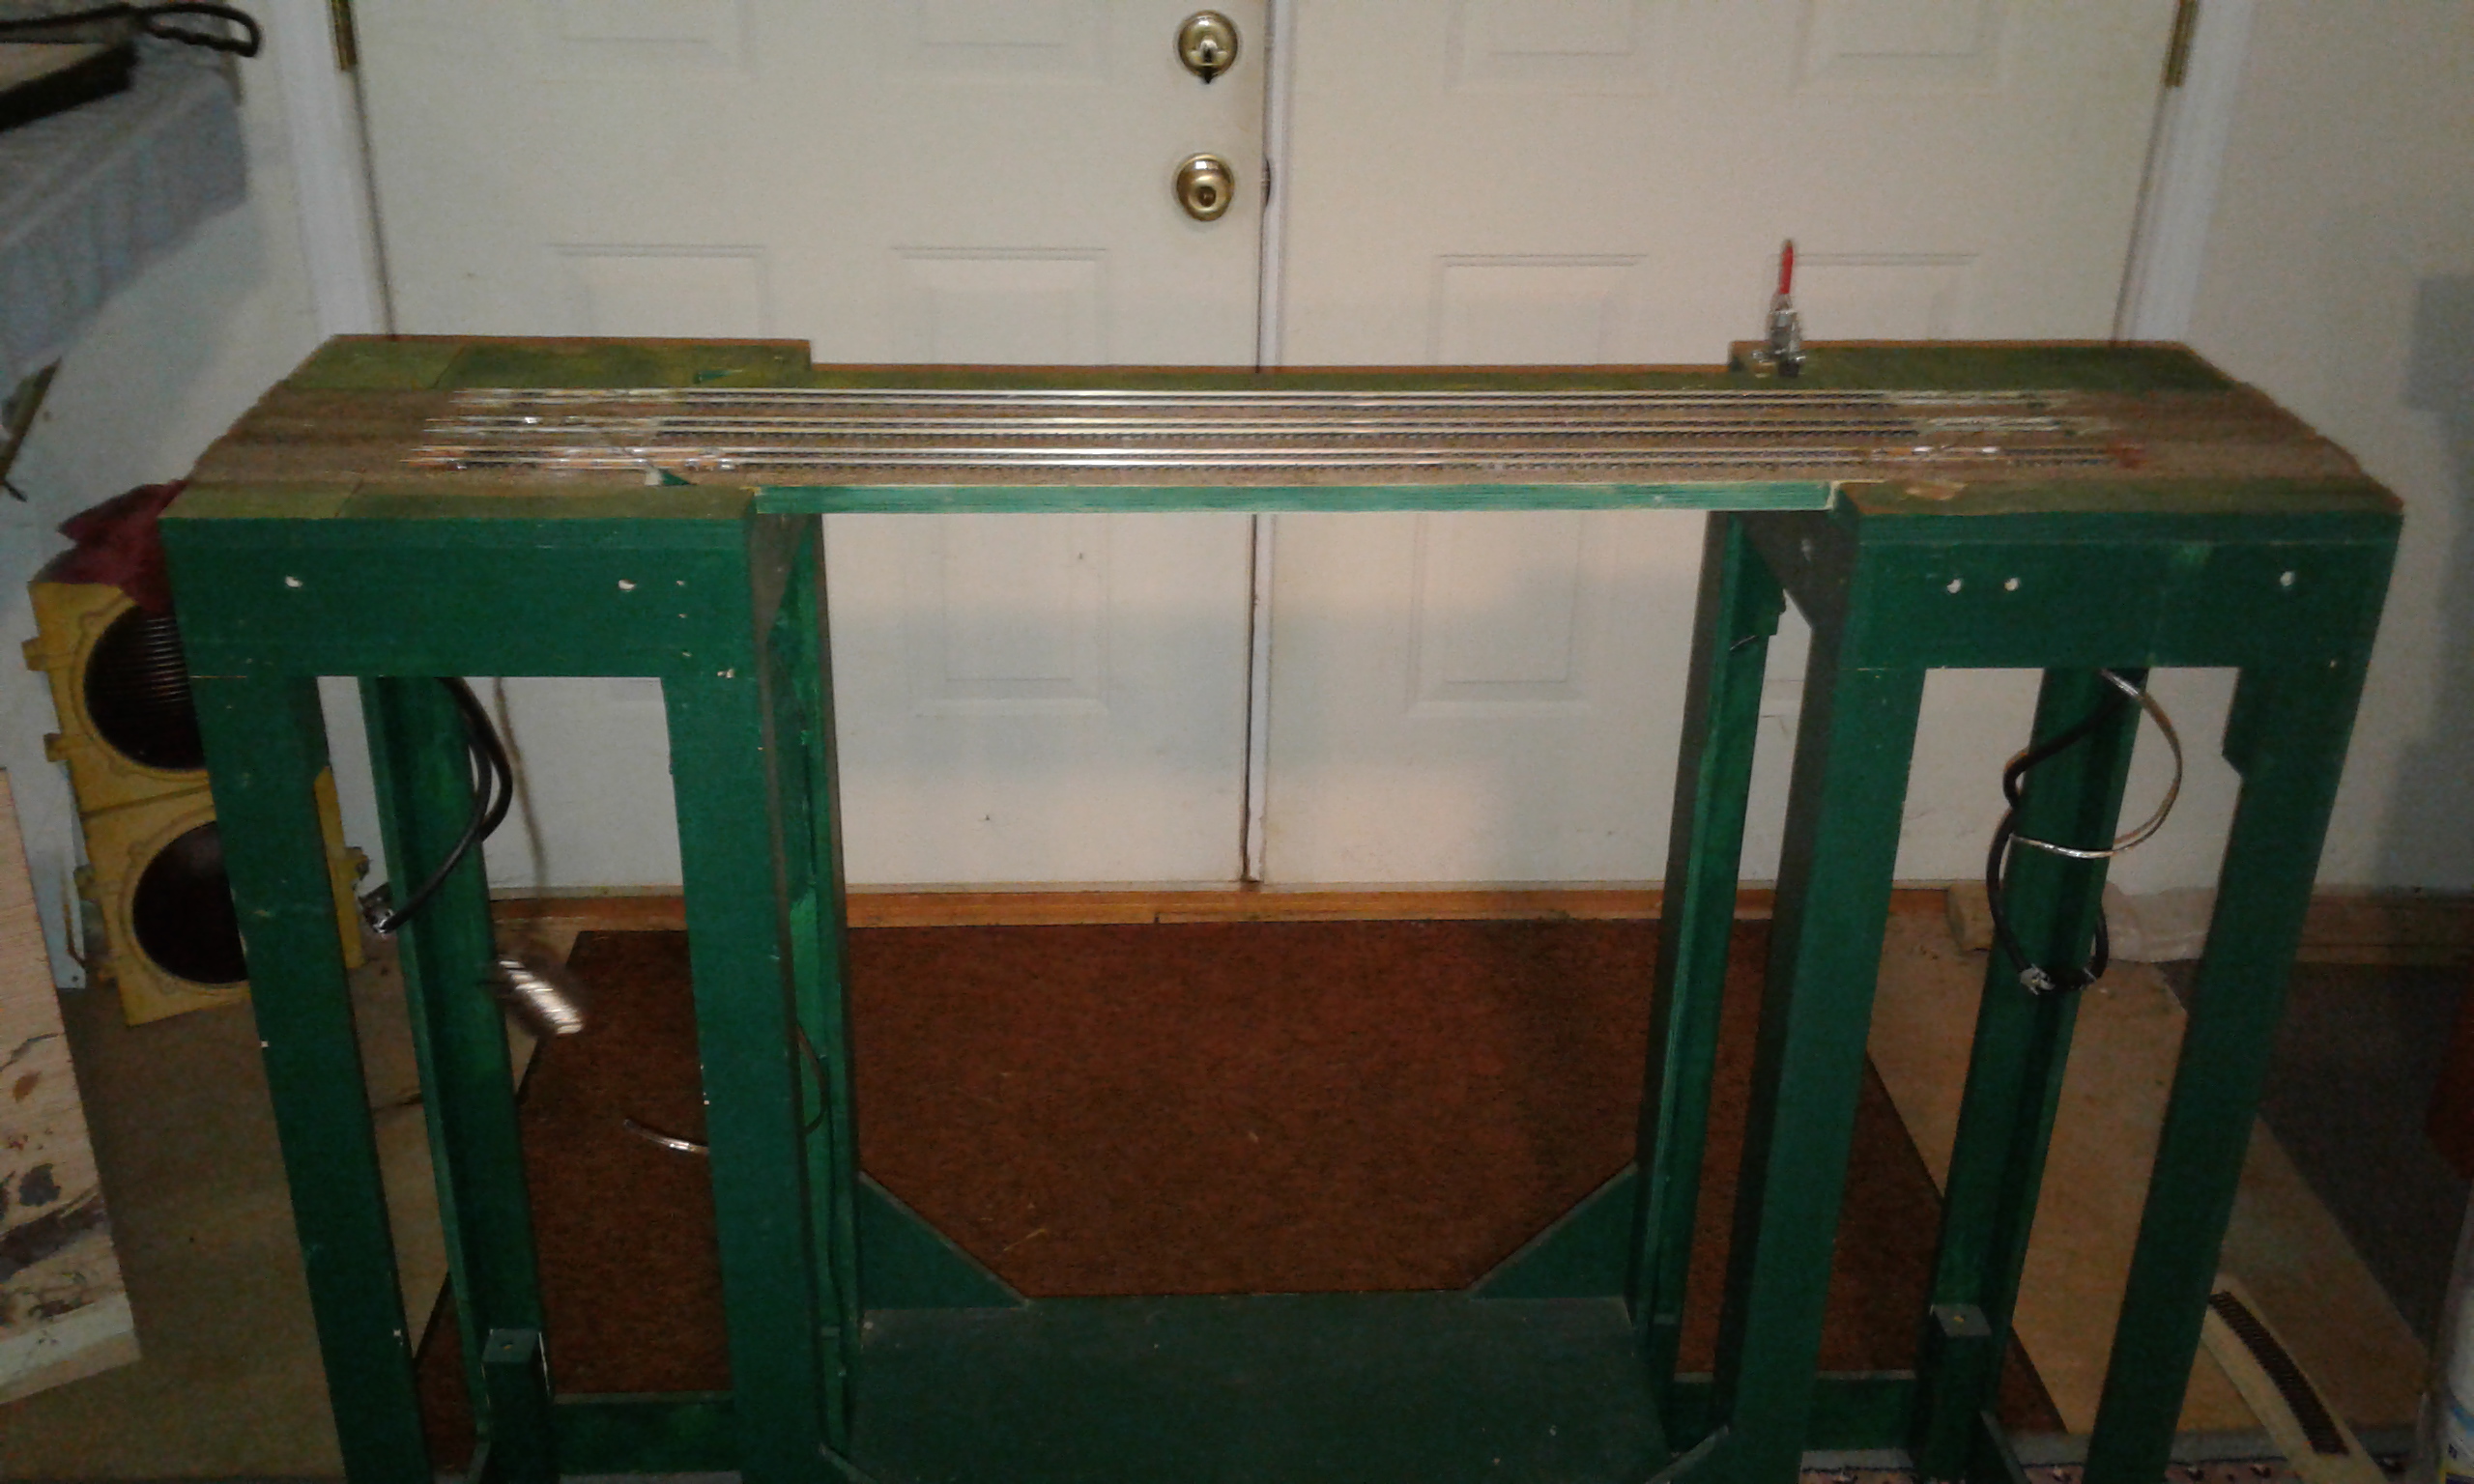
 This photo is with the bridge in the upright position.
There are two alignment pins on the right to help with the alignment when the bridge is down.
 The track is set and ready for some weathering to be done on the rails.
The bridge lock is installed to hold the bridge down tight when moving the module or running the layout. It has the red handle on it.
A board will be added to the front of the bridge to give clearance to the track and the plexiglass will go on the front of that.
 The track was painted a brown color to take the gloss off of the plastic ties.
The front rails extension was added to the bridge so the track has clearance between the train car and the plexiglass.
The ballasting has been added, but will need some weathering to take the brightness out of the ballast.
 Plexiglass was added to test the clearance with a NMRA track gauge.
The plexiglass is for keeping small hands off of the trains when we are at a show. This stops the club from setting up cones or stands to keep people away from the tracks. This makes the operation go much smoother at a show.
The photo below shows the scenery not done, and then the ground foam and the road added to the module.
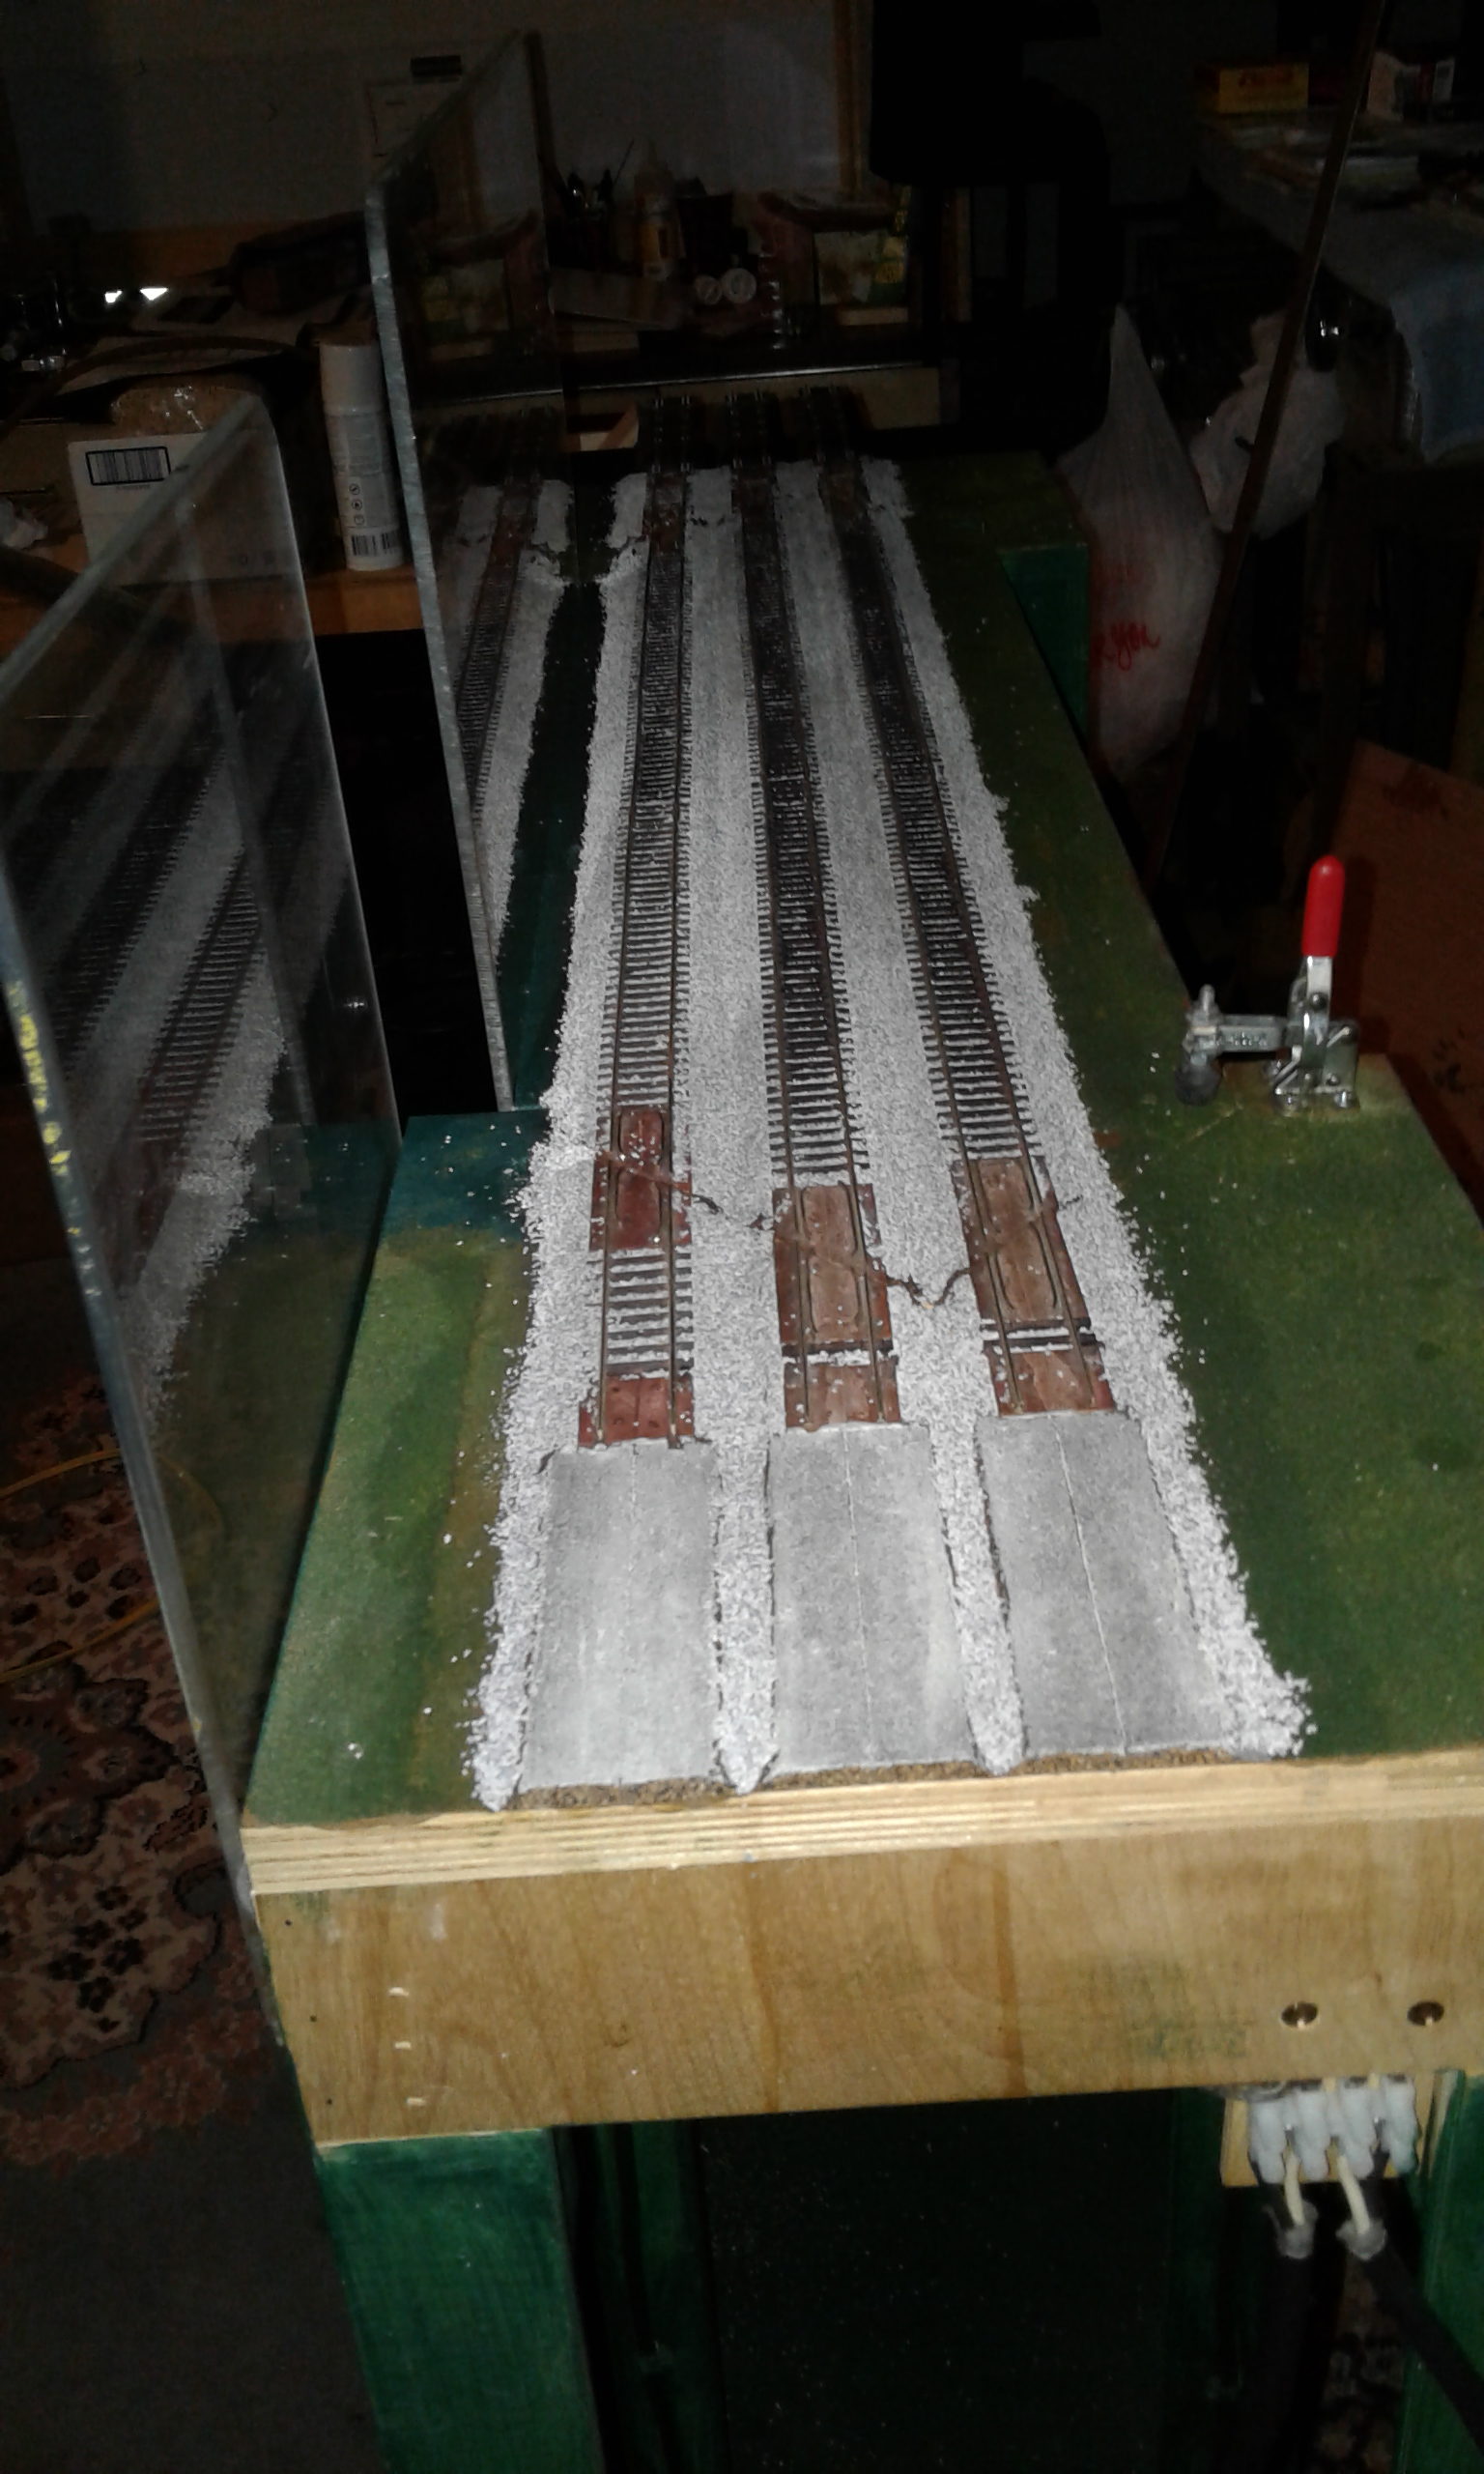

The track and the ballast will get a light coat of flat black paint to reduce the brightness of the trackage. The tops of the rails will be cleaned up with 800 grit sand paper. The rails will be polished with a Hi-Polymer Eraser.
Thanks for reading and visiting my web page.
Leave a Reply