
For several years I have been working on making up two new modules for the Concord Area Model Rail Road Club.
This is just to let people know that I have started them. The first one is the left side transition. Because there will be three tracks on the new modules, a track is needed to keep the three-track and the two-track moving with trains is the reason for the transition. Also the older ones had only two tracks on them, so a way to cross the main lines in a u-shape set up you have to allow the shifting of the traffic flow on the rails.
I will be doing this in several steps to show how I did what I’m doing and why I’m doing it.
Click on any photo to enlarge it.
I will start out doing the track work.
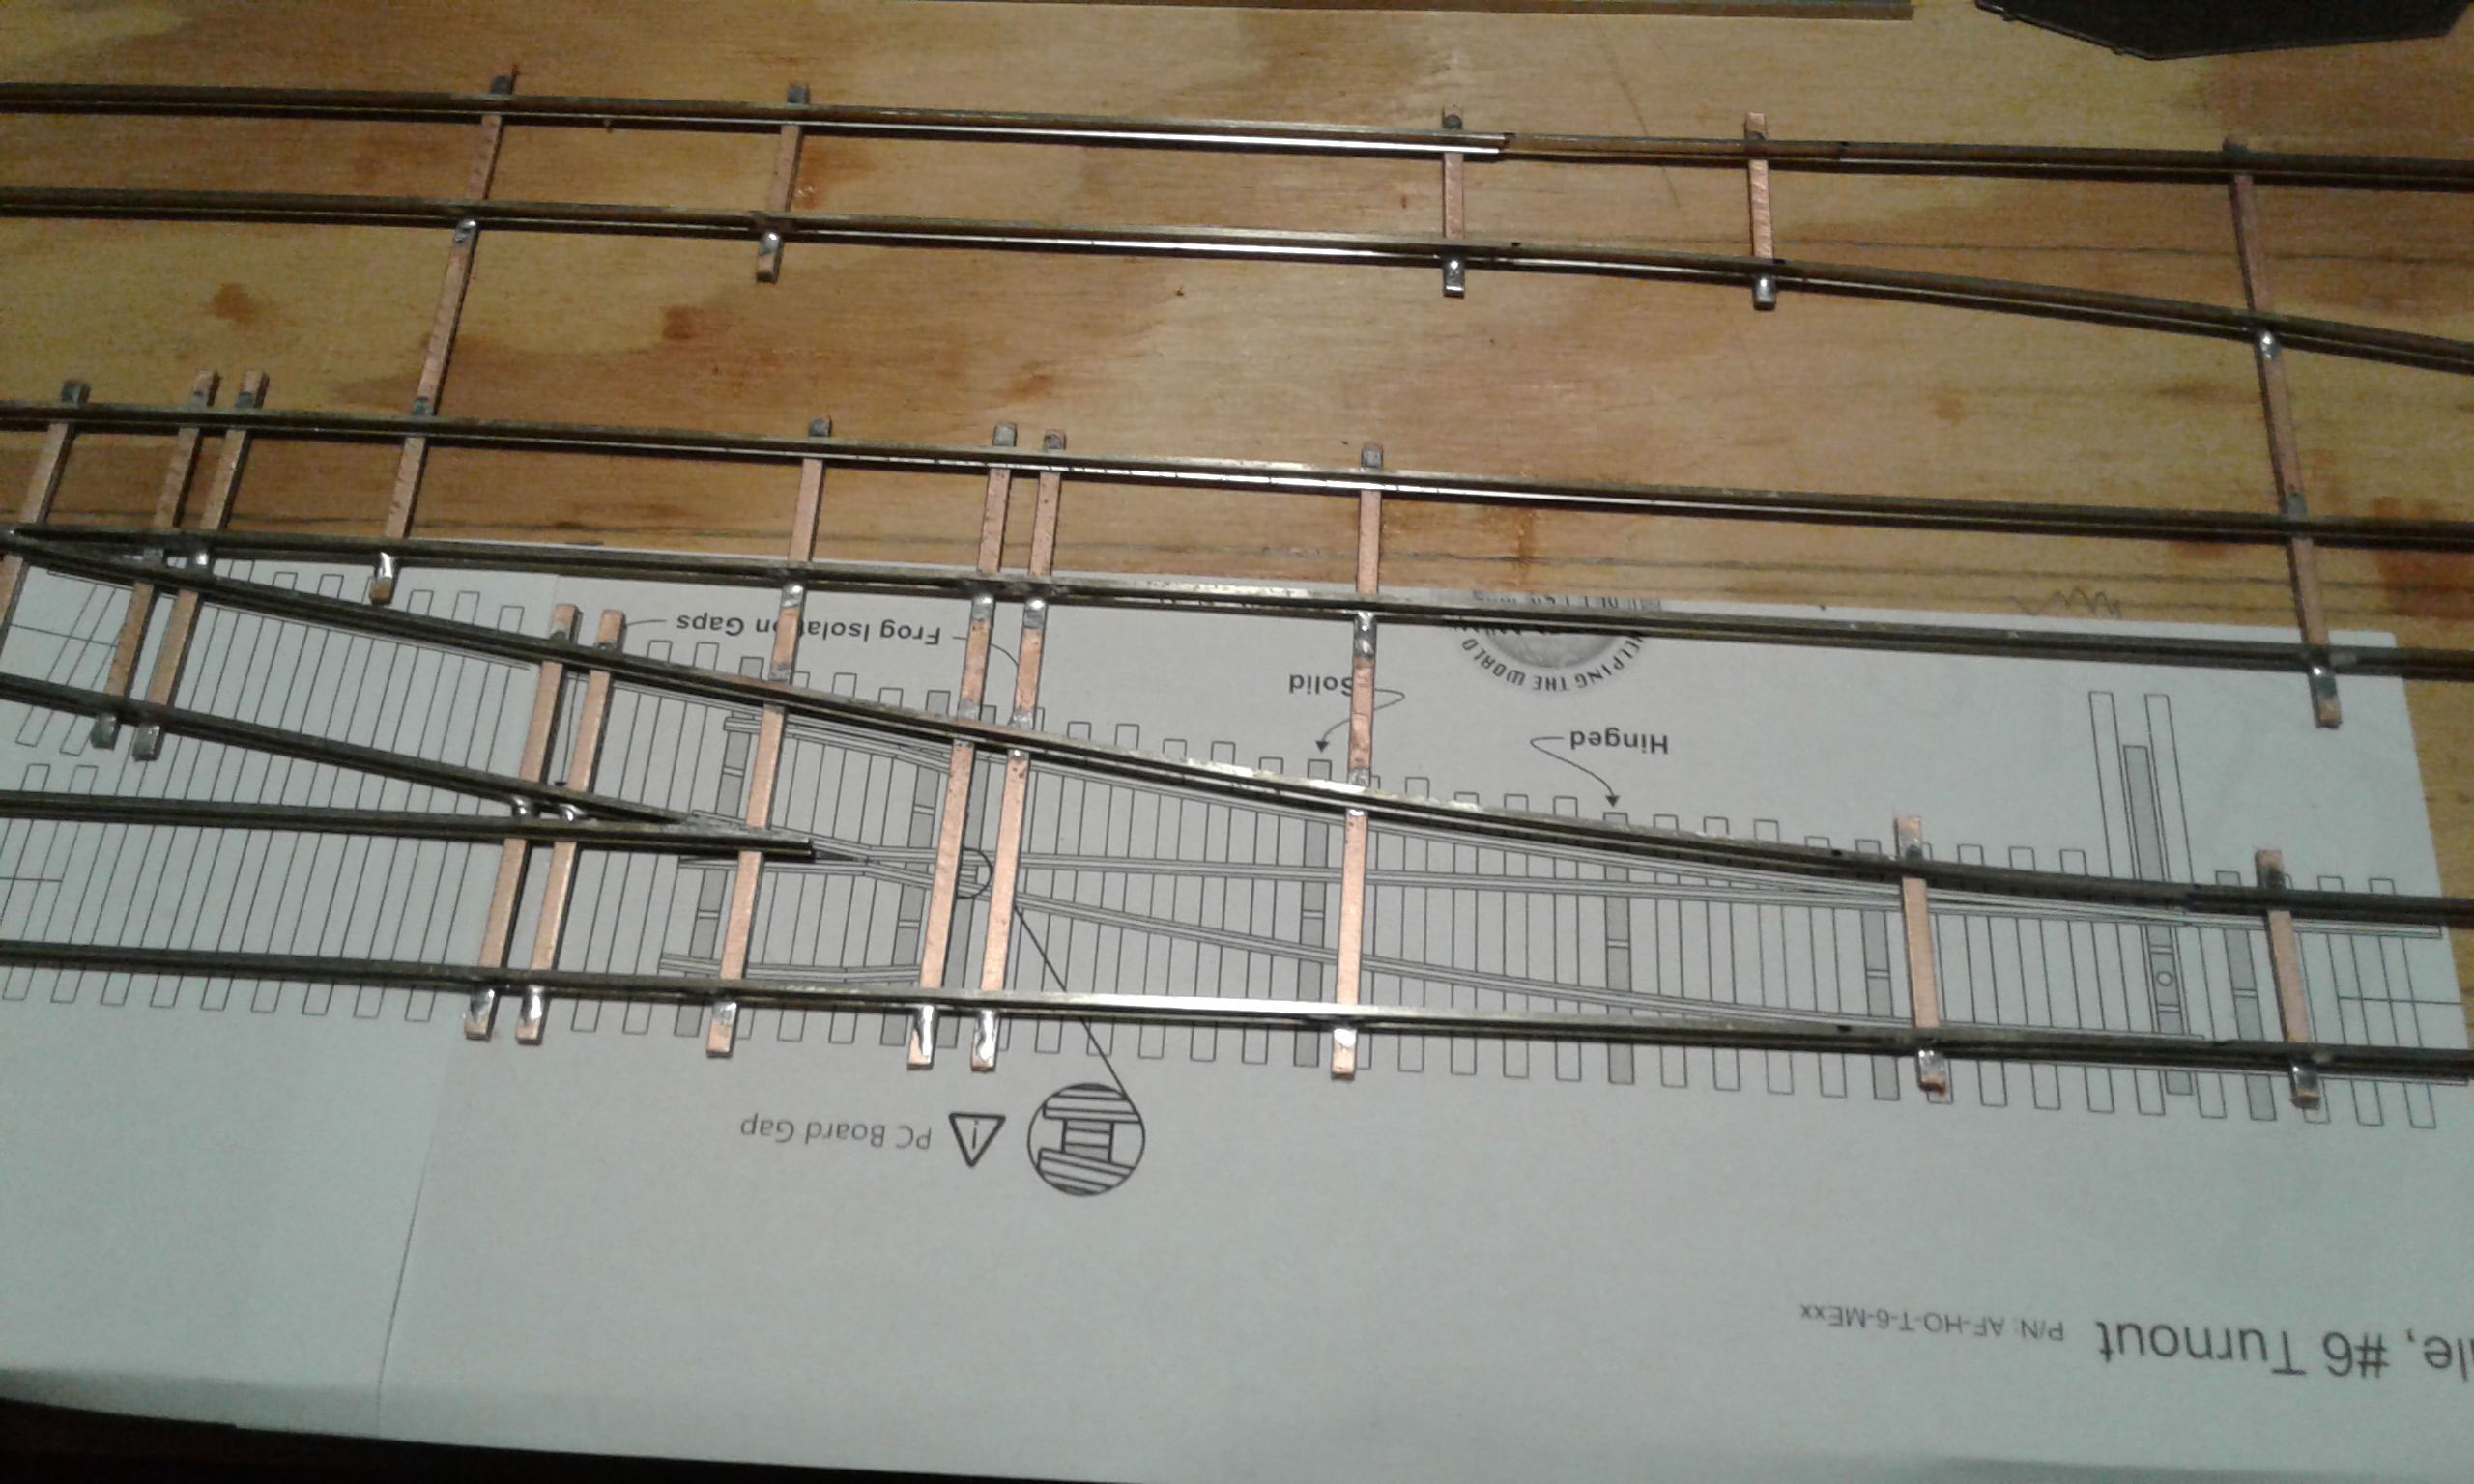
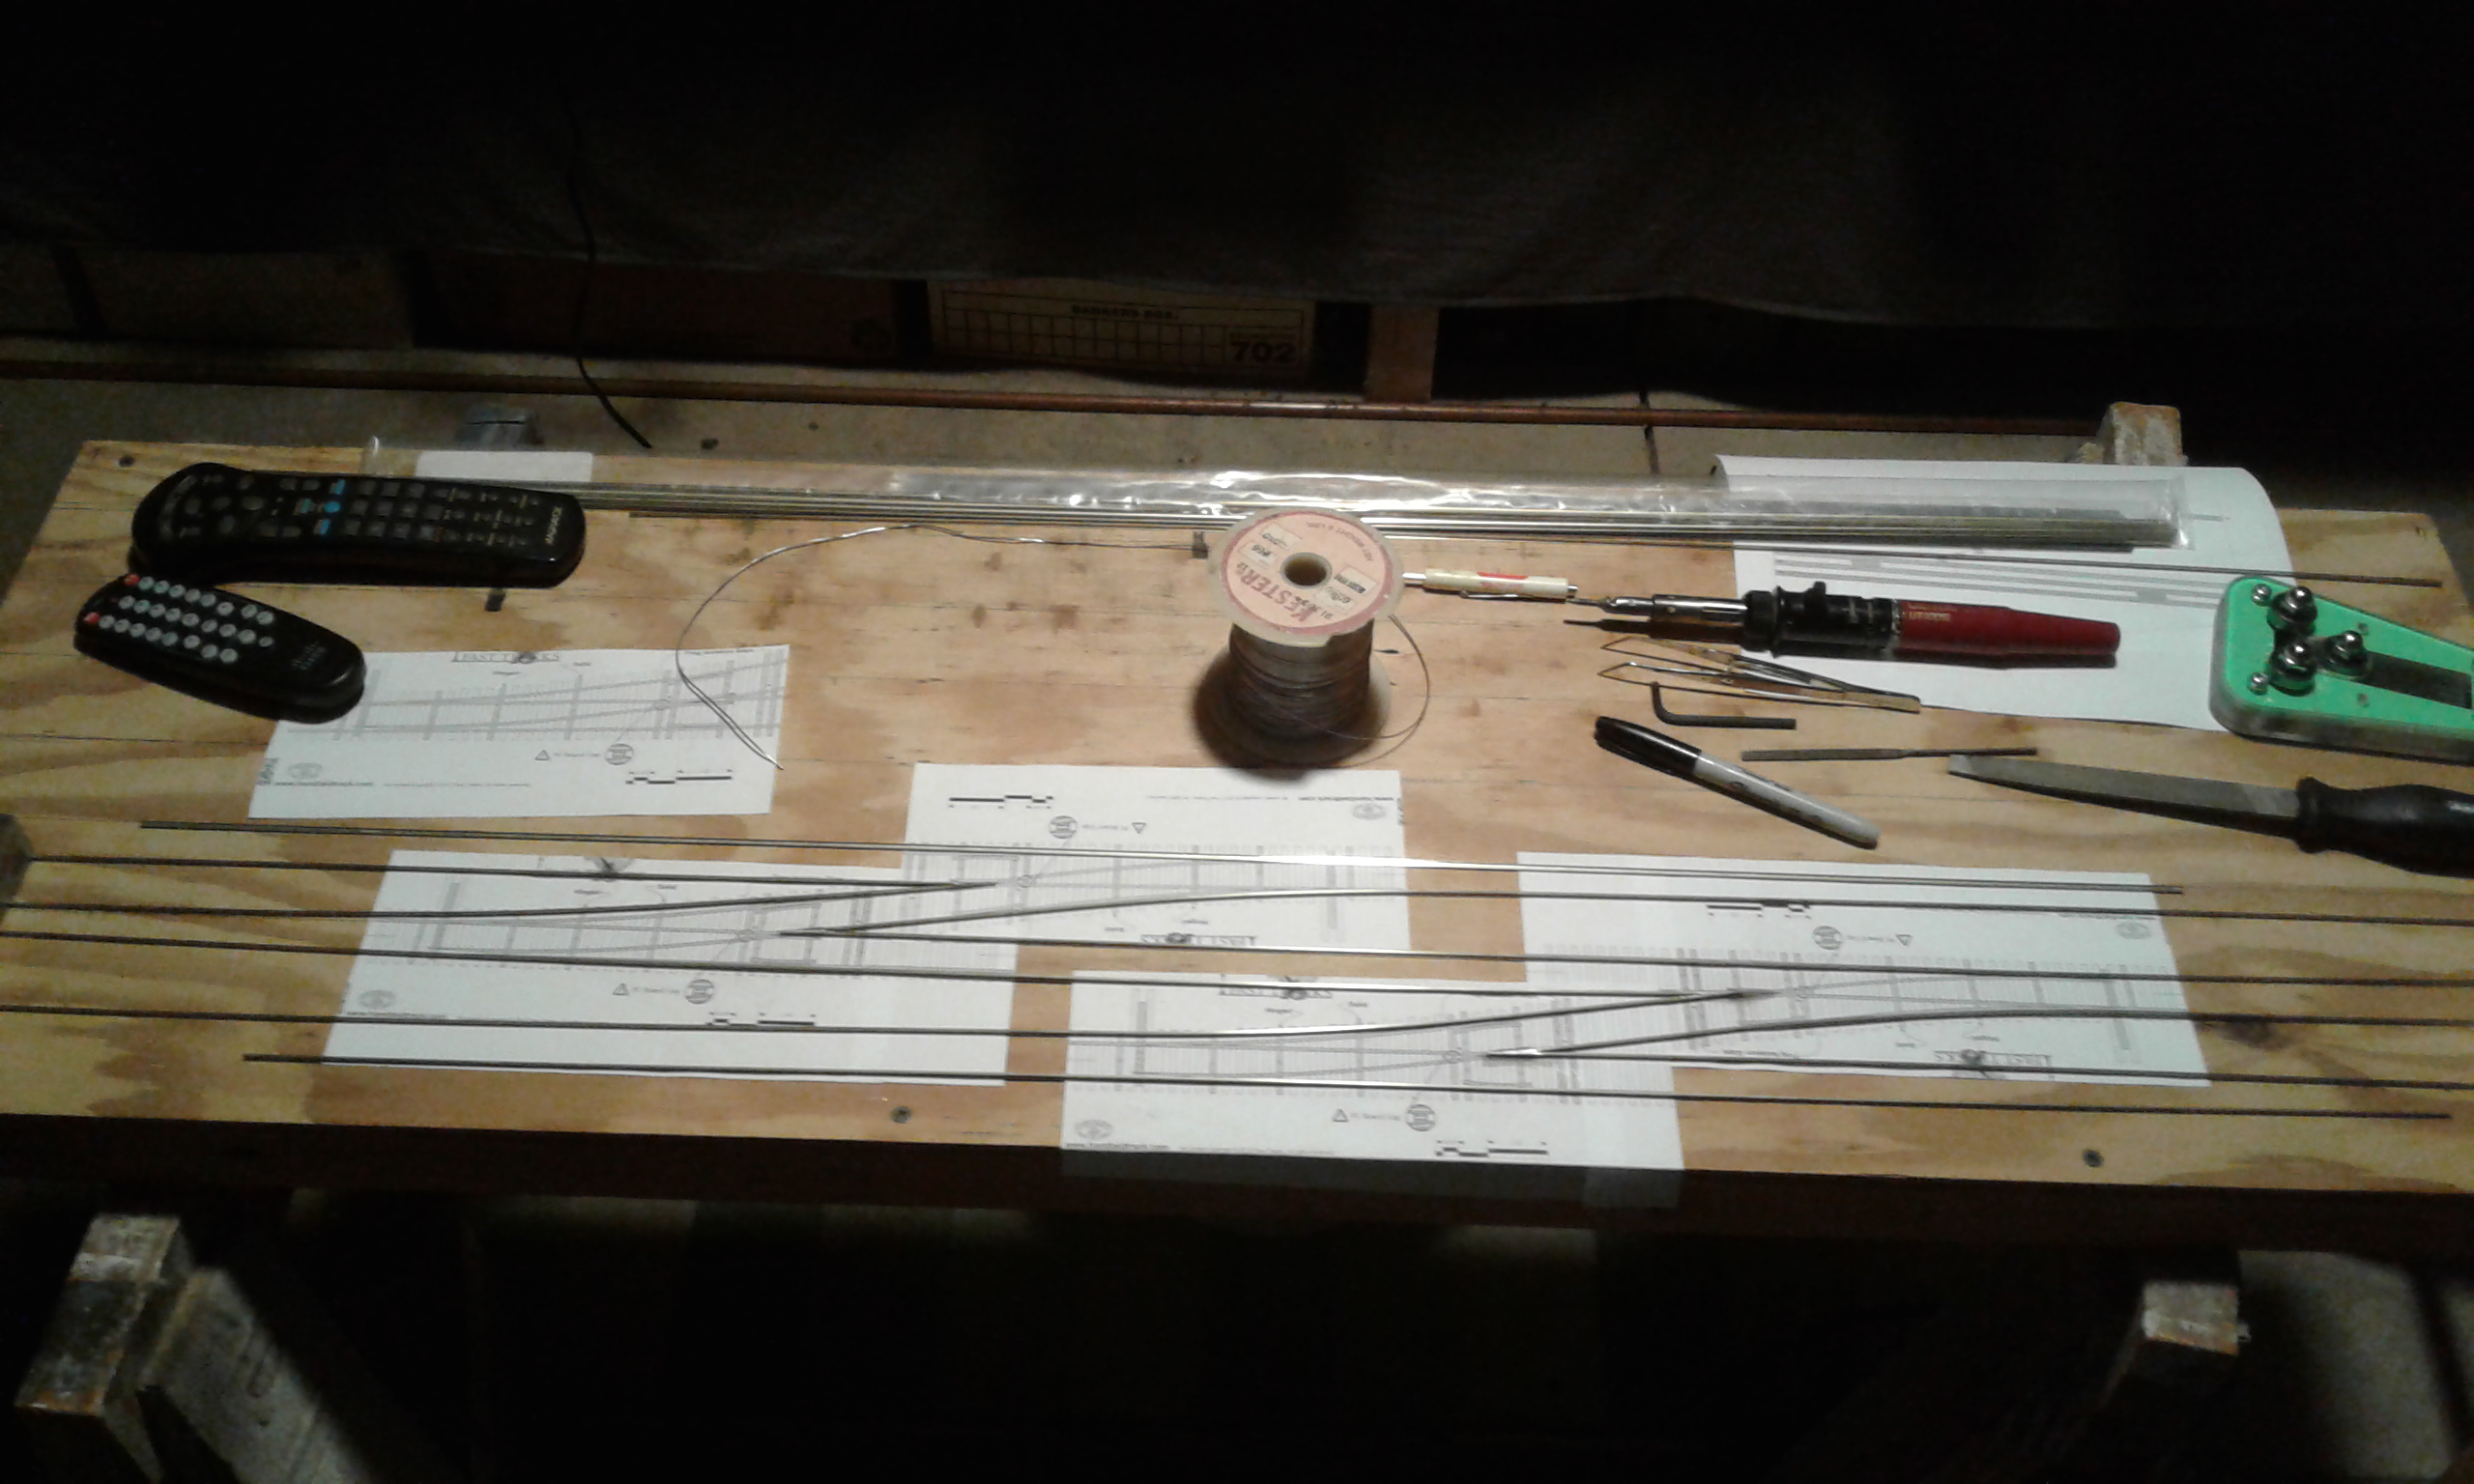
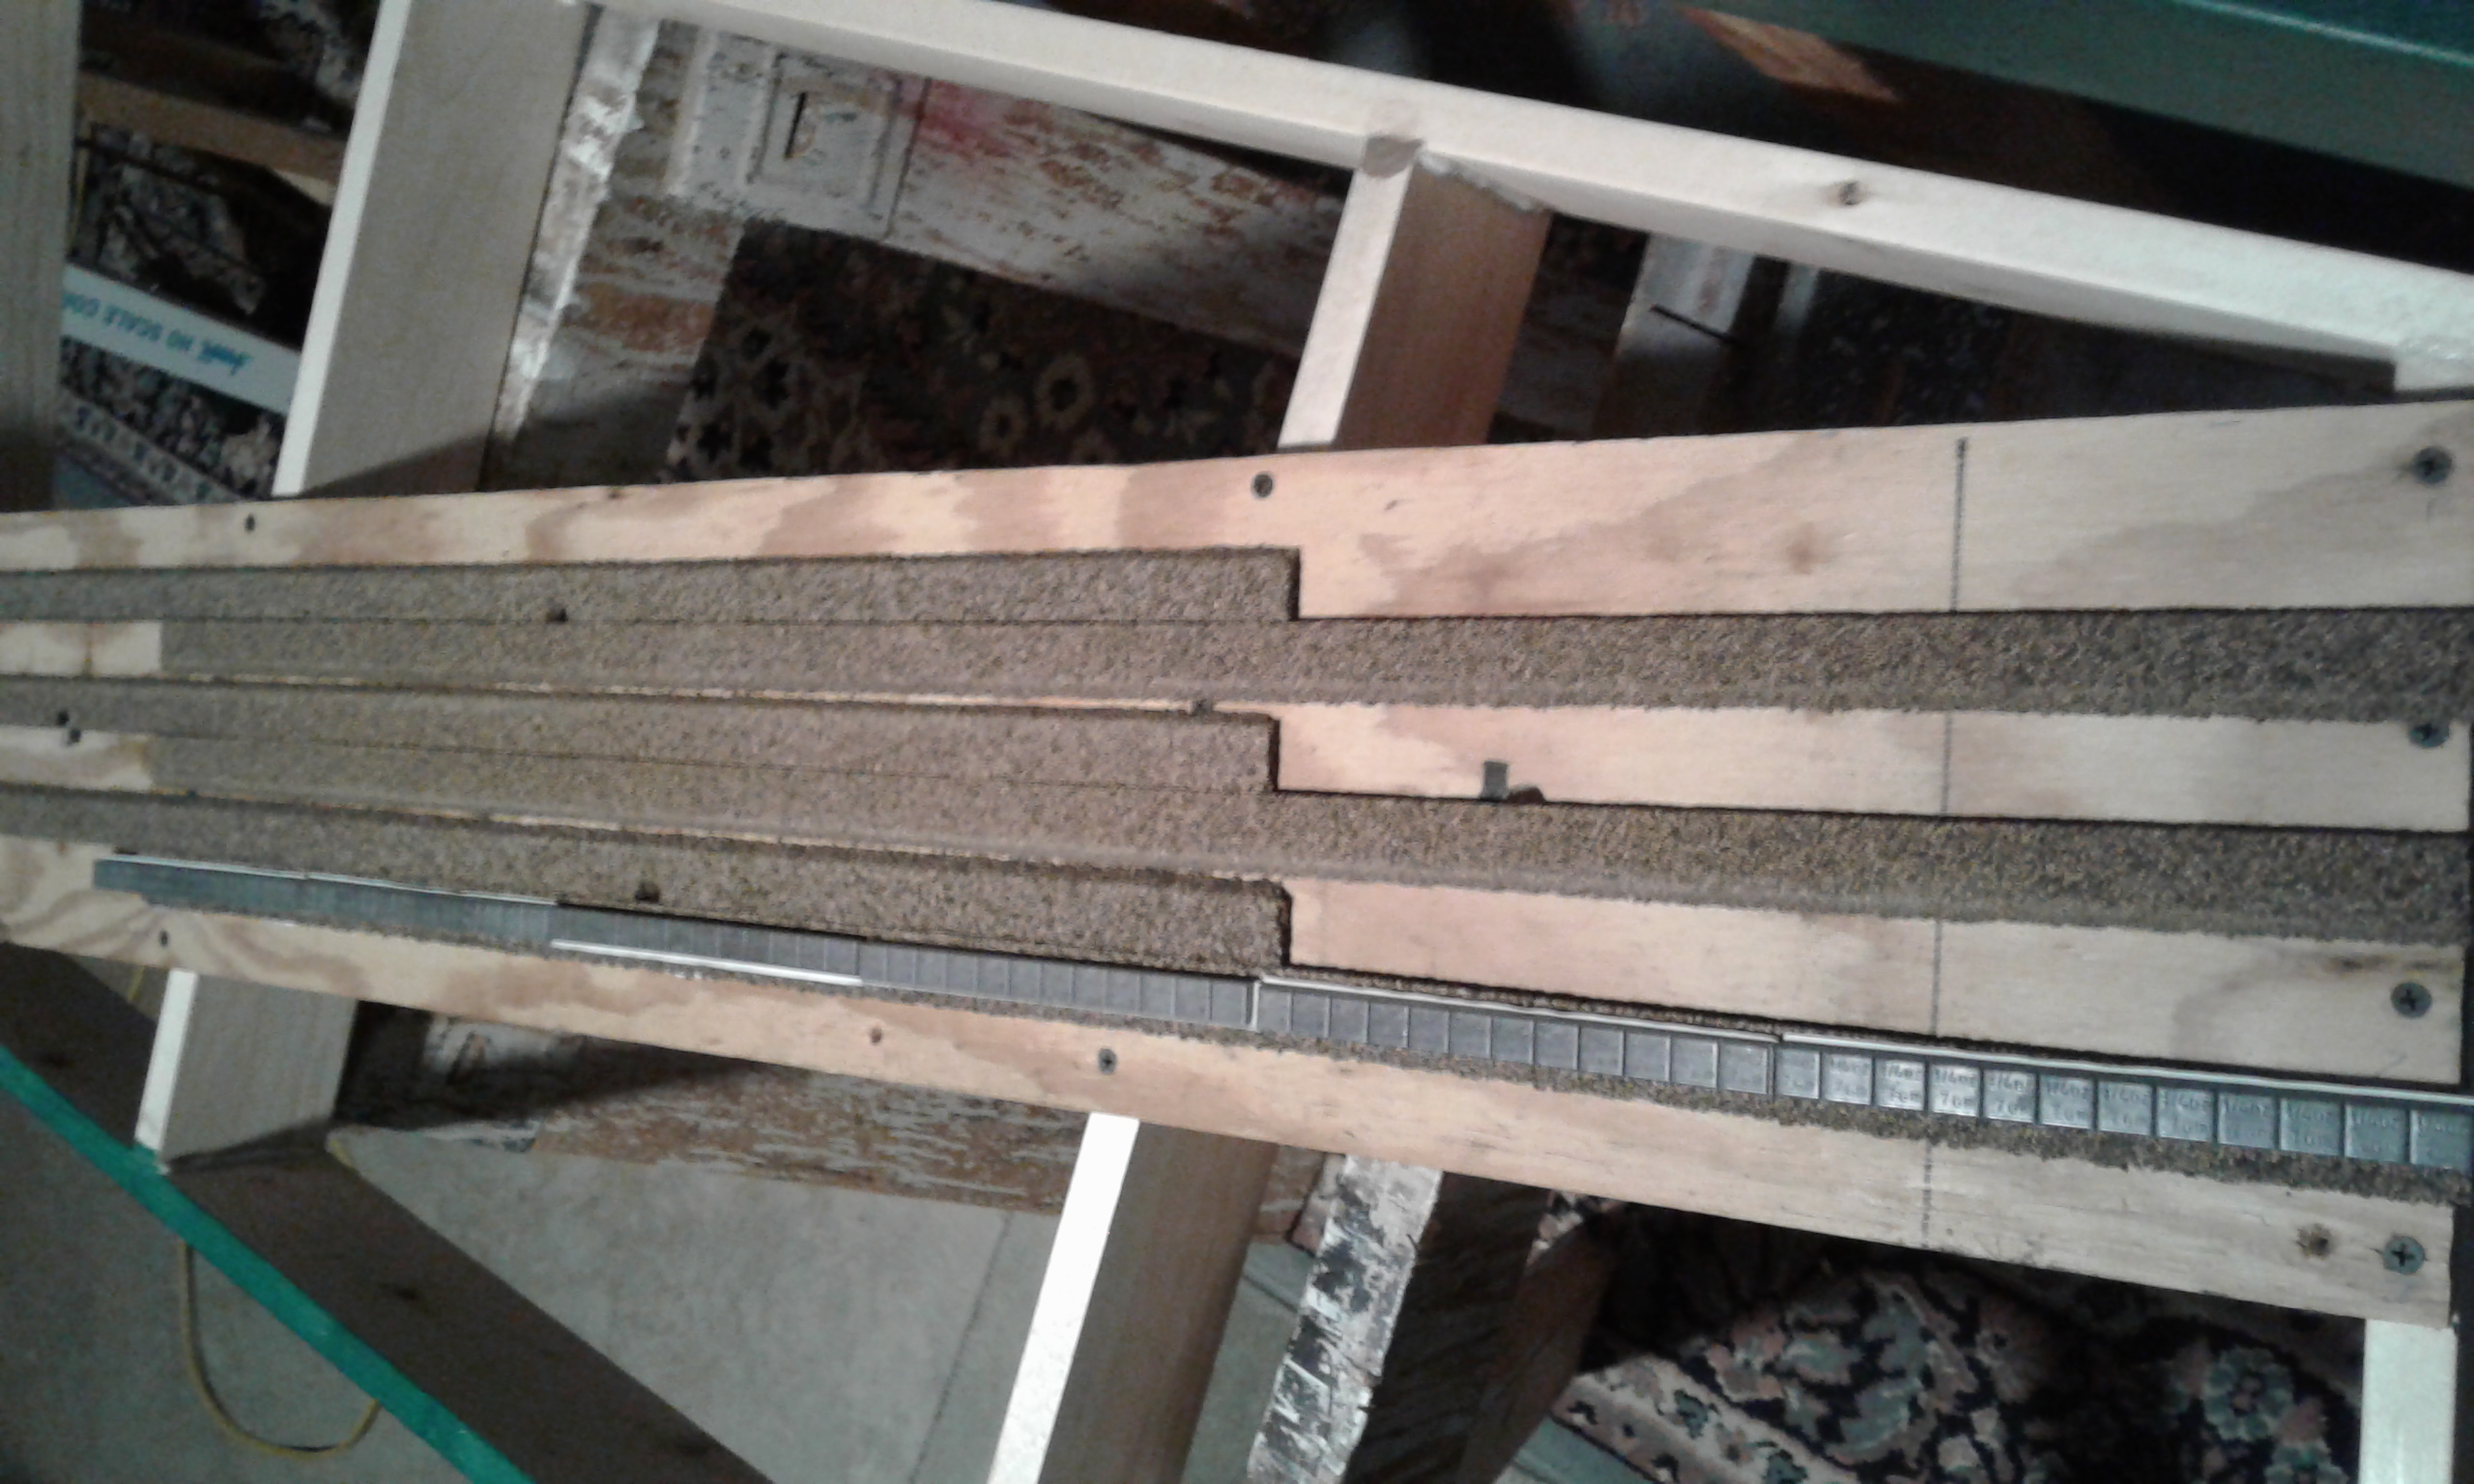
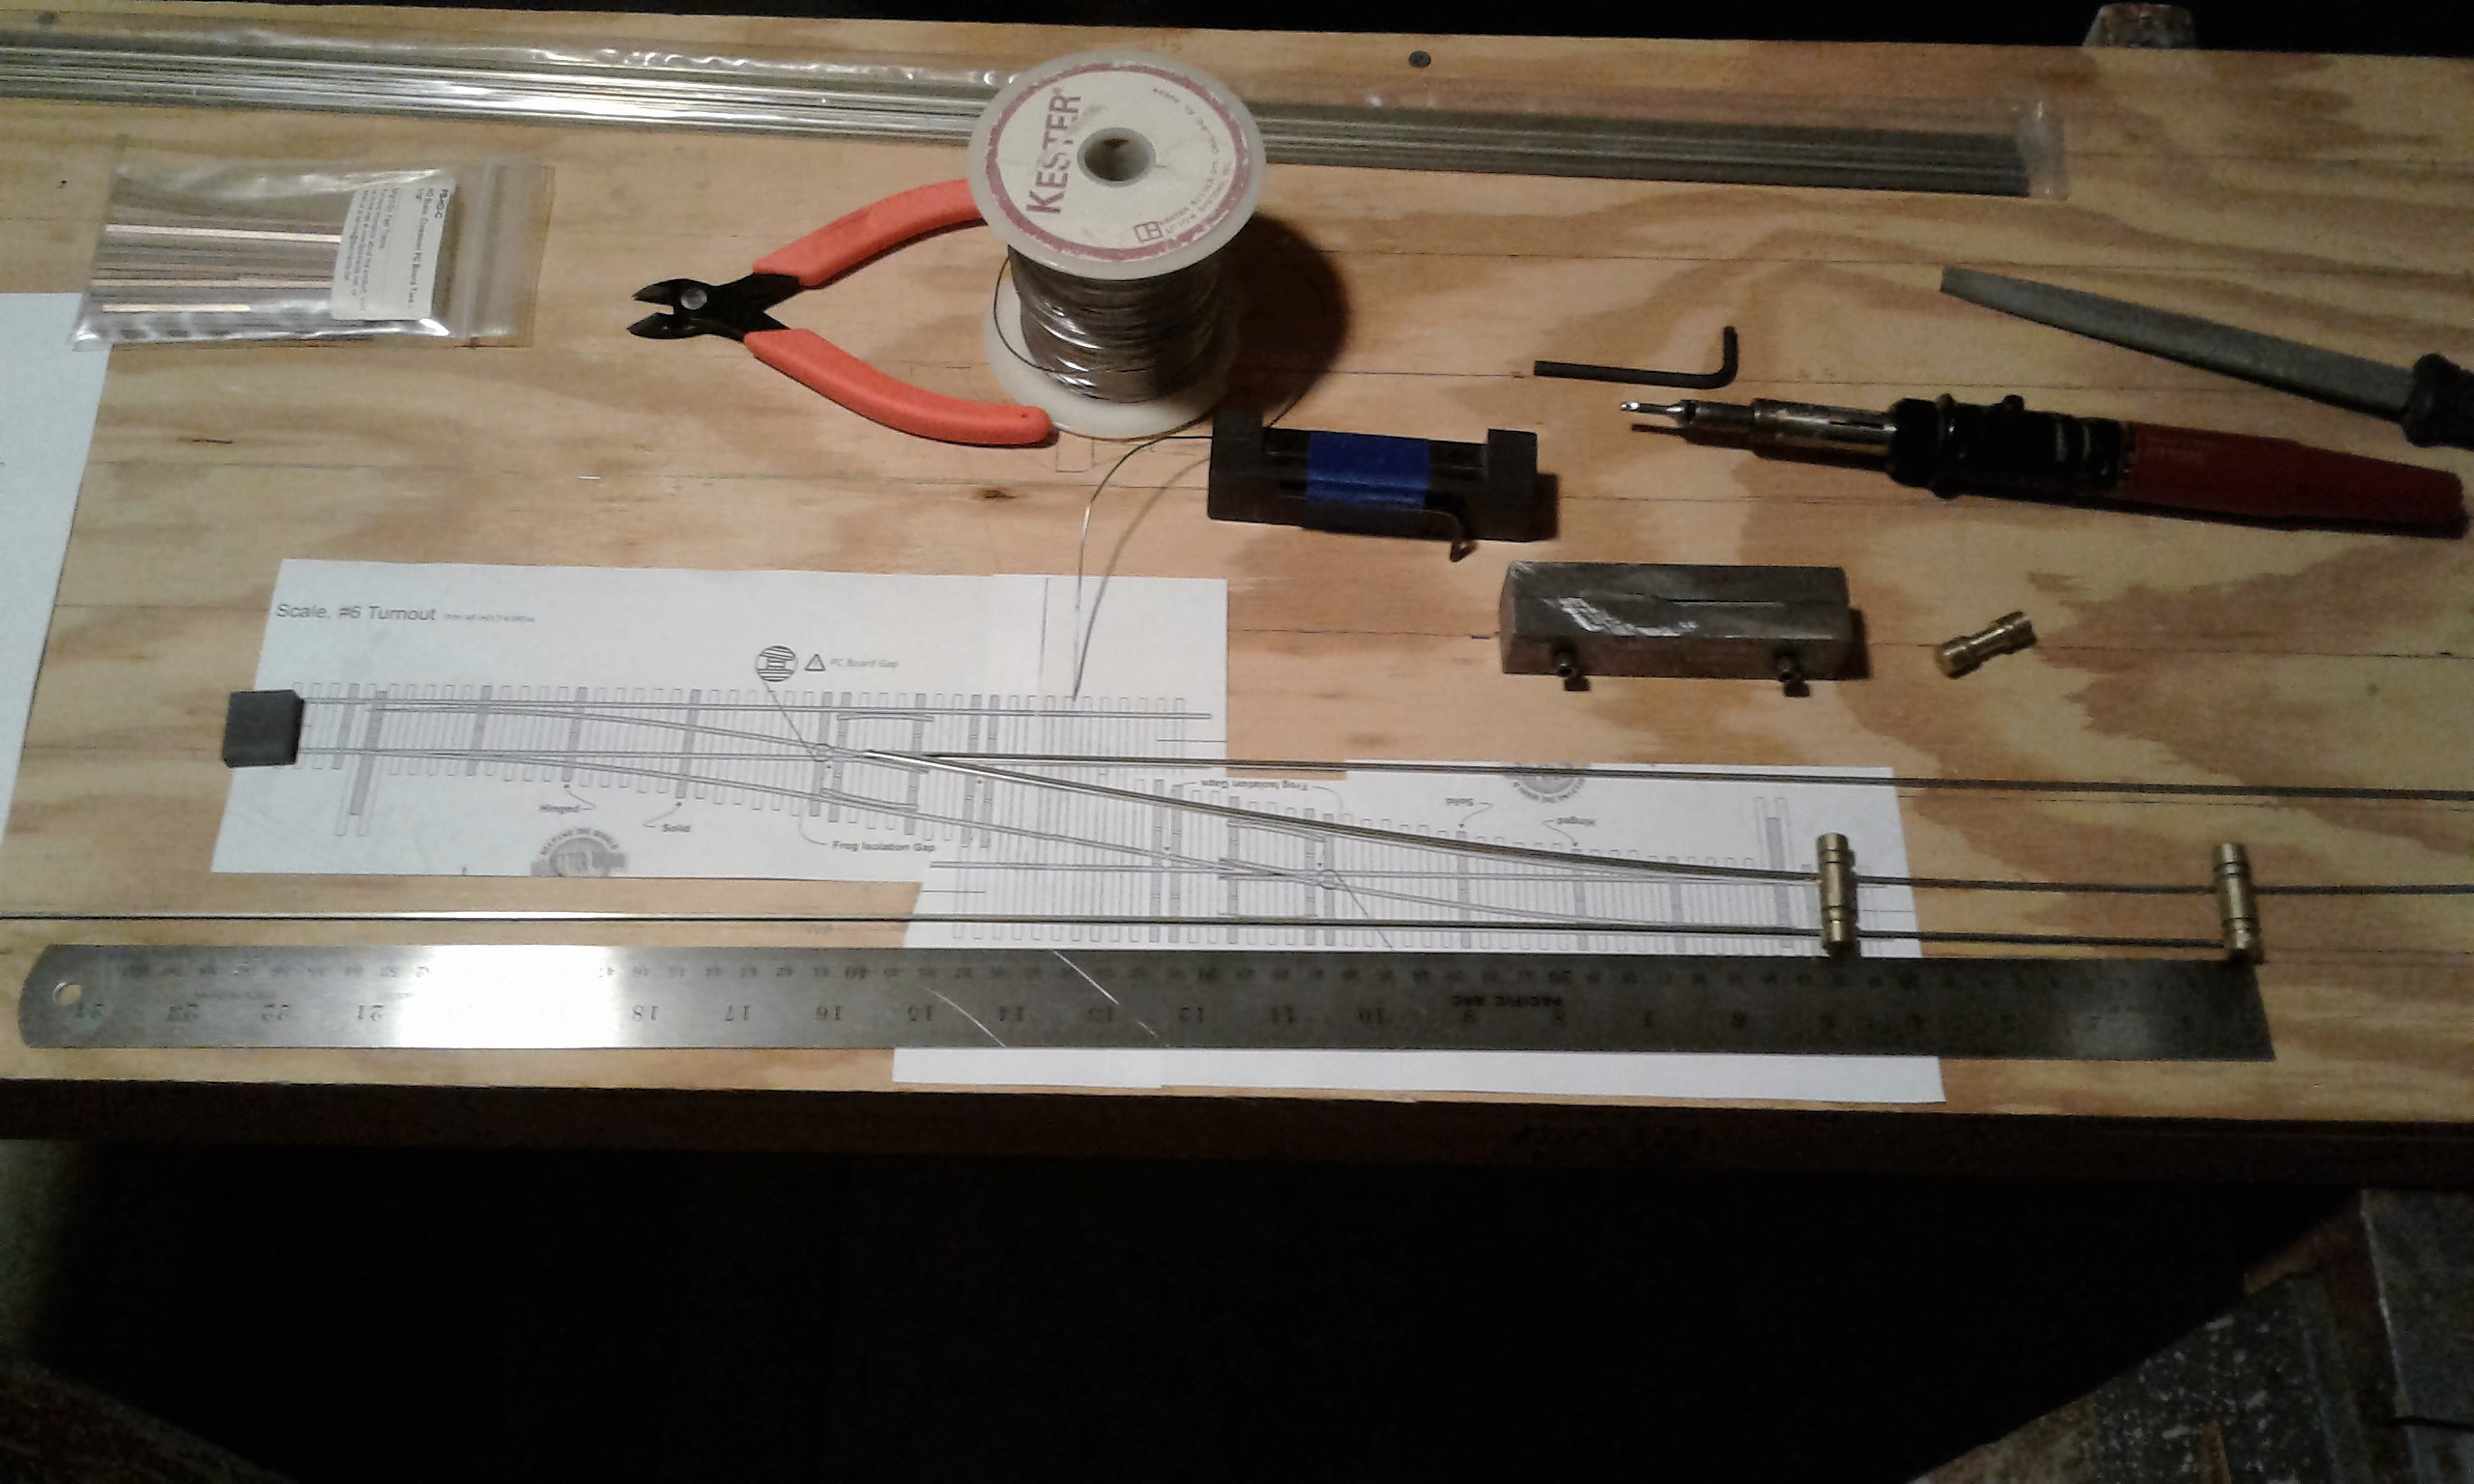 This shot shows the template that you can copy for free from Fast tracks and it is under the starting of the first turnout. I didn’t have any soldering paste so I had to stop for the night. The spacers were made from a brass door hinge pin that was cut to set the track on the gauntlet.
 On Saturday you couldn’t find any soldering paste in town. Lucky for me, the local bolt store just got an order in that Friday. I’m making a cross-over between the three rails because some of the modules are still two rails. The club is converting to three rails. I have till December to make them.
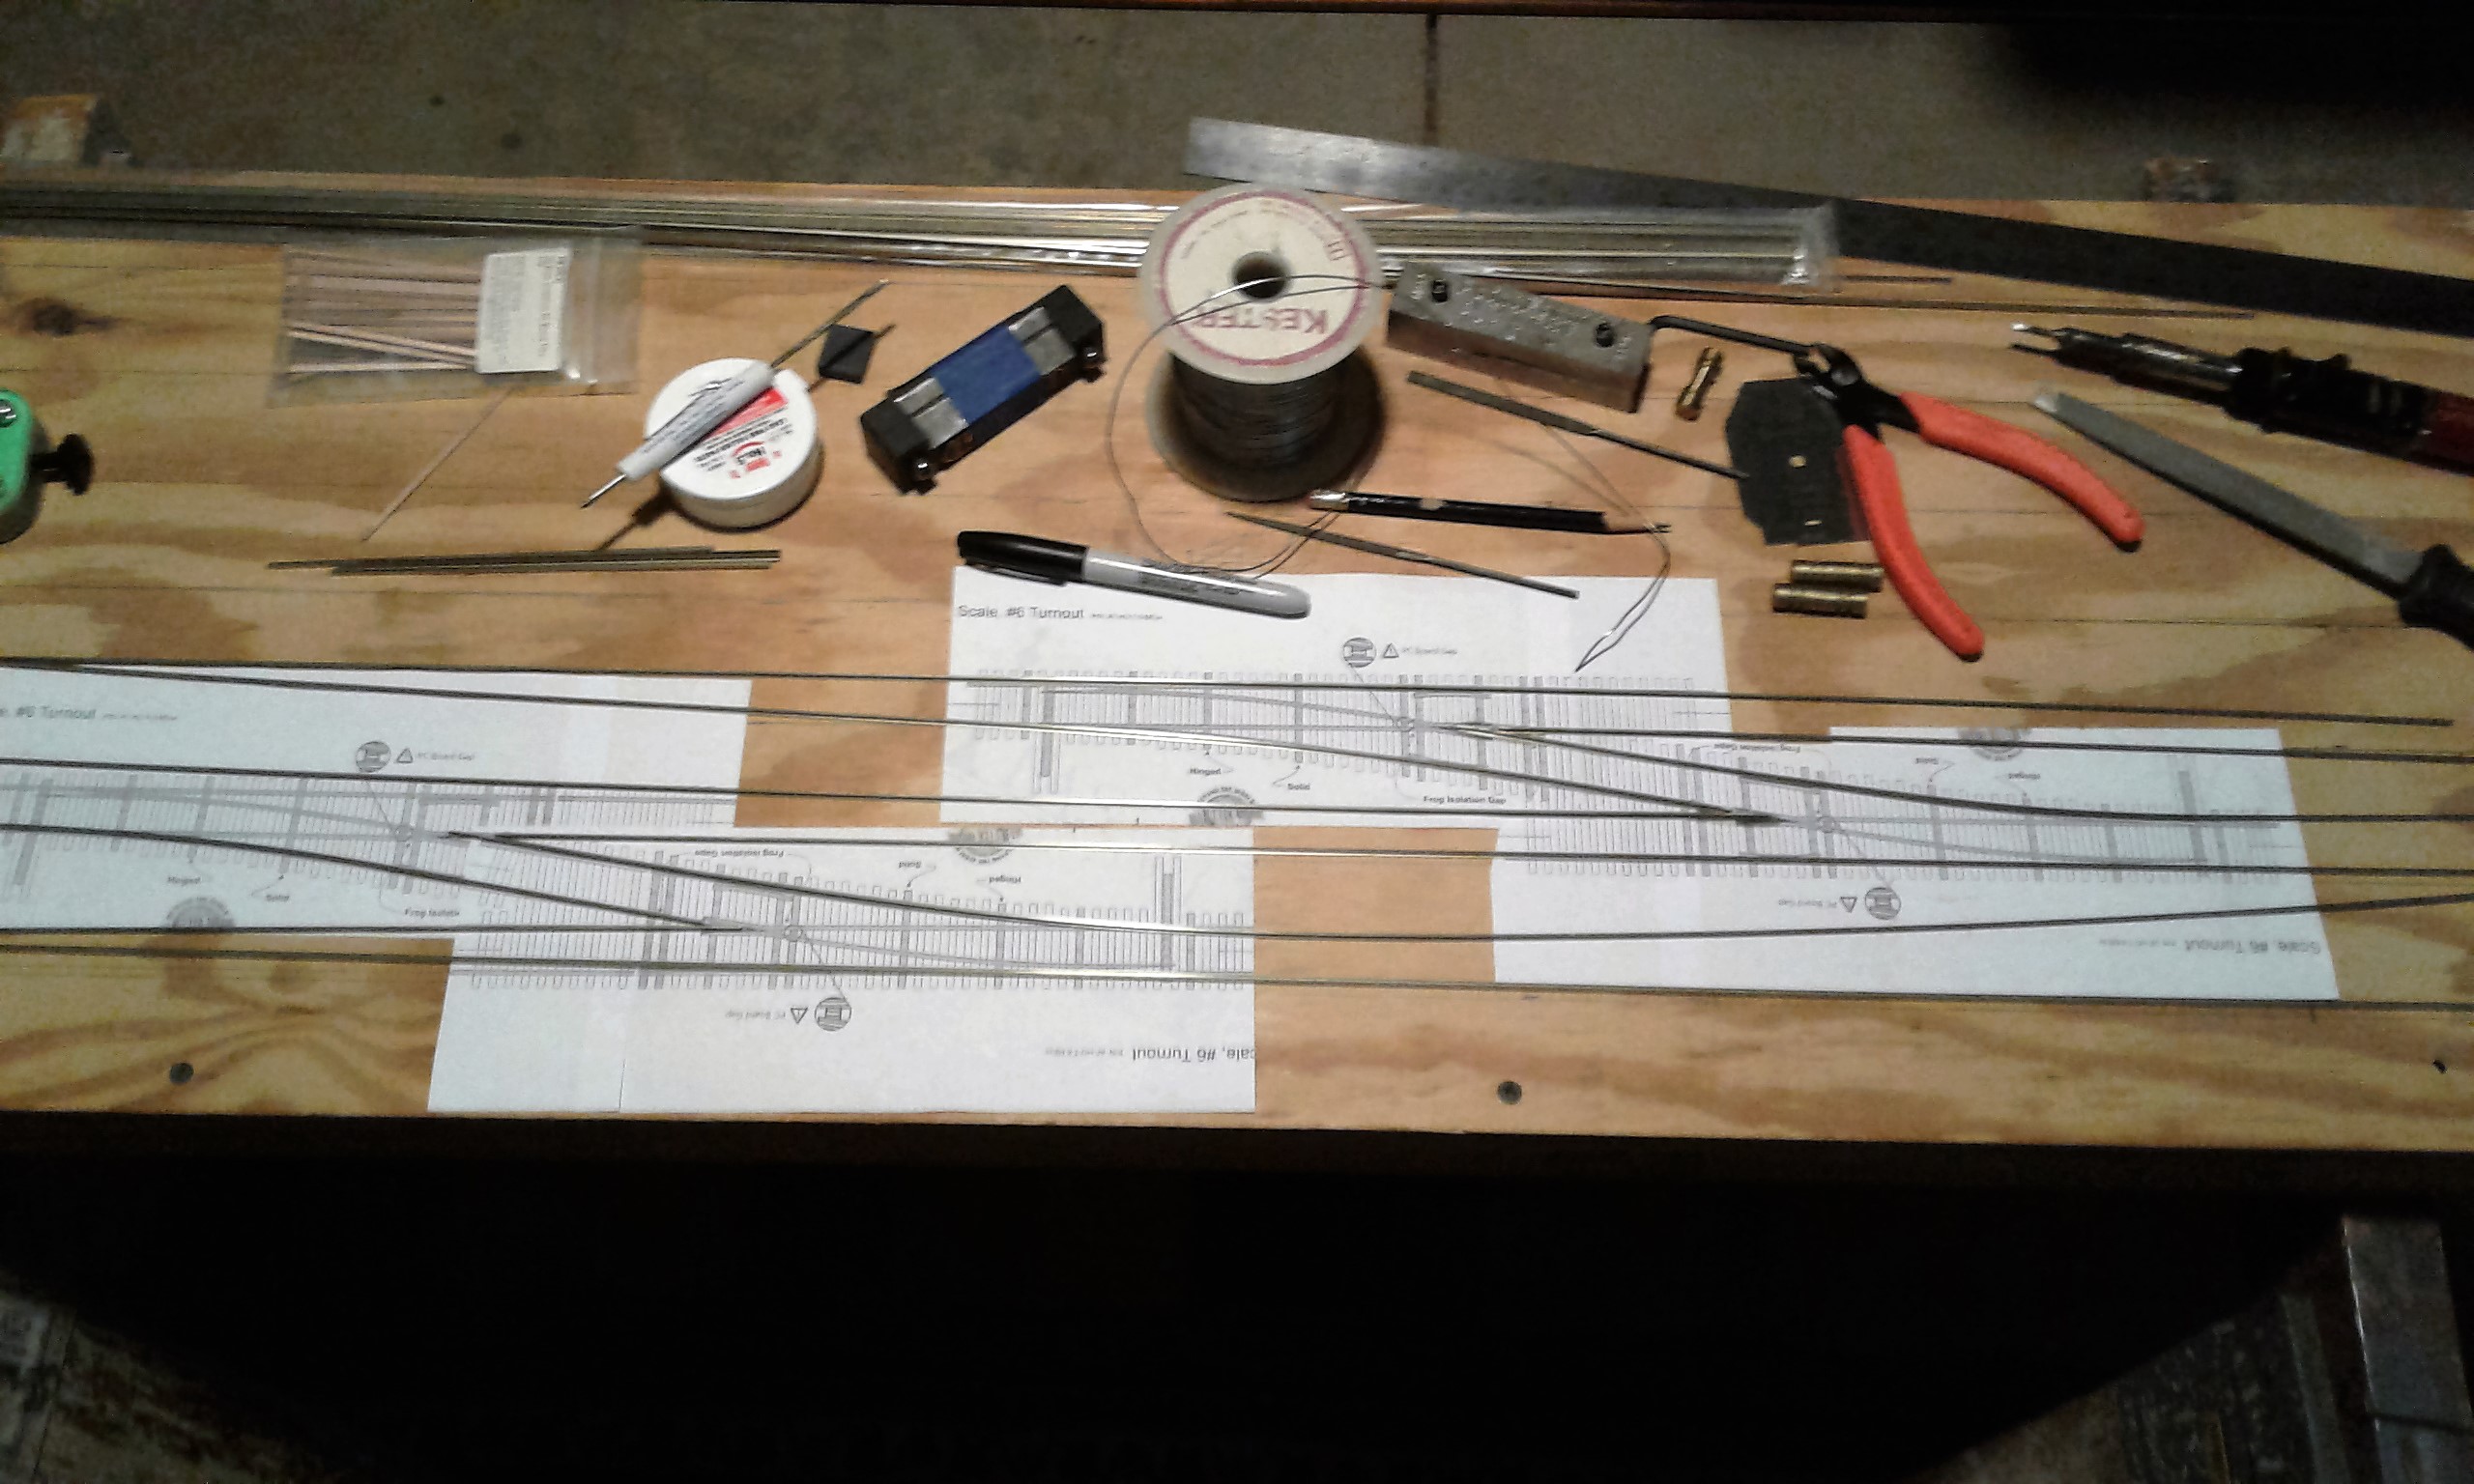
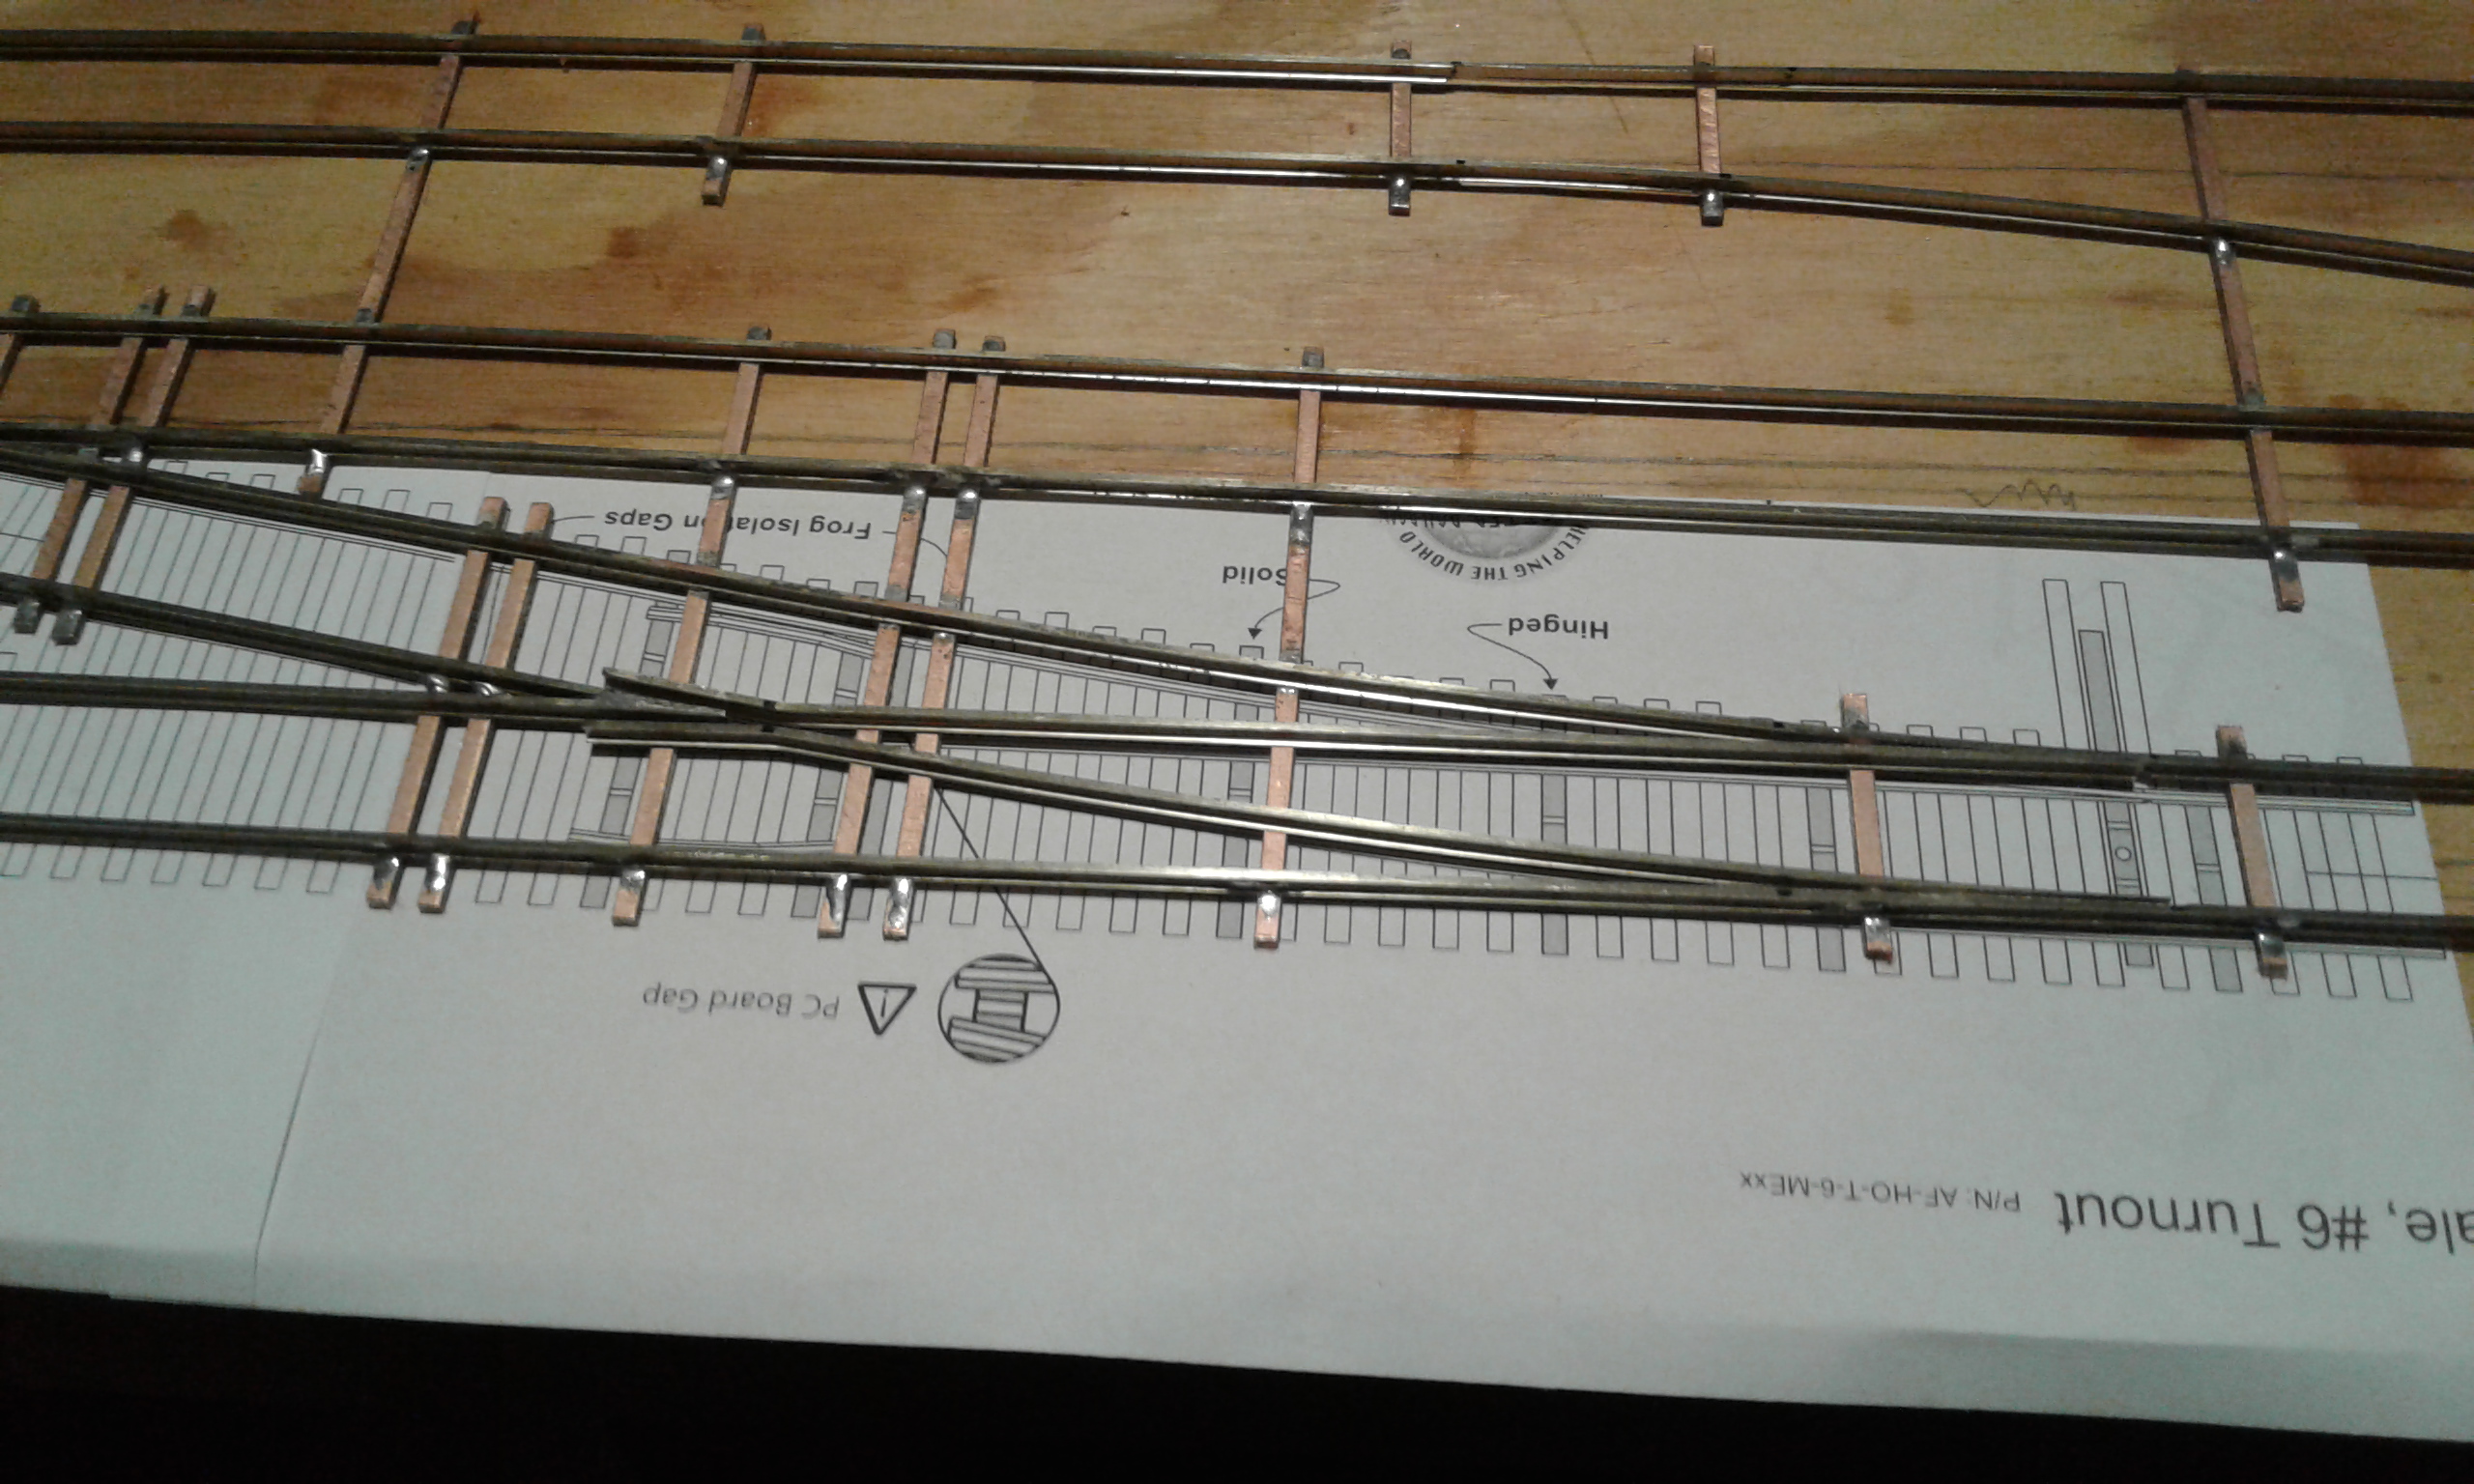
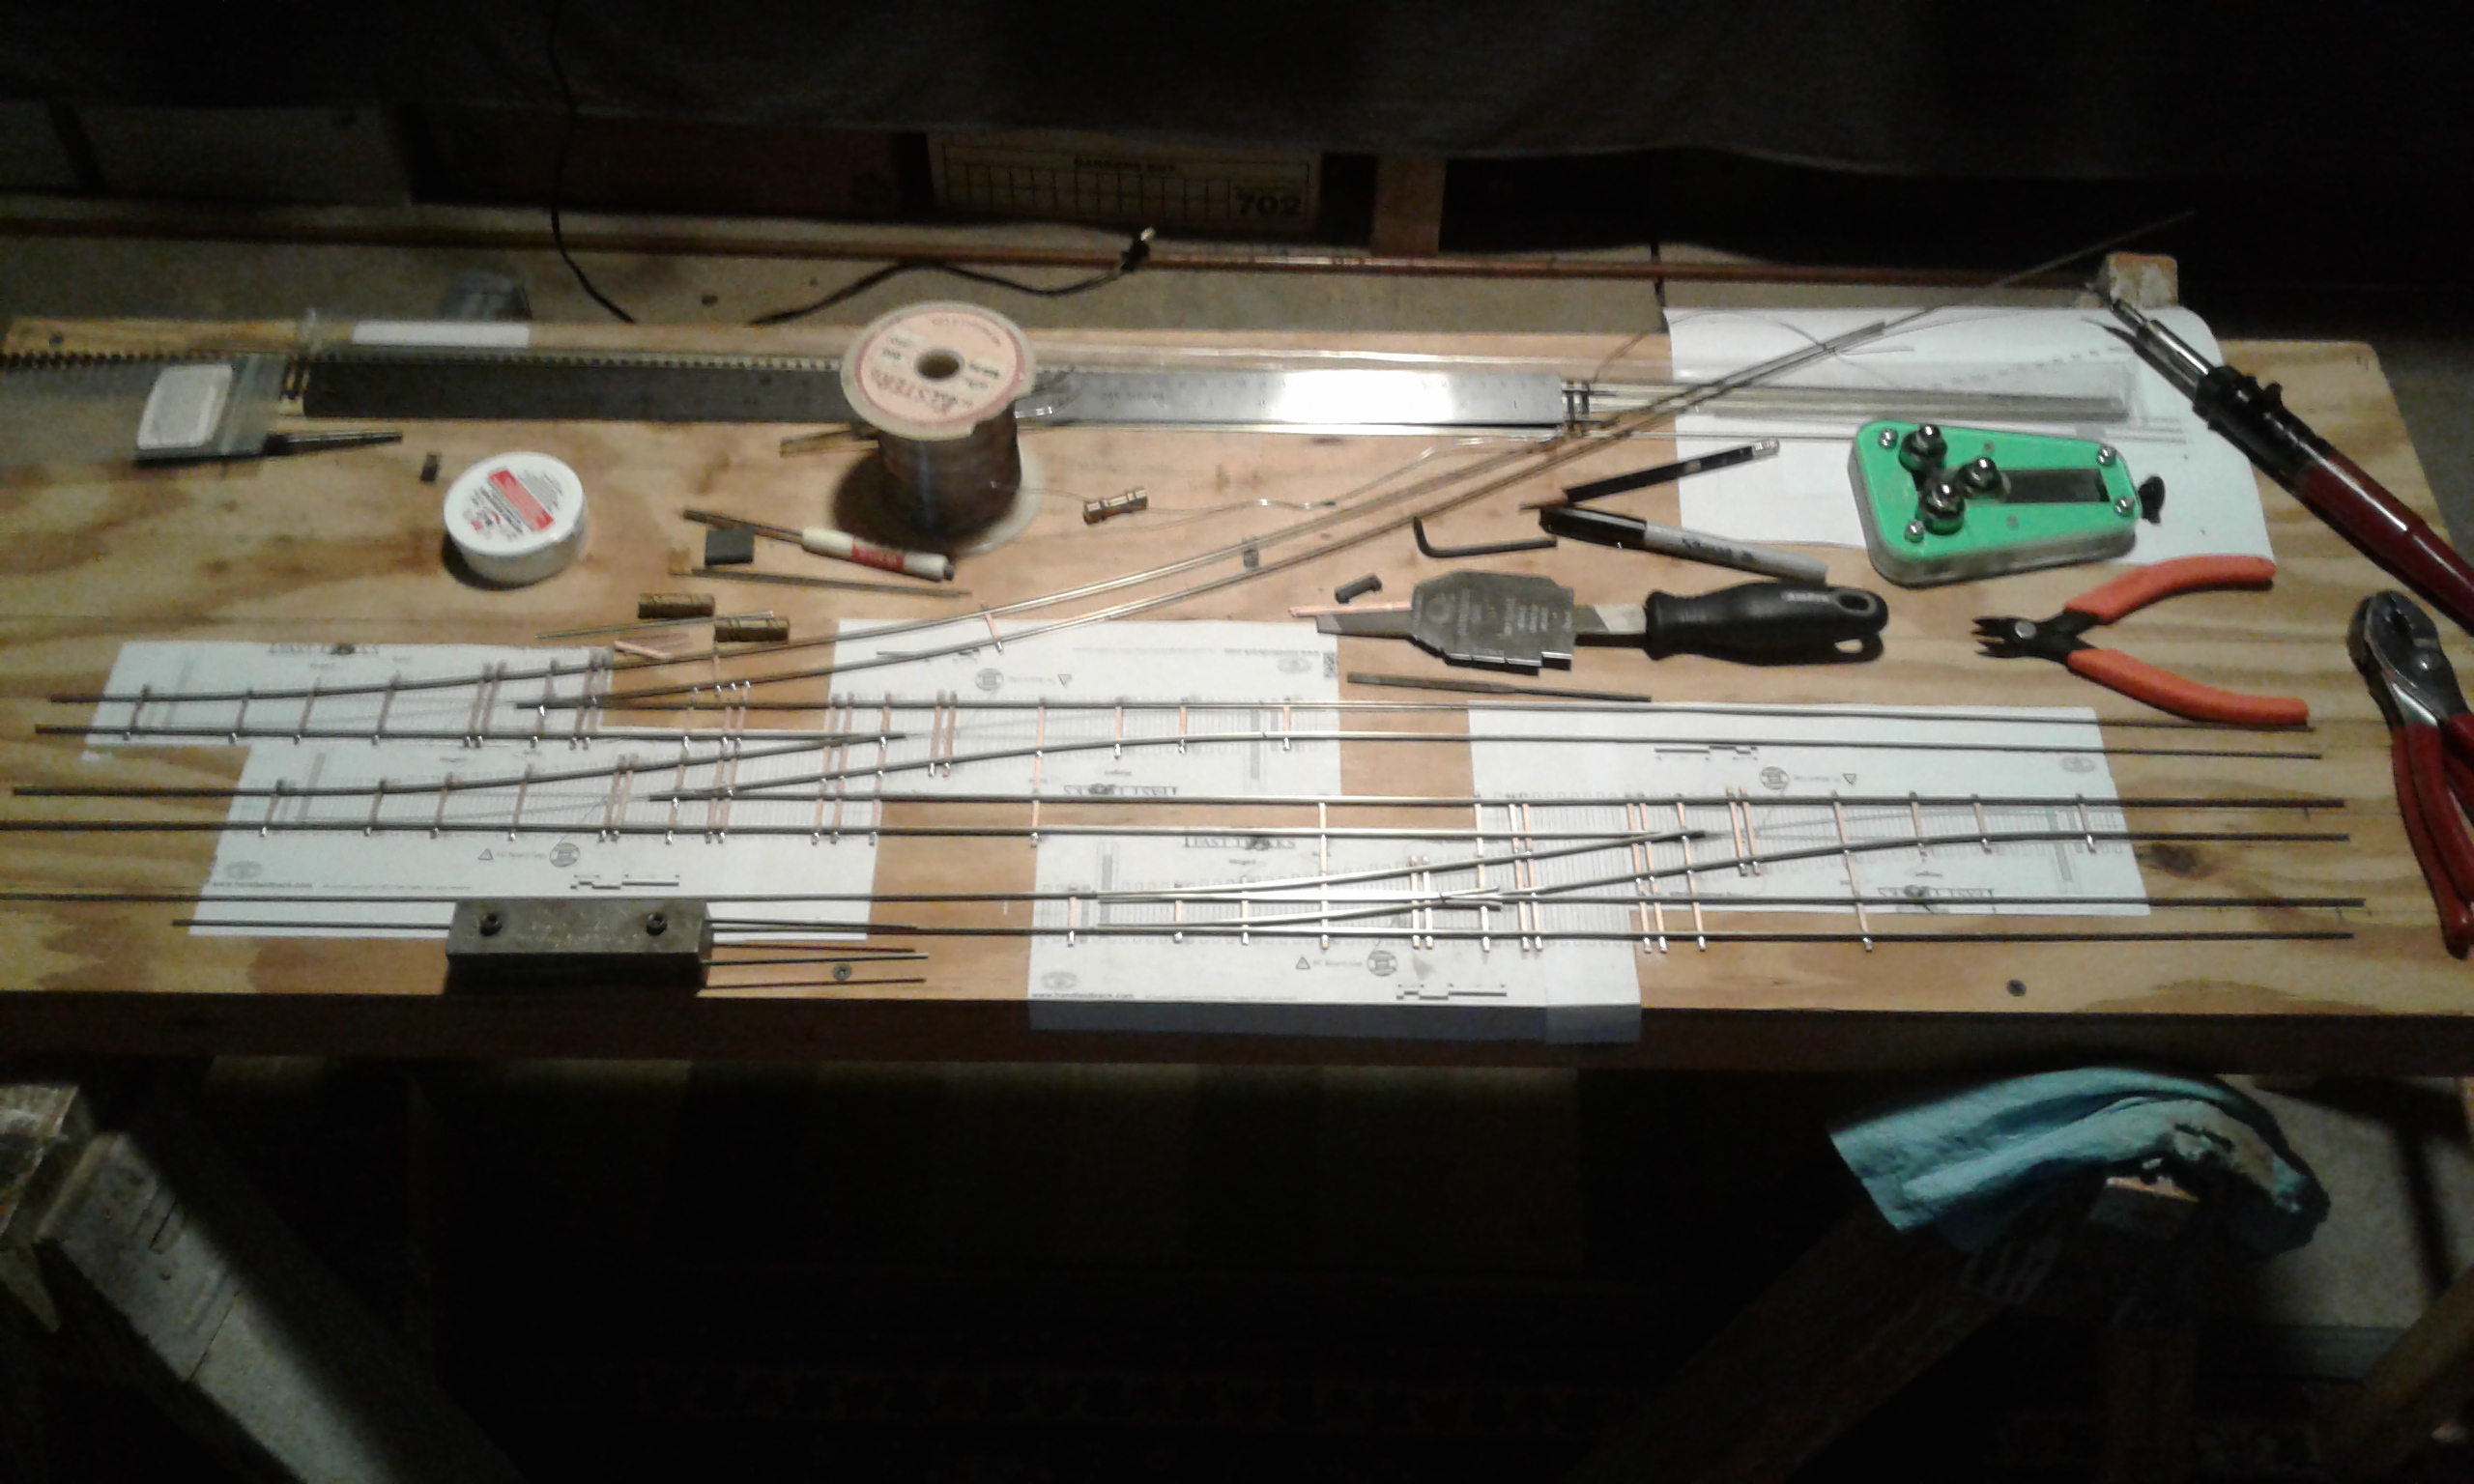
 After a great deal of work I have started to solder the rails together. There are small copper-backed rail ties that hold the track in place. Not all the track is connected together.
 It almost looks like the top photo but the track is now all locked into place.
All that is left to fill in is the switch points and guard rails.
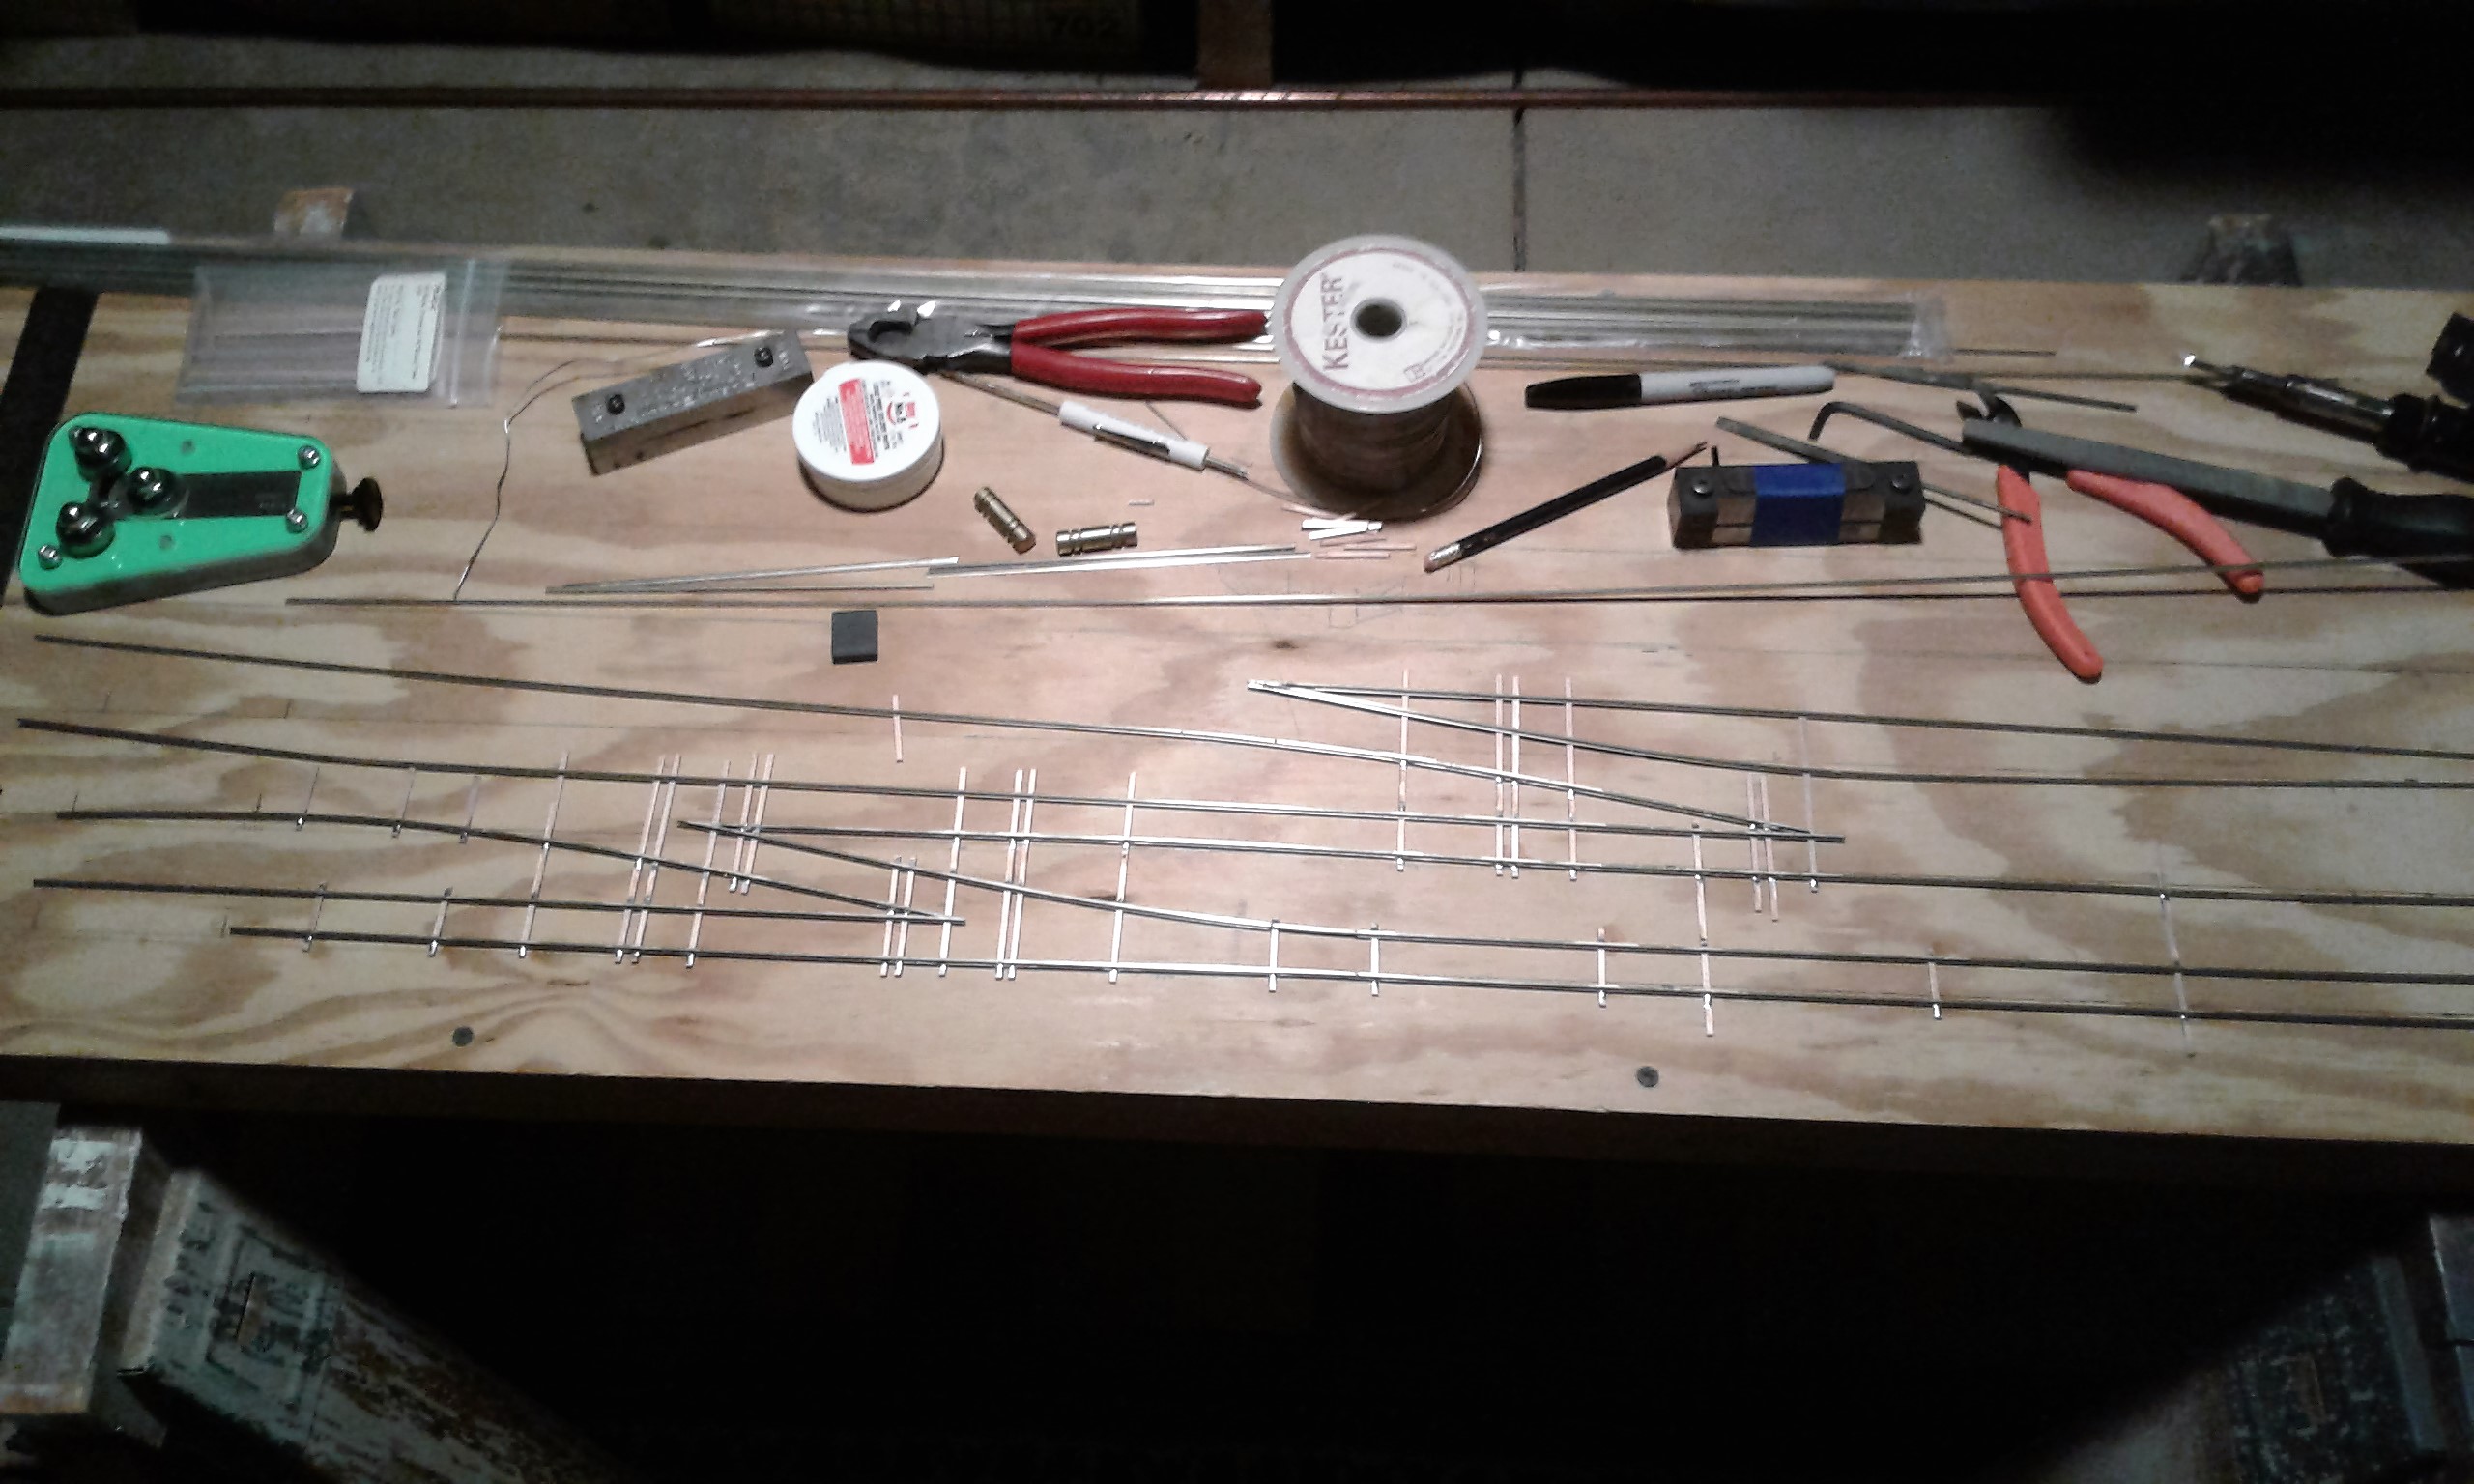
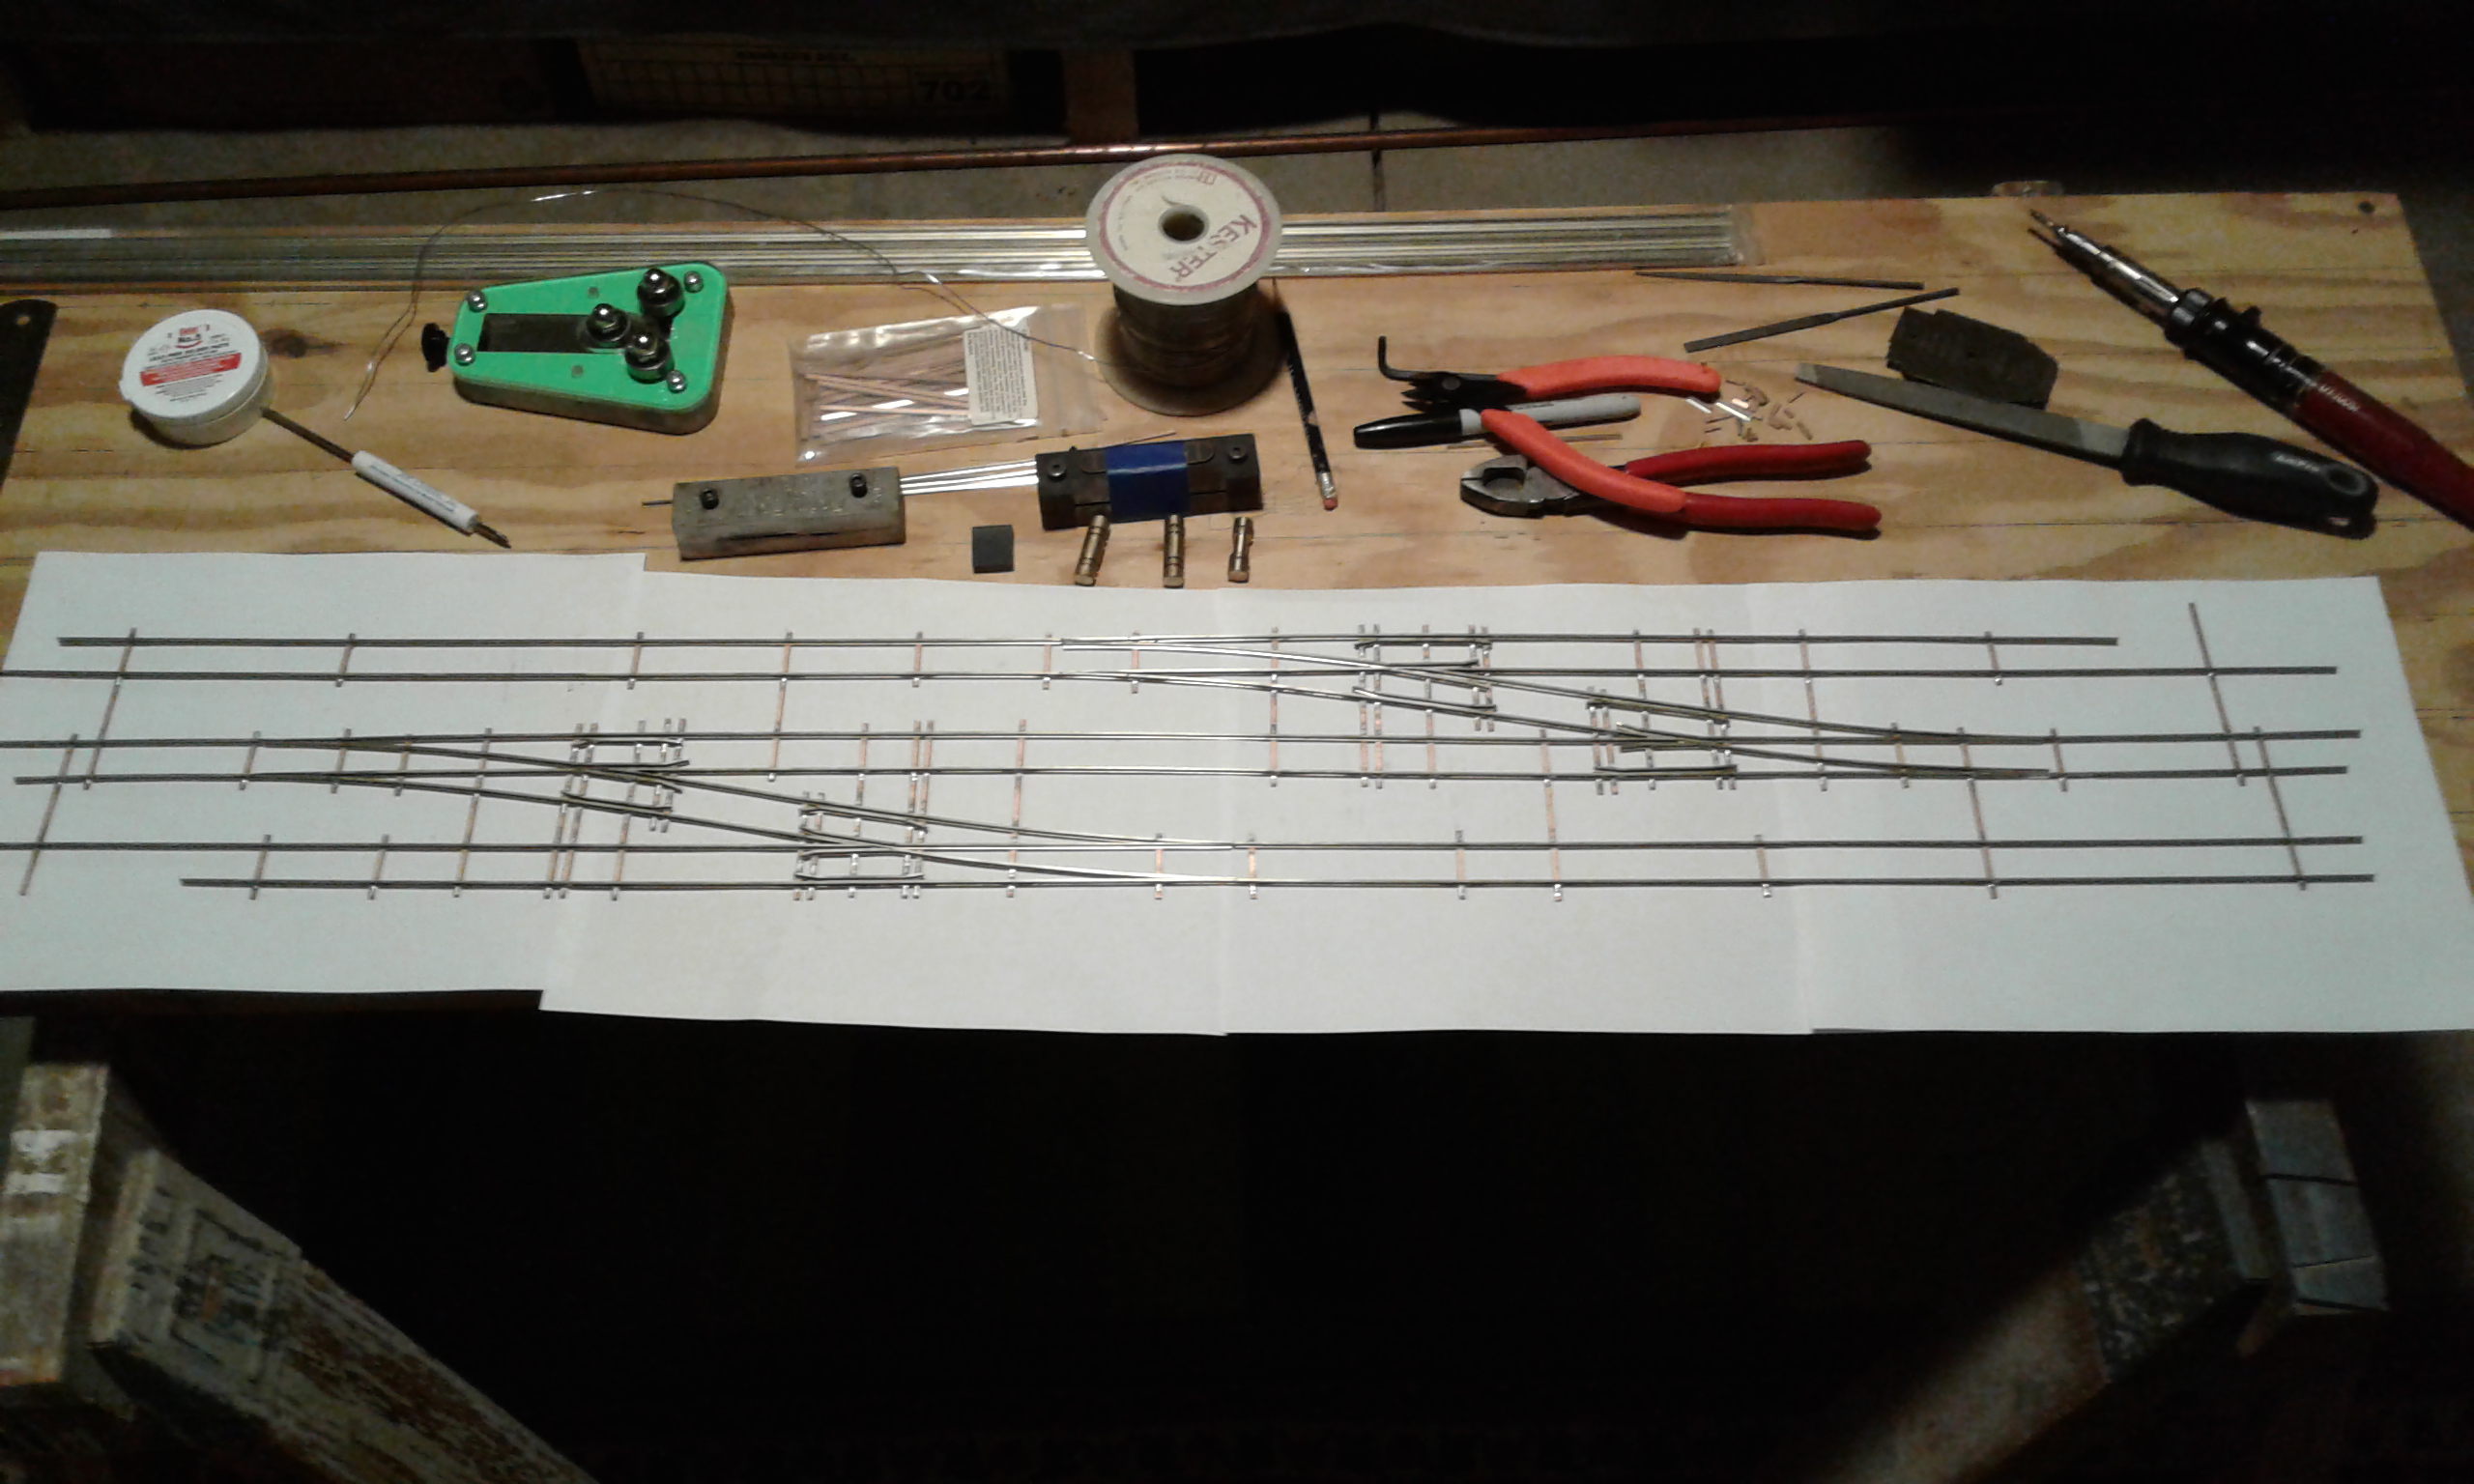
 It looks better when it’s sitting on the paper. Two of the switches are almost complete and the other two are waiting to be done. It takes time to get everything set into place with the switches in gauge. This is all hand built without a jig to set the track into.
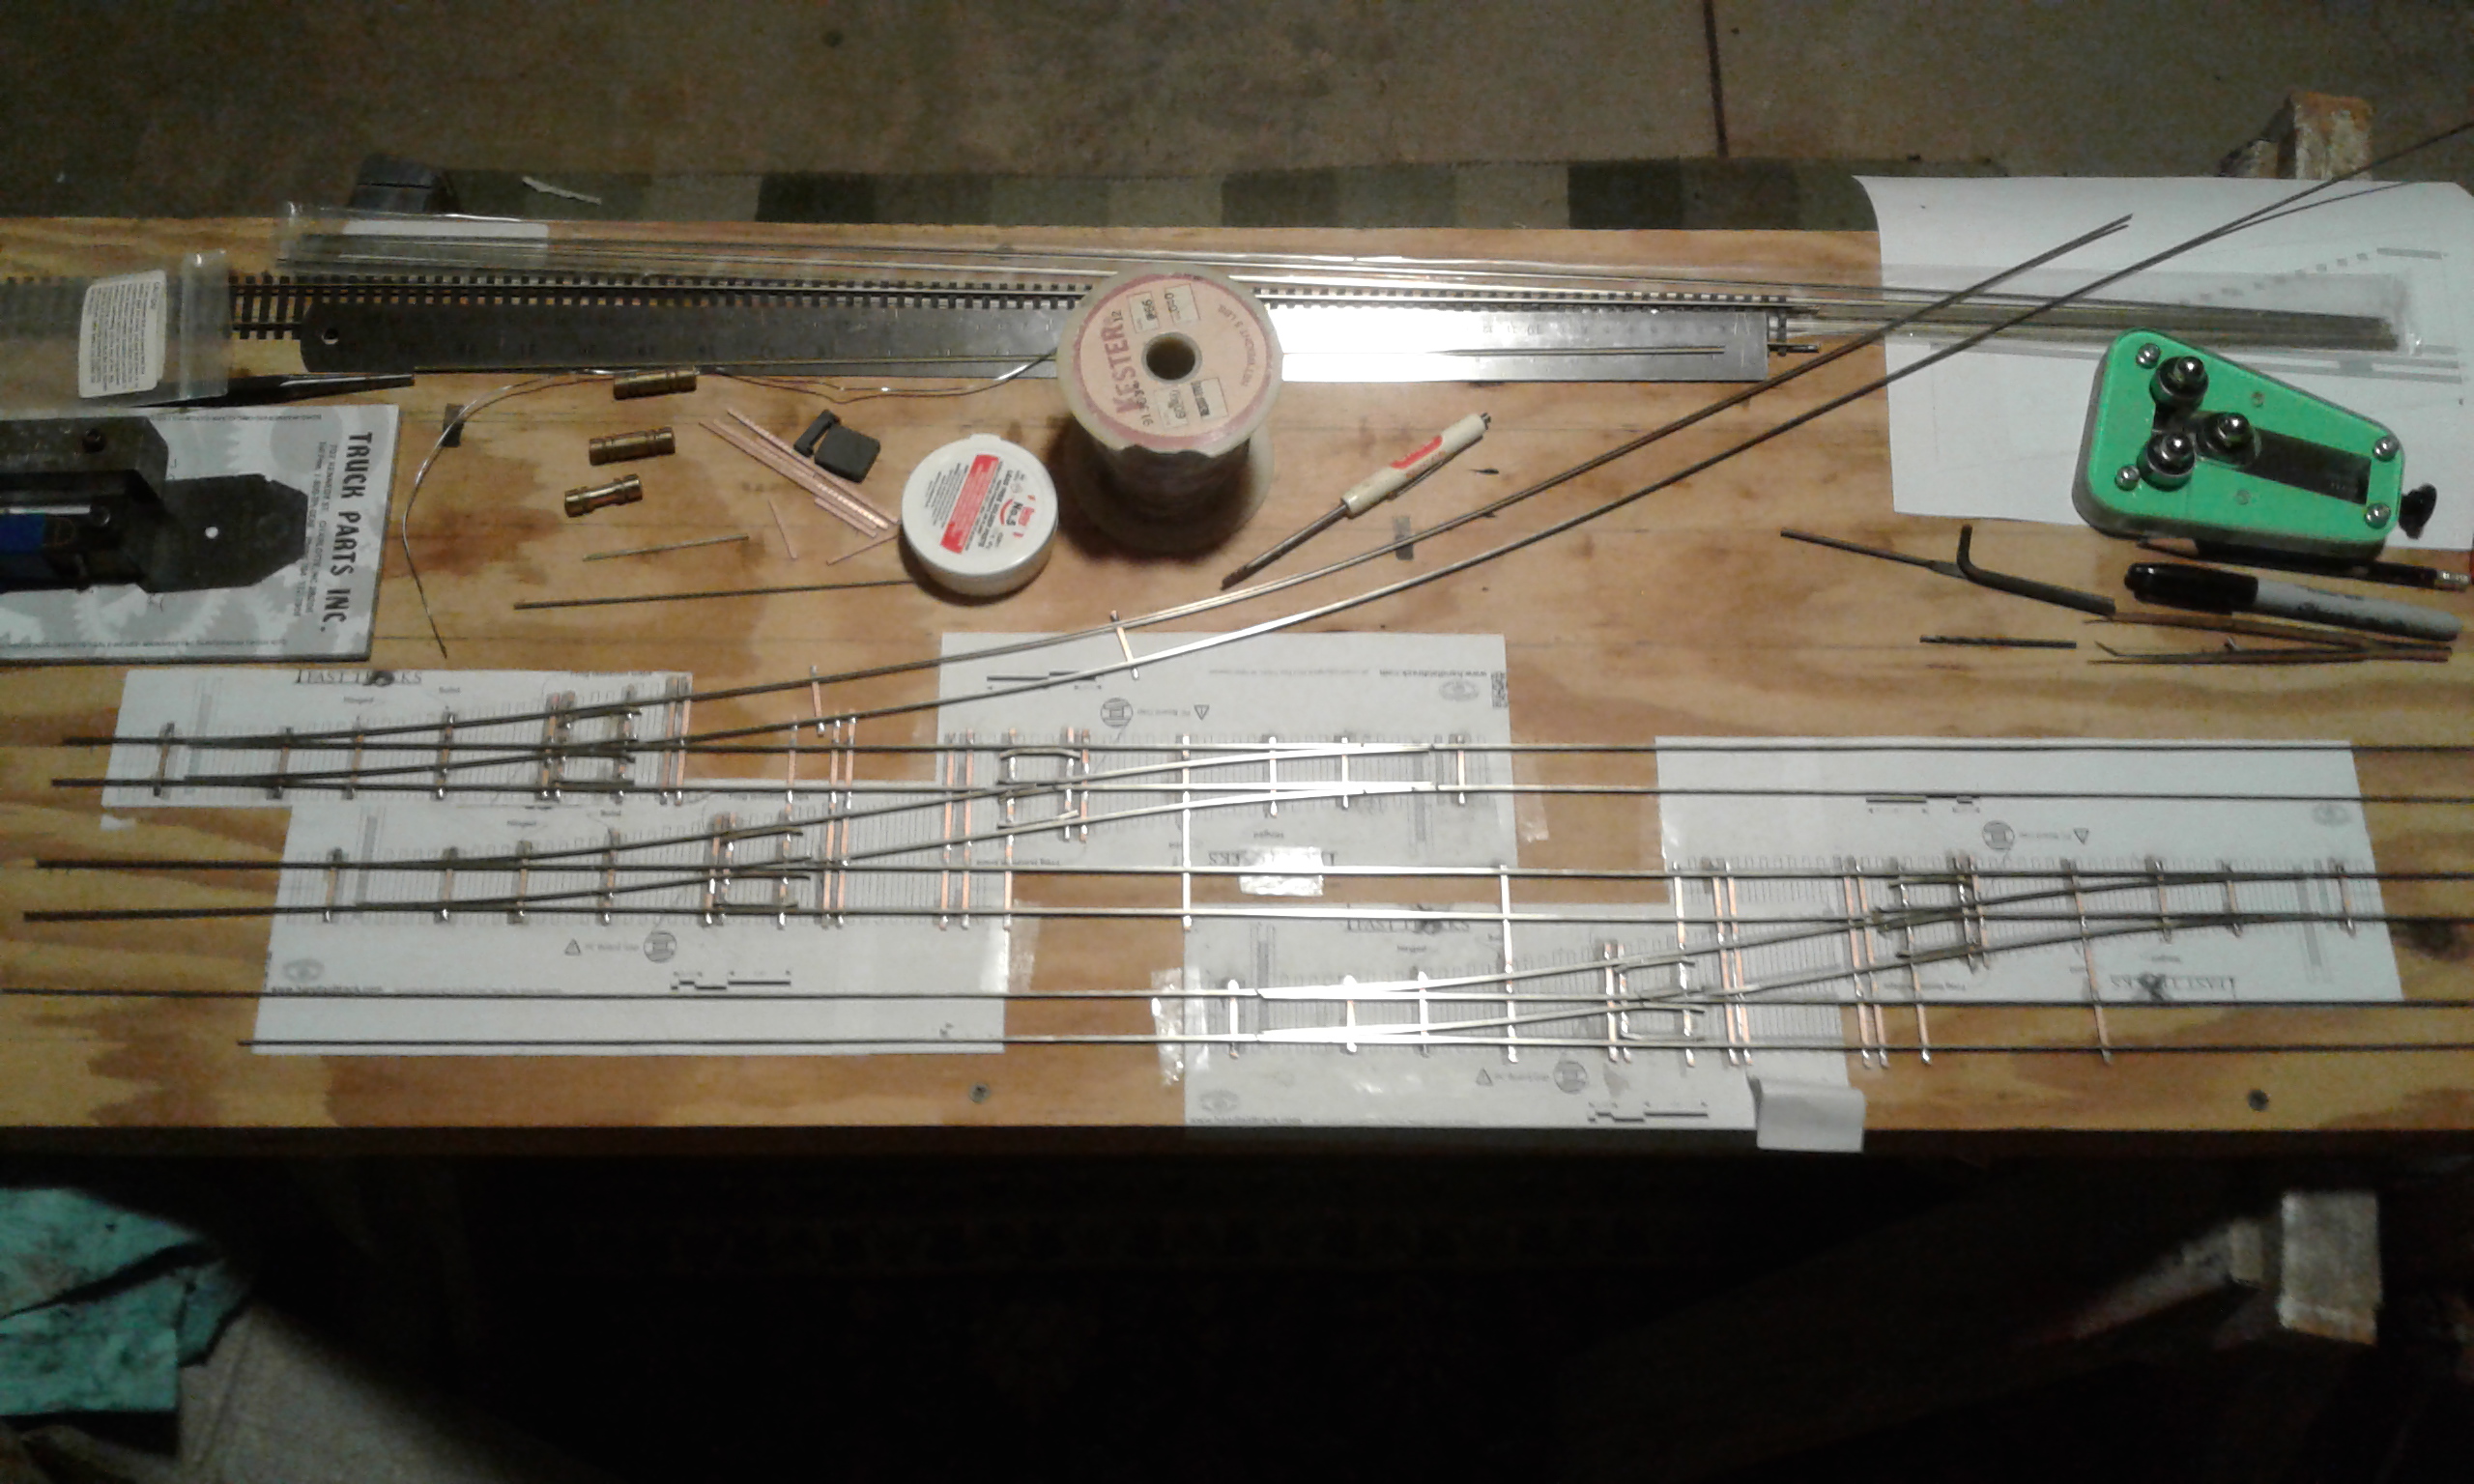
So far my test of running a flat car through the switches has worked with no problems.
 All four switches are done except for the points slides. Instead of extending the two tracks that are short and the points. I will turn to building the frame to hold the track. I’m keeping track of my hours, and so far I have 19 hours in.
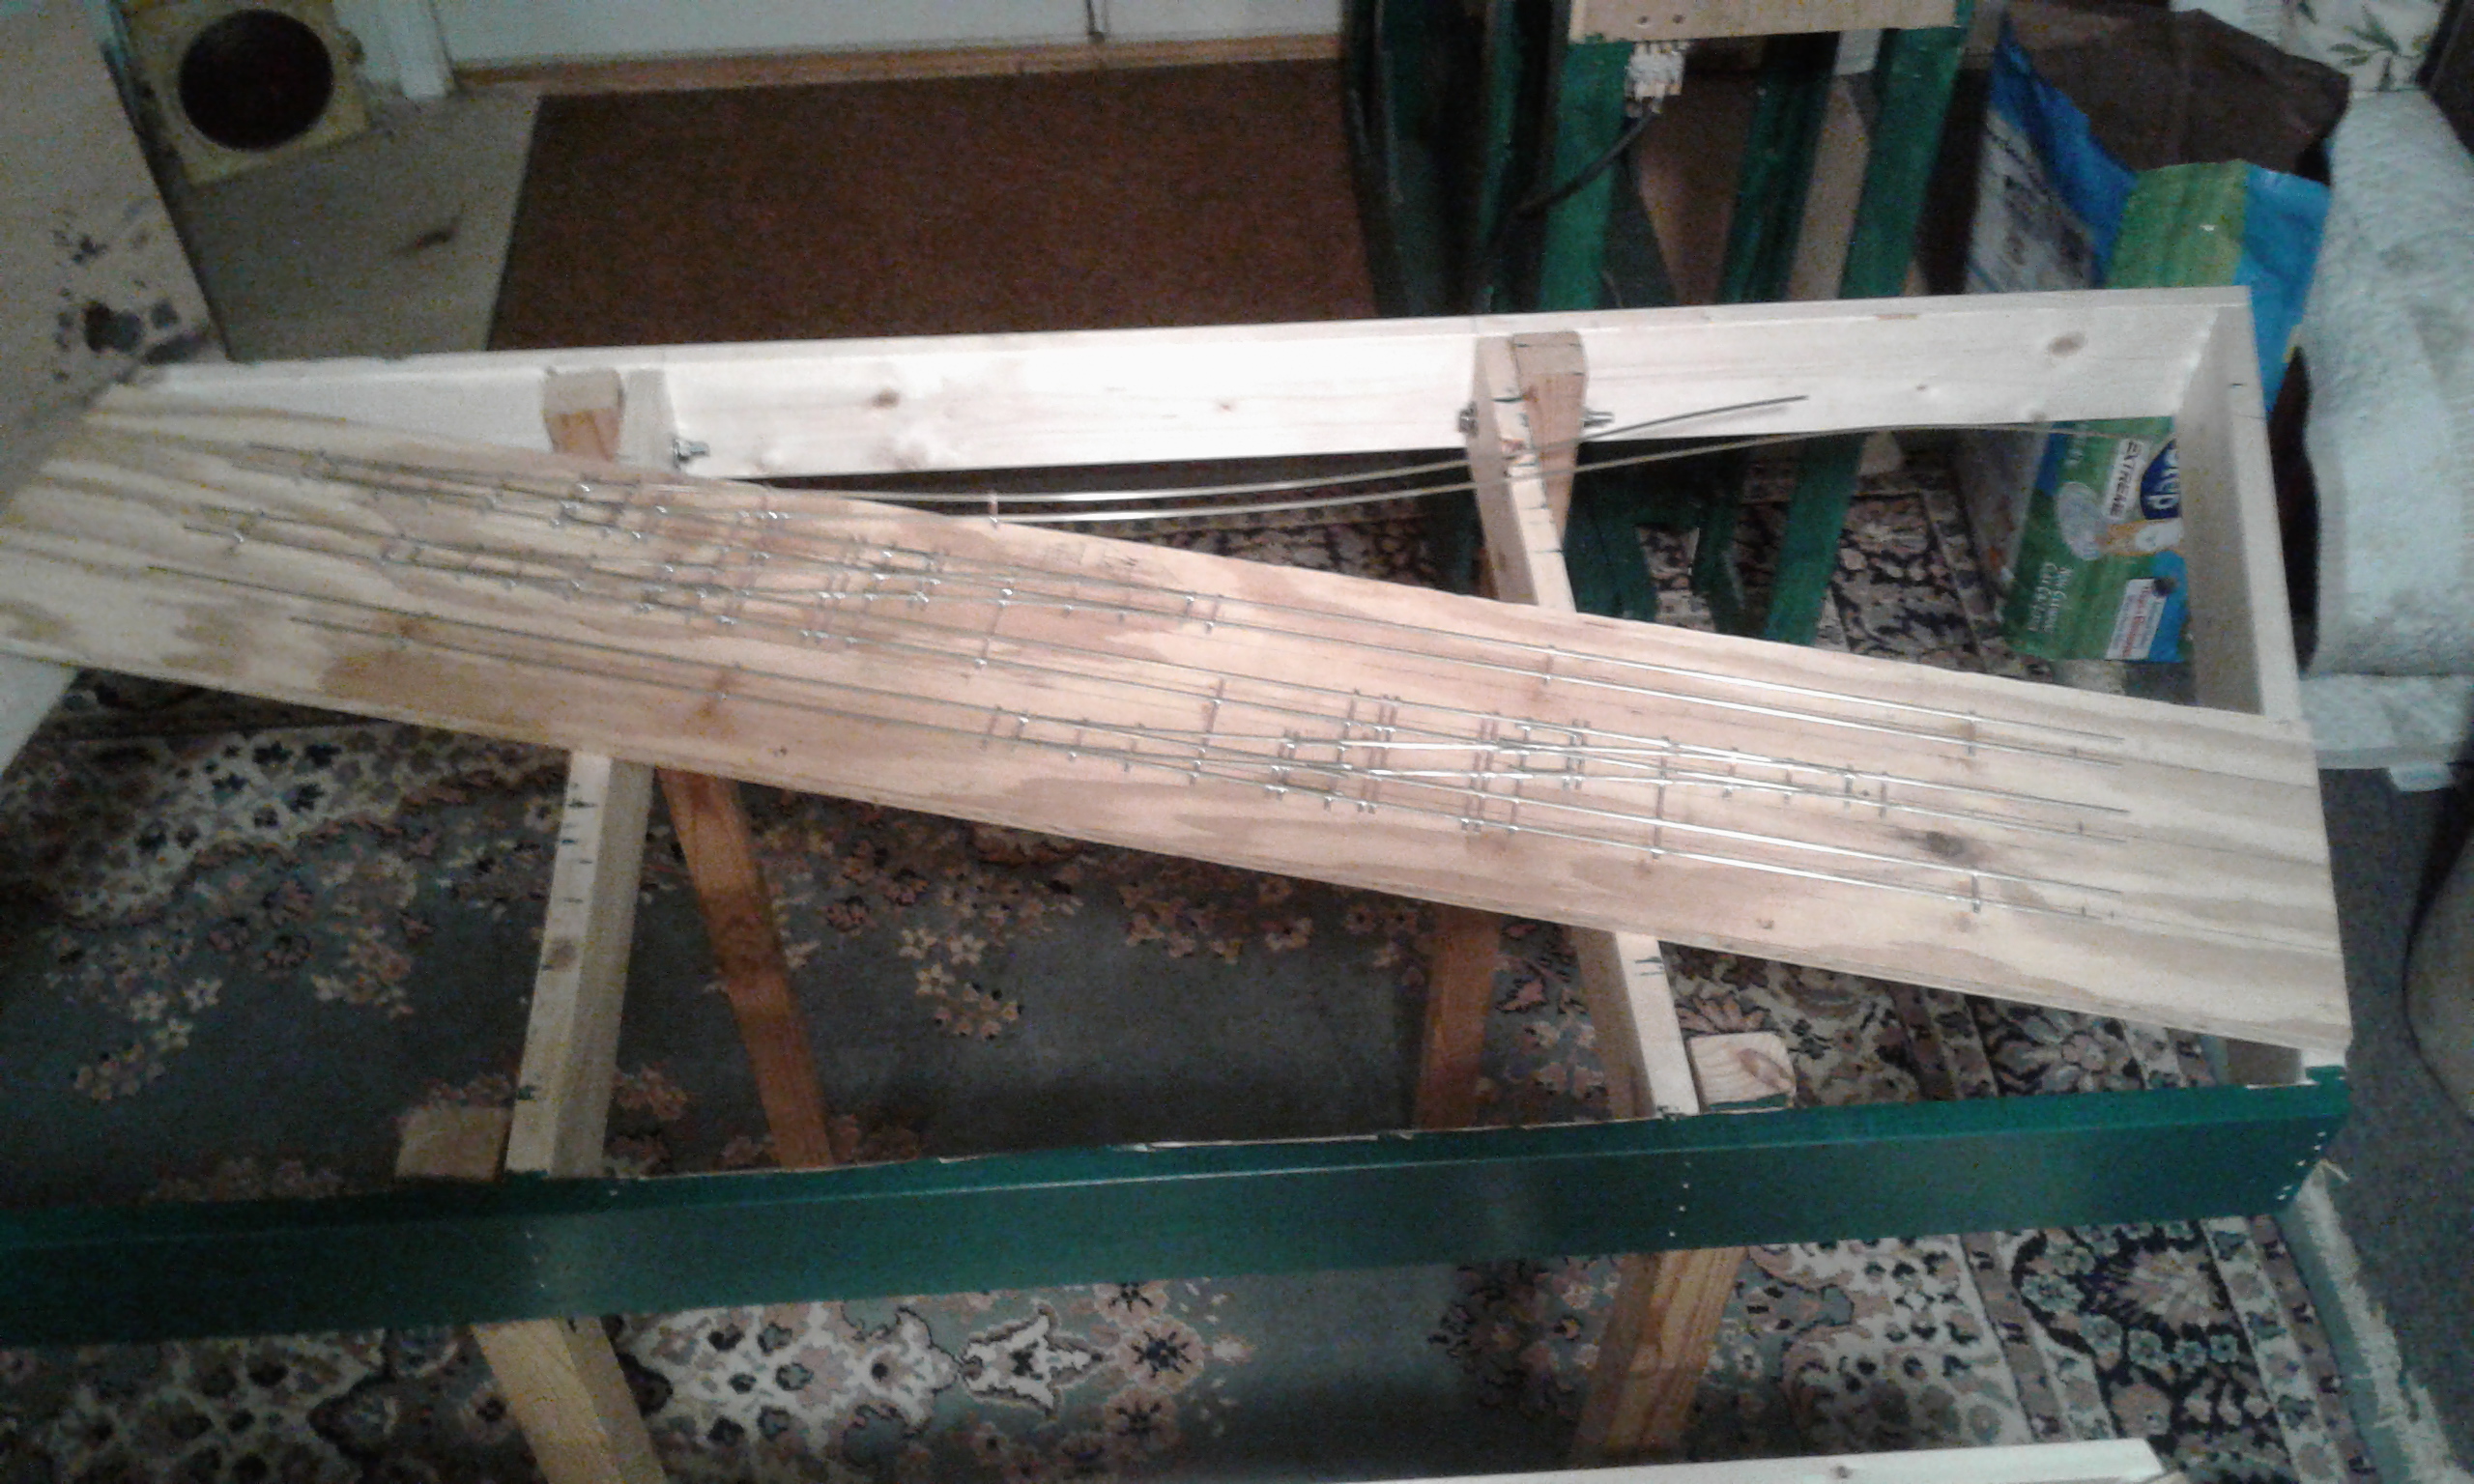
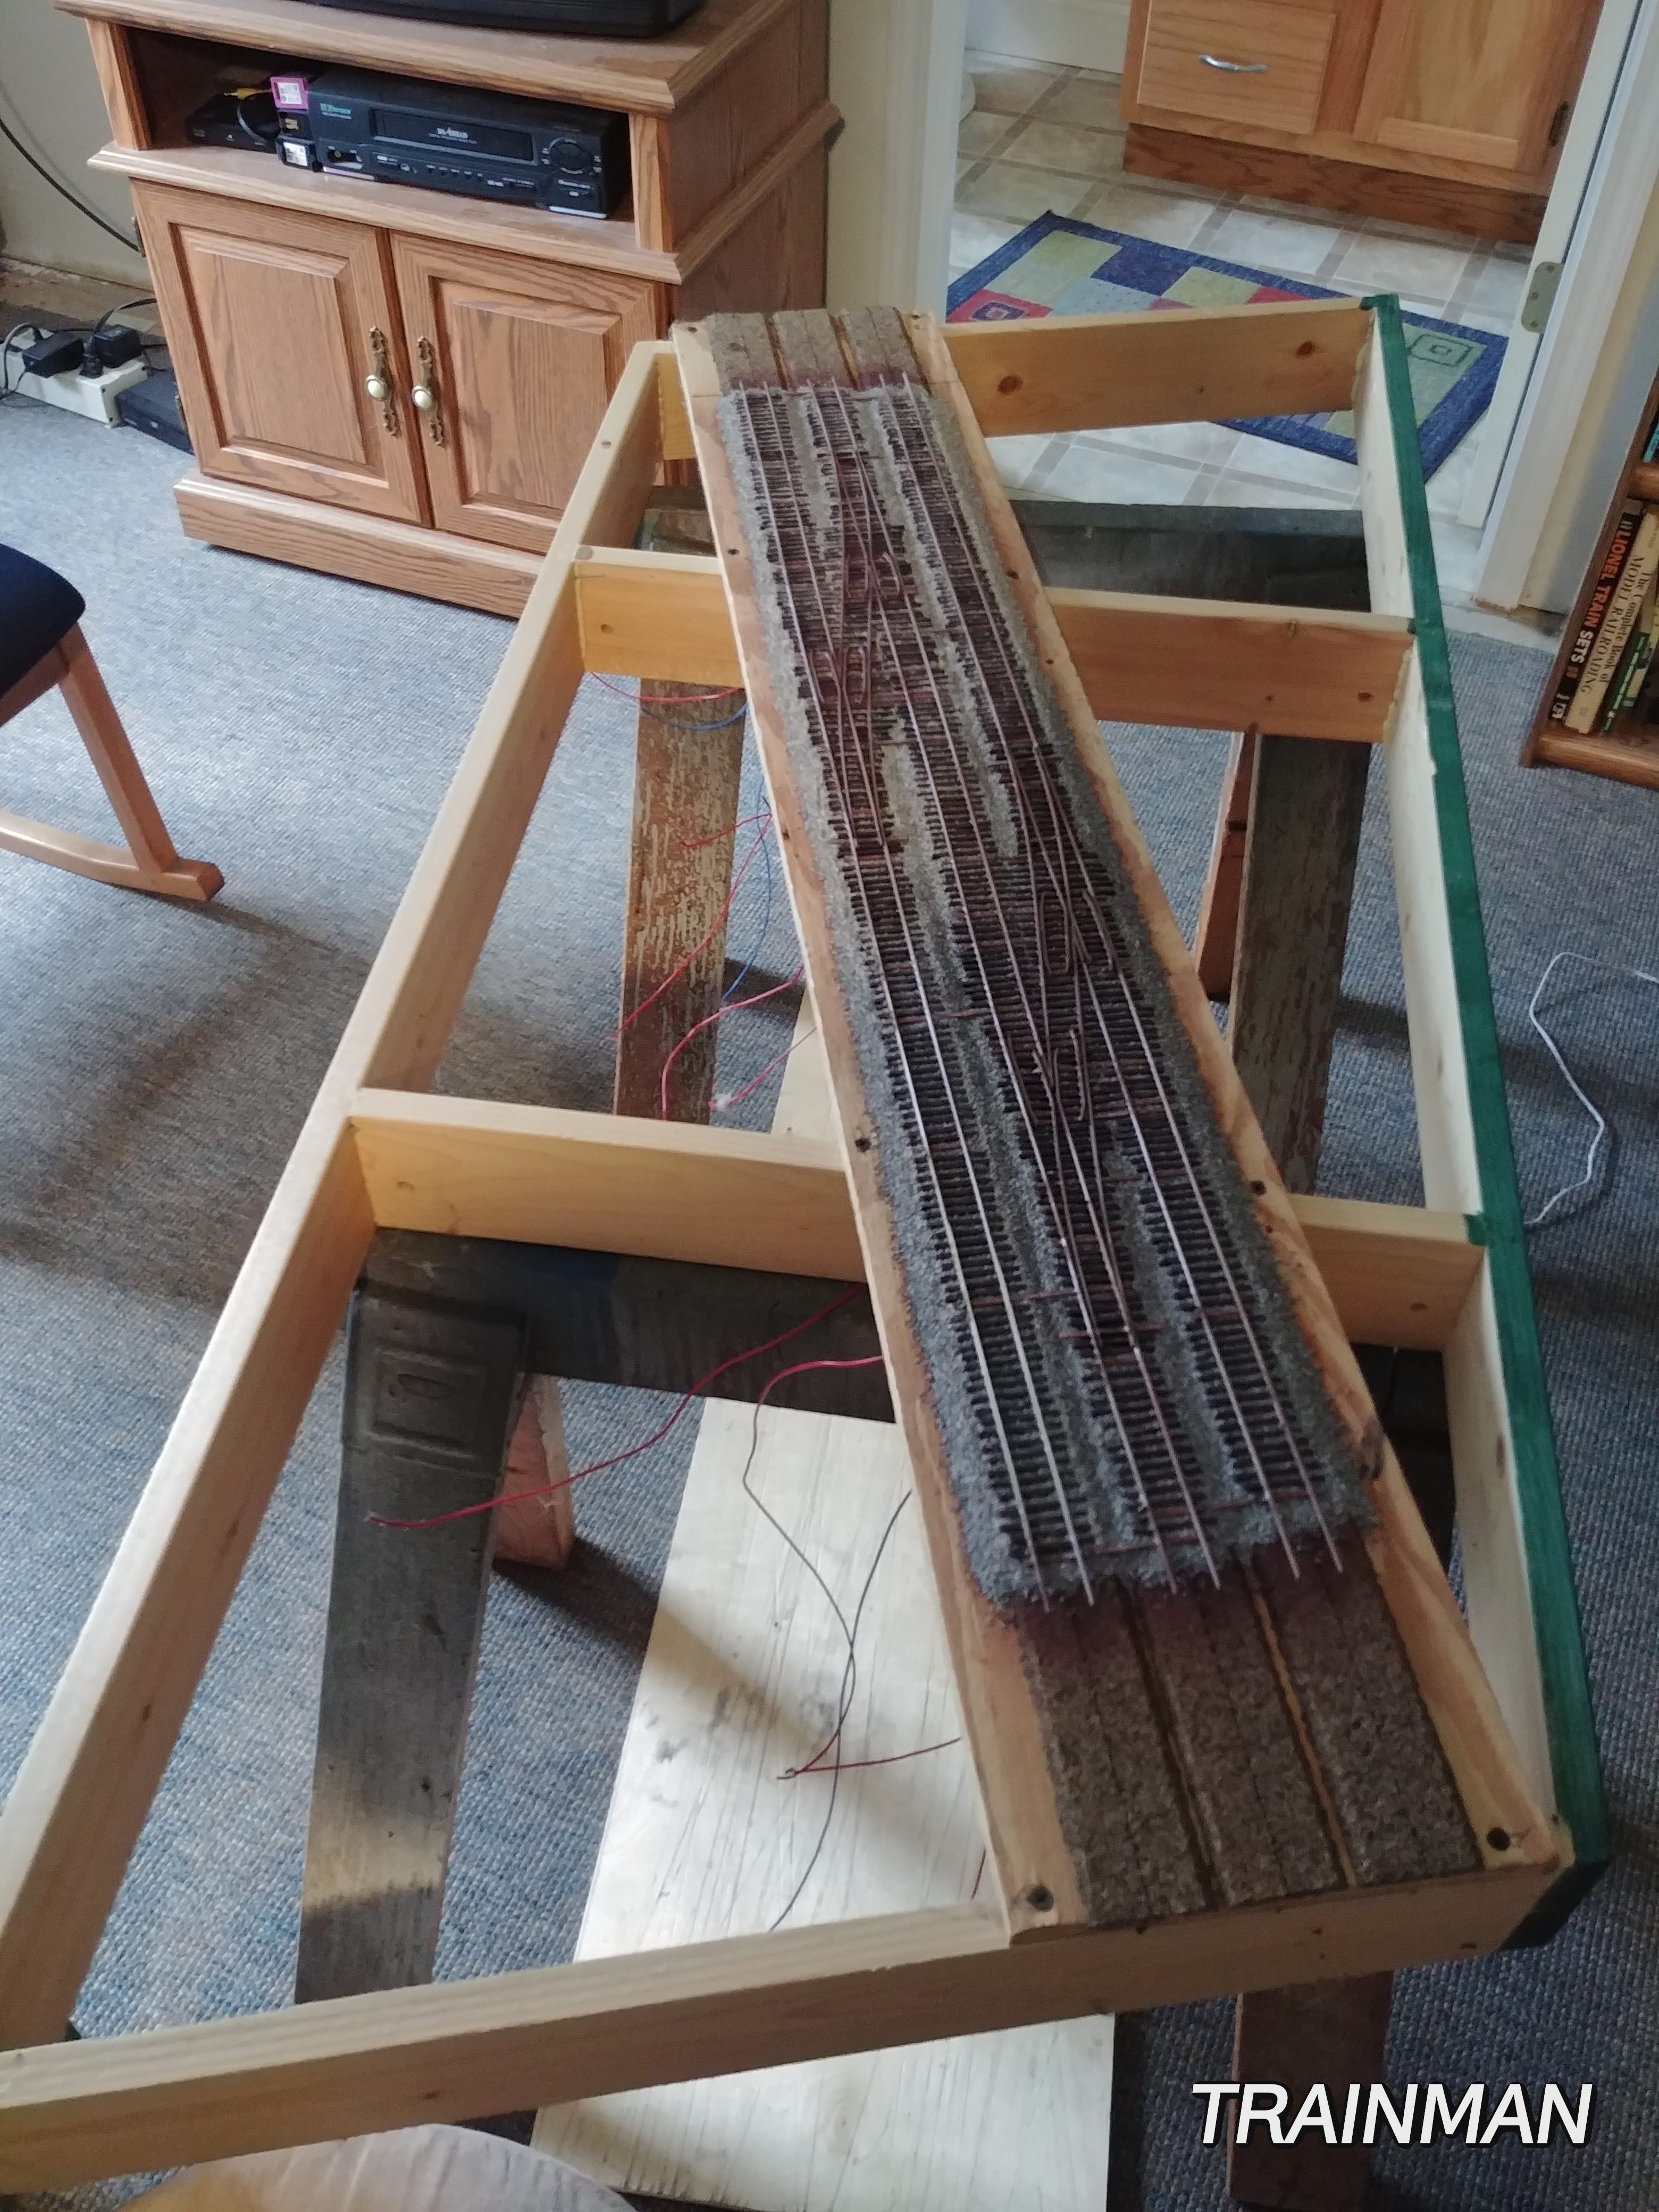
 As you can see in the photo, the track will stay straight and the modules will move. The Concord Area Model Rail Road Club has converted to having three main line tracks, so all new modules will have three tracks. The older ones can upgrade or stay the same.
The next step is the cutting of the ties and installing them.
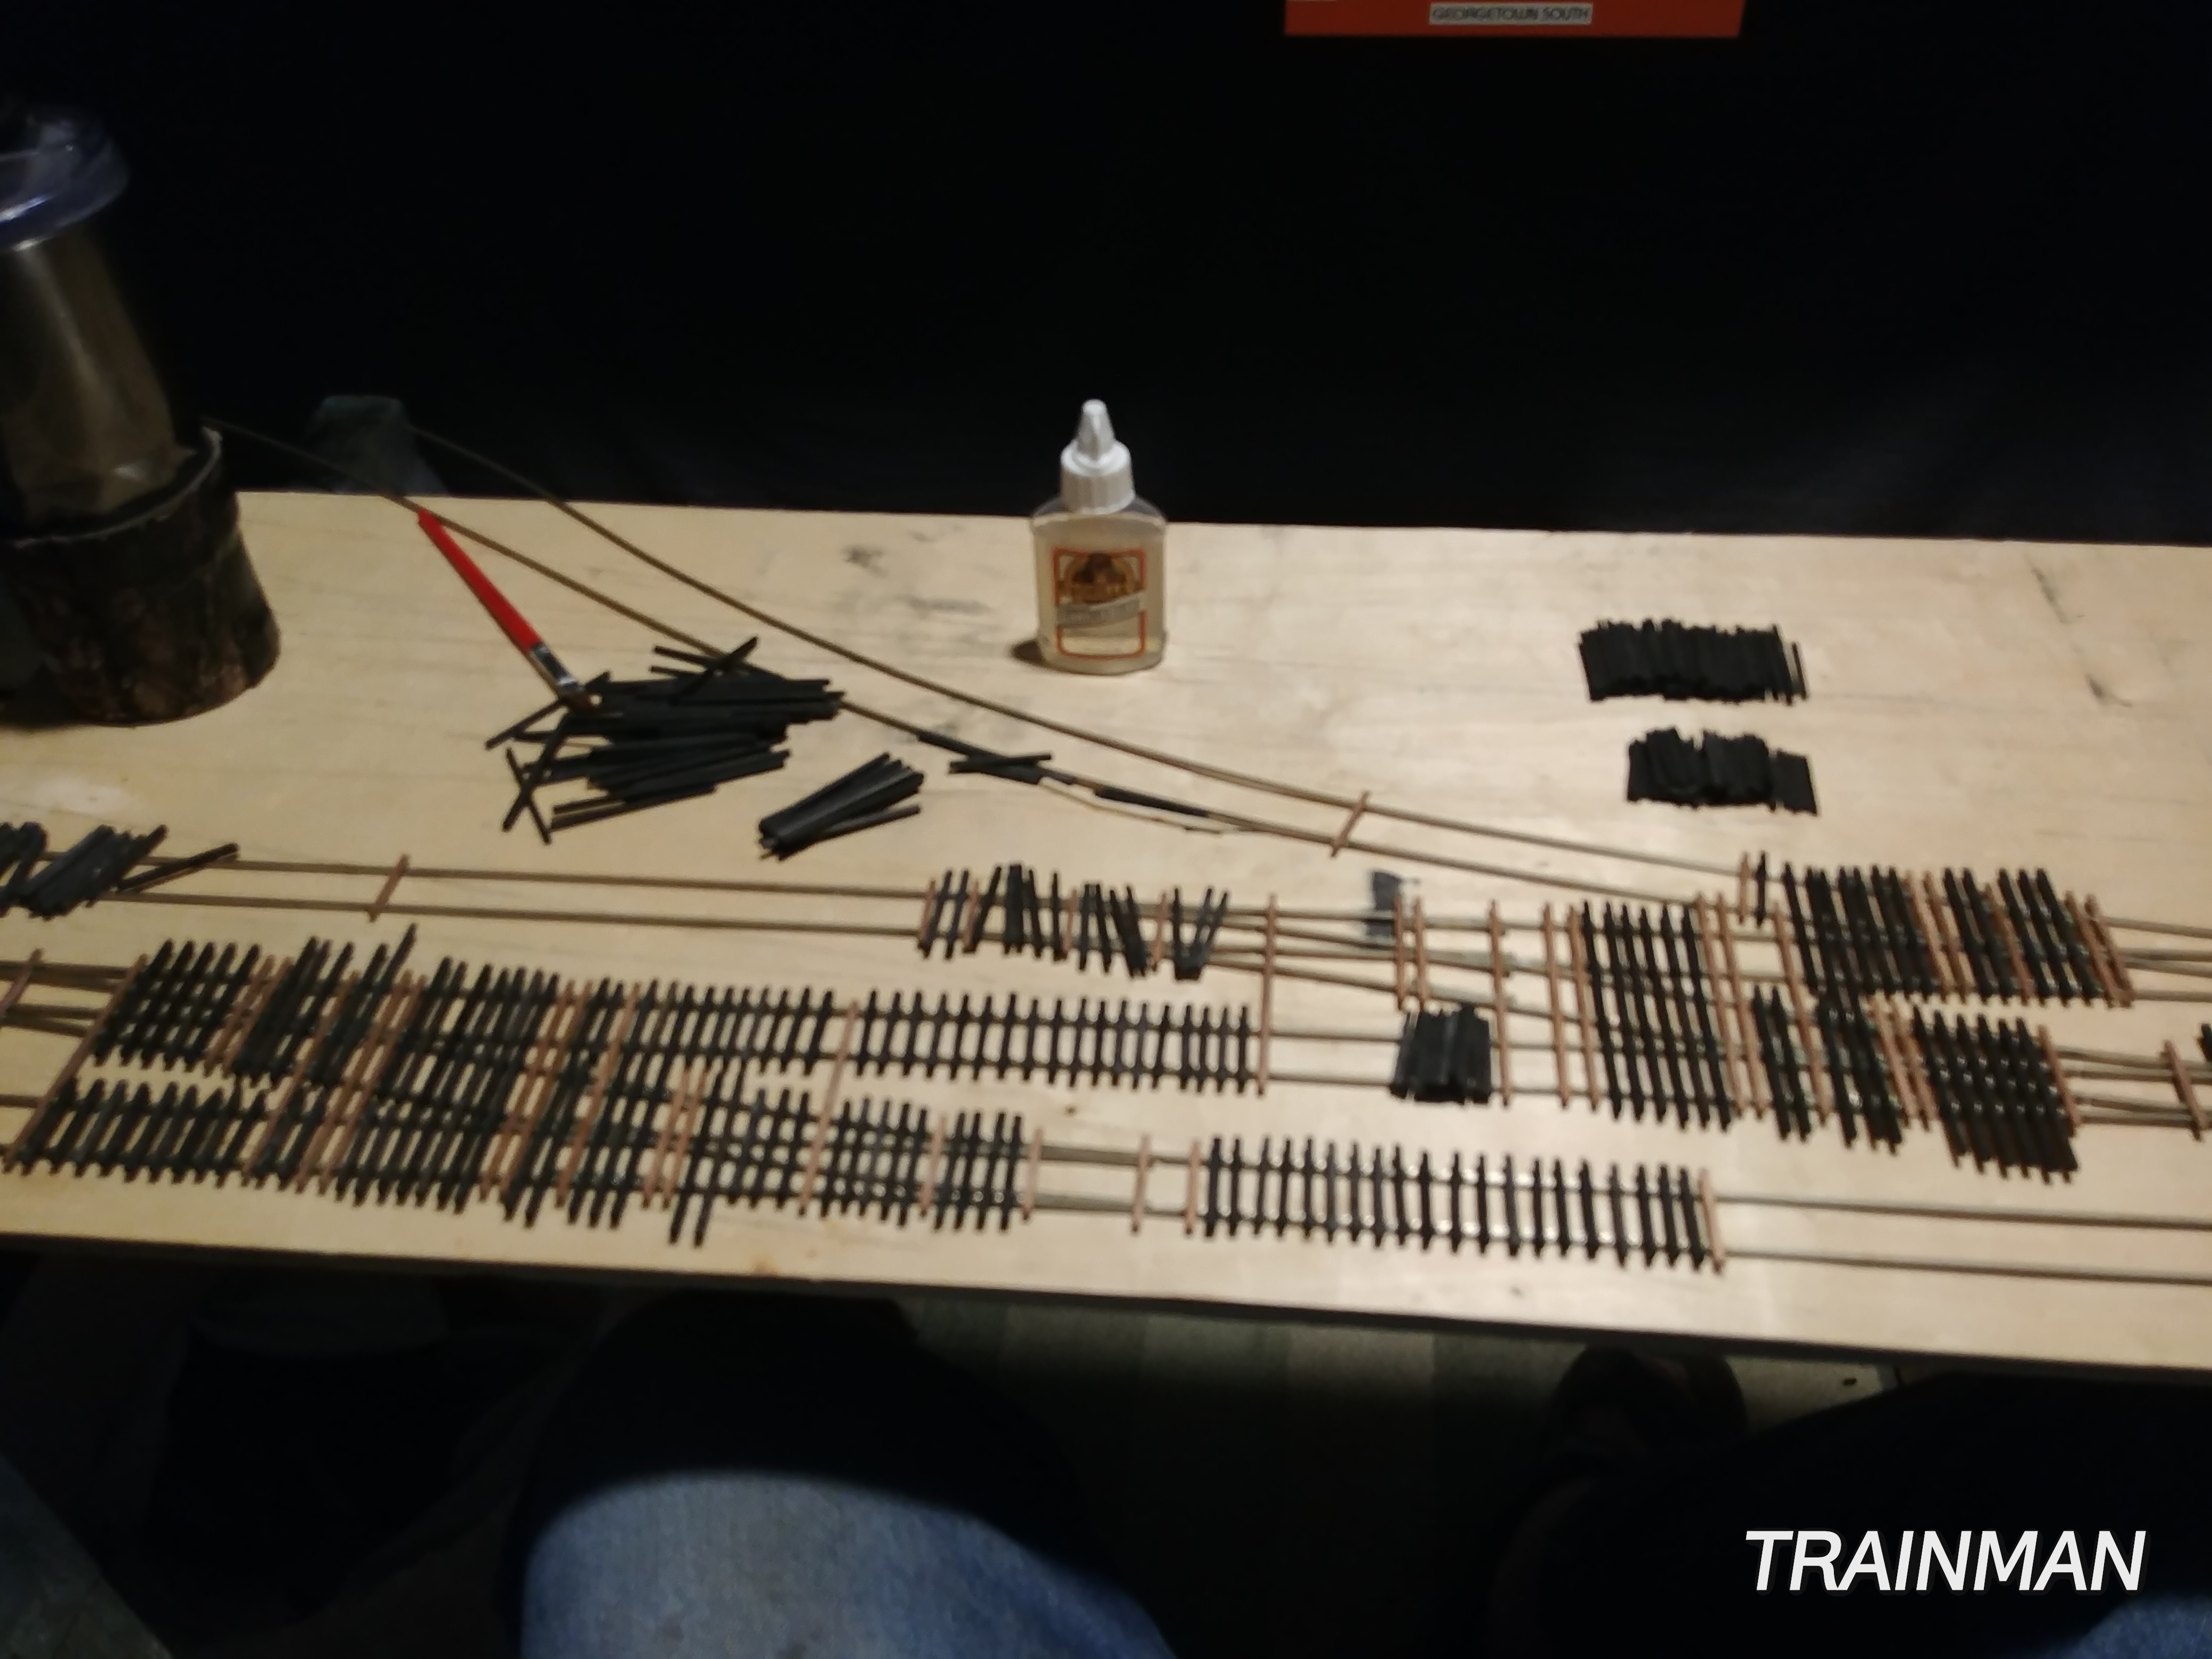
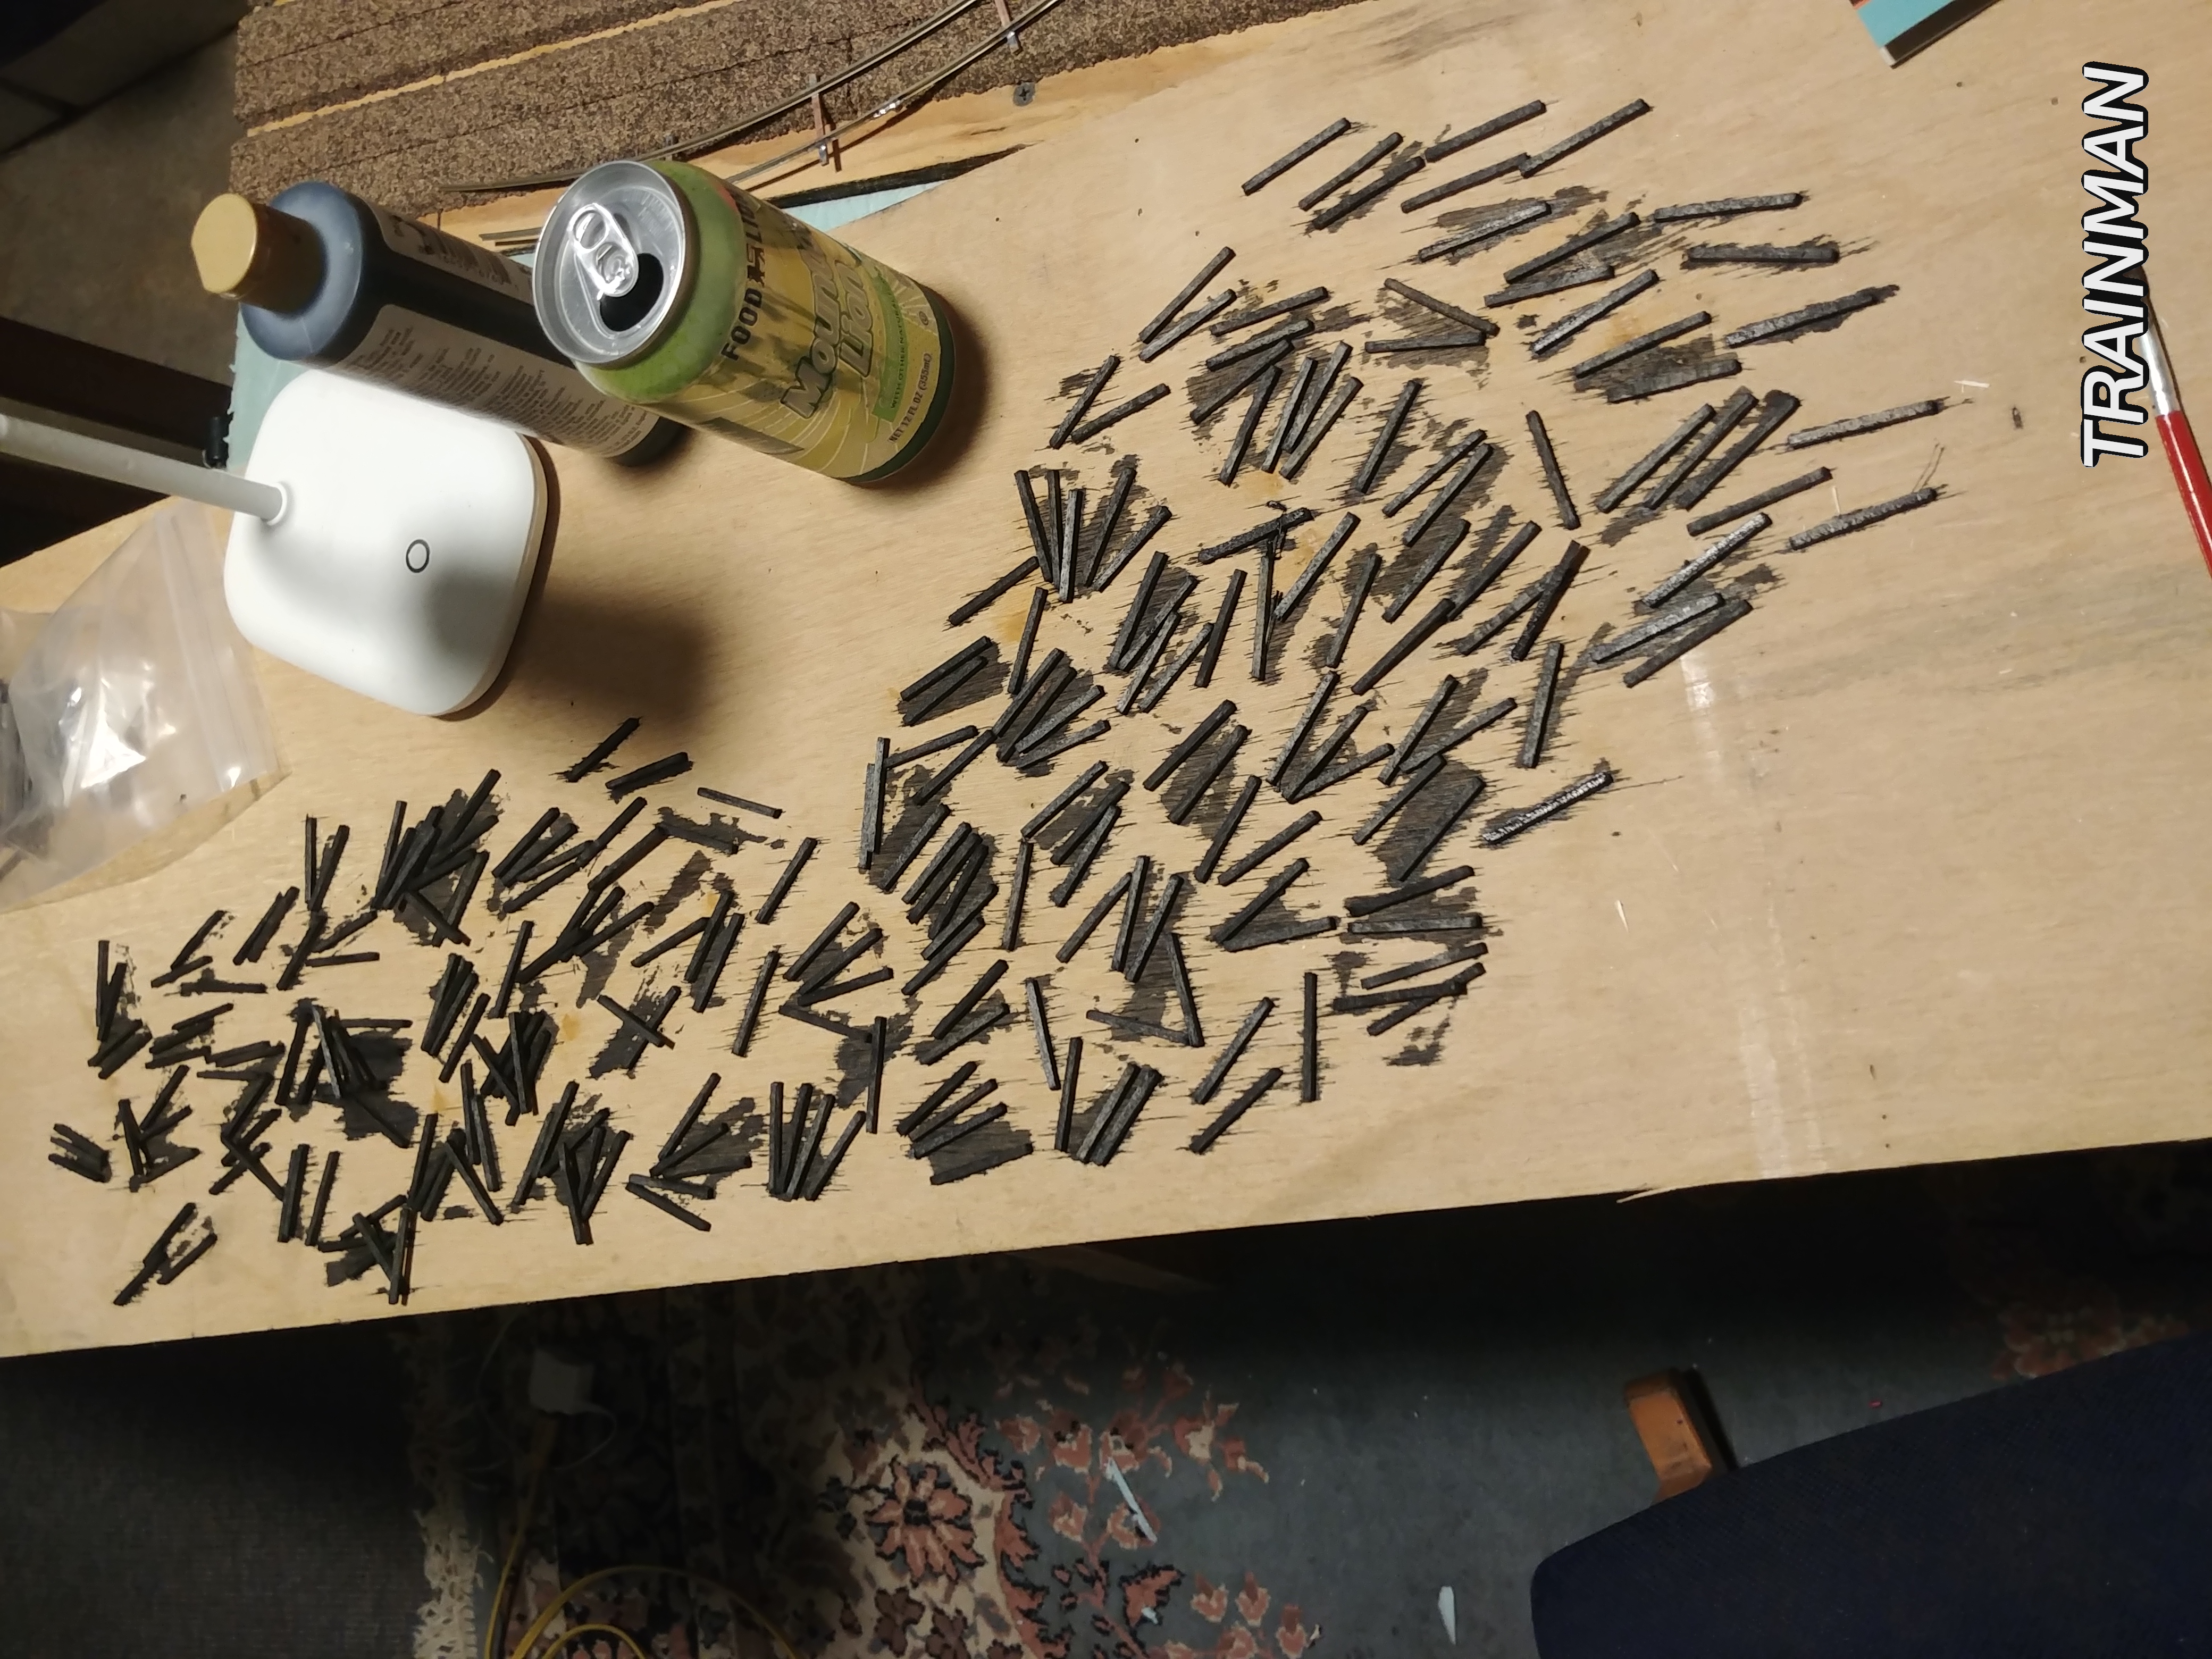
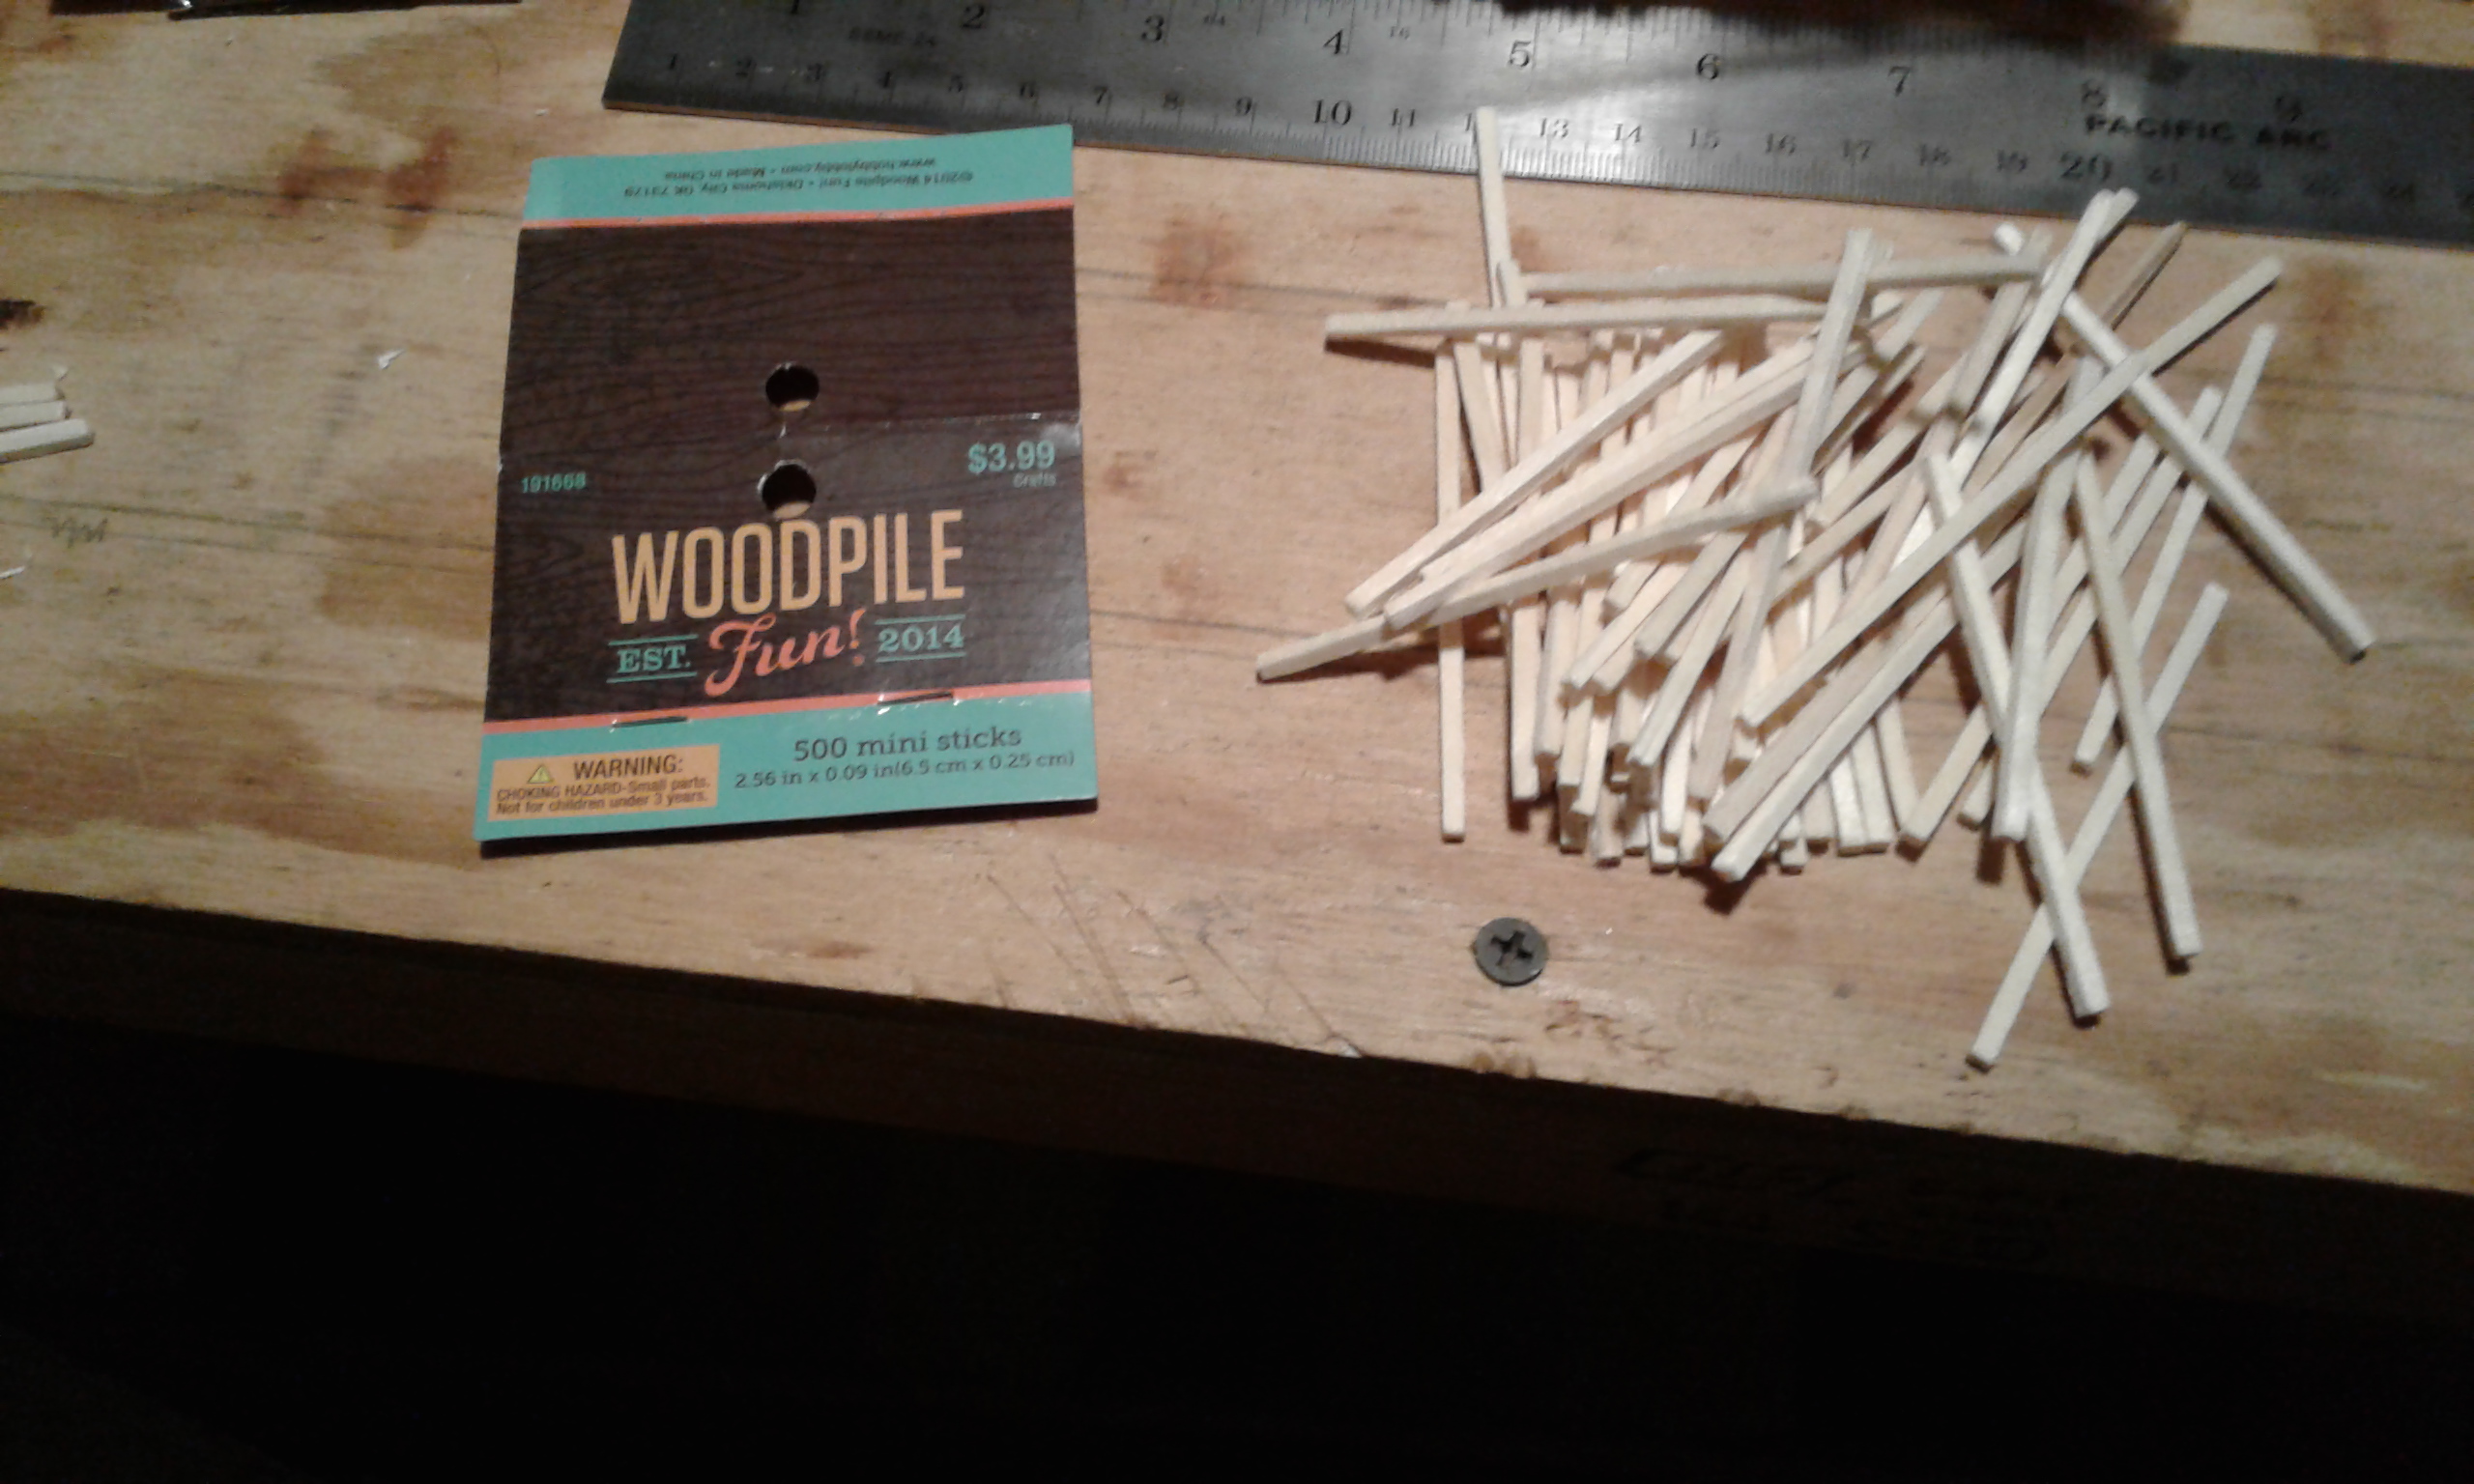 I was going to work on bench work but a hurricane changed my mind. I picked up some sticks to make into track ties. I will be cutting them into different lengths.
The sticks are from Hobby Lobby.
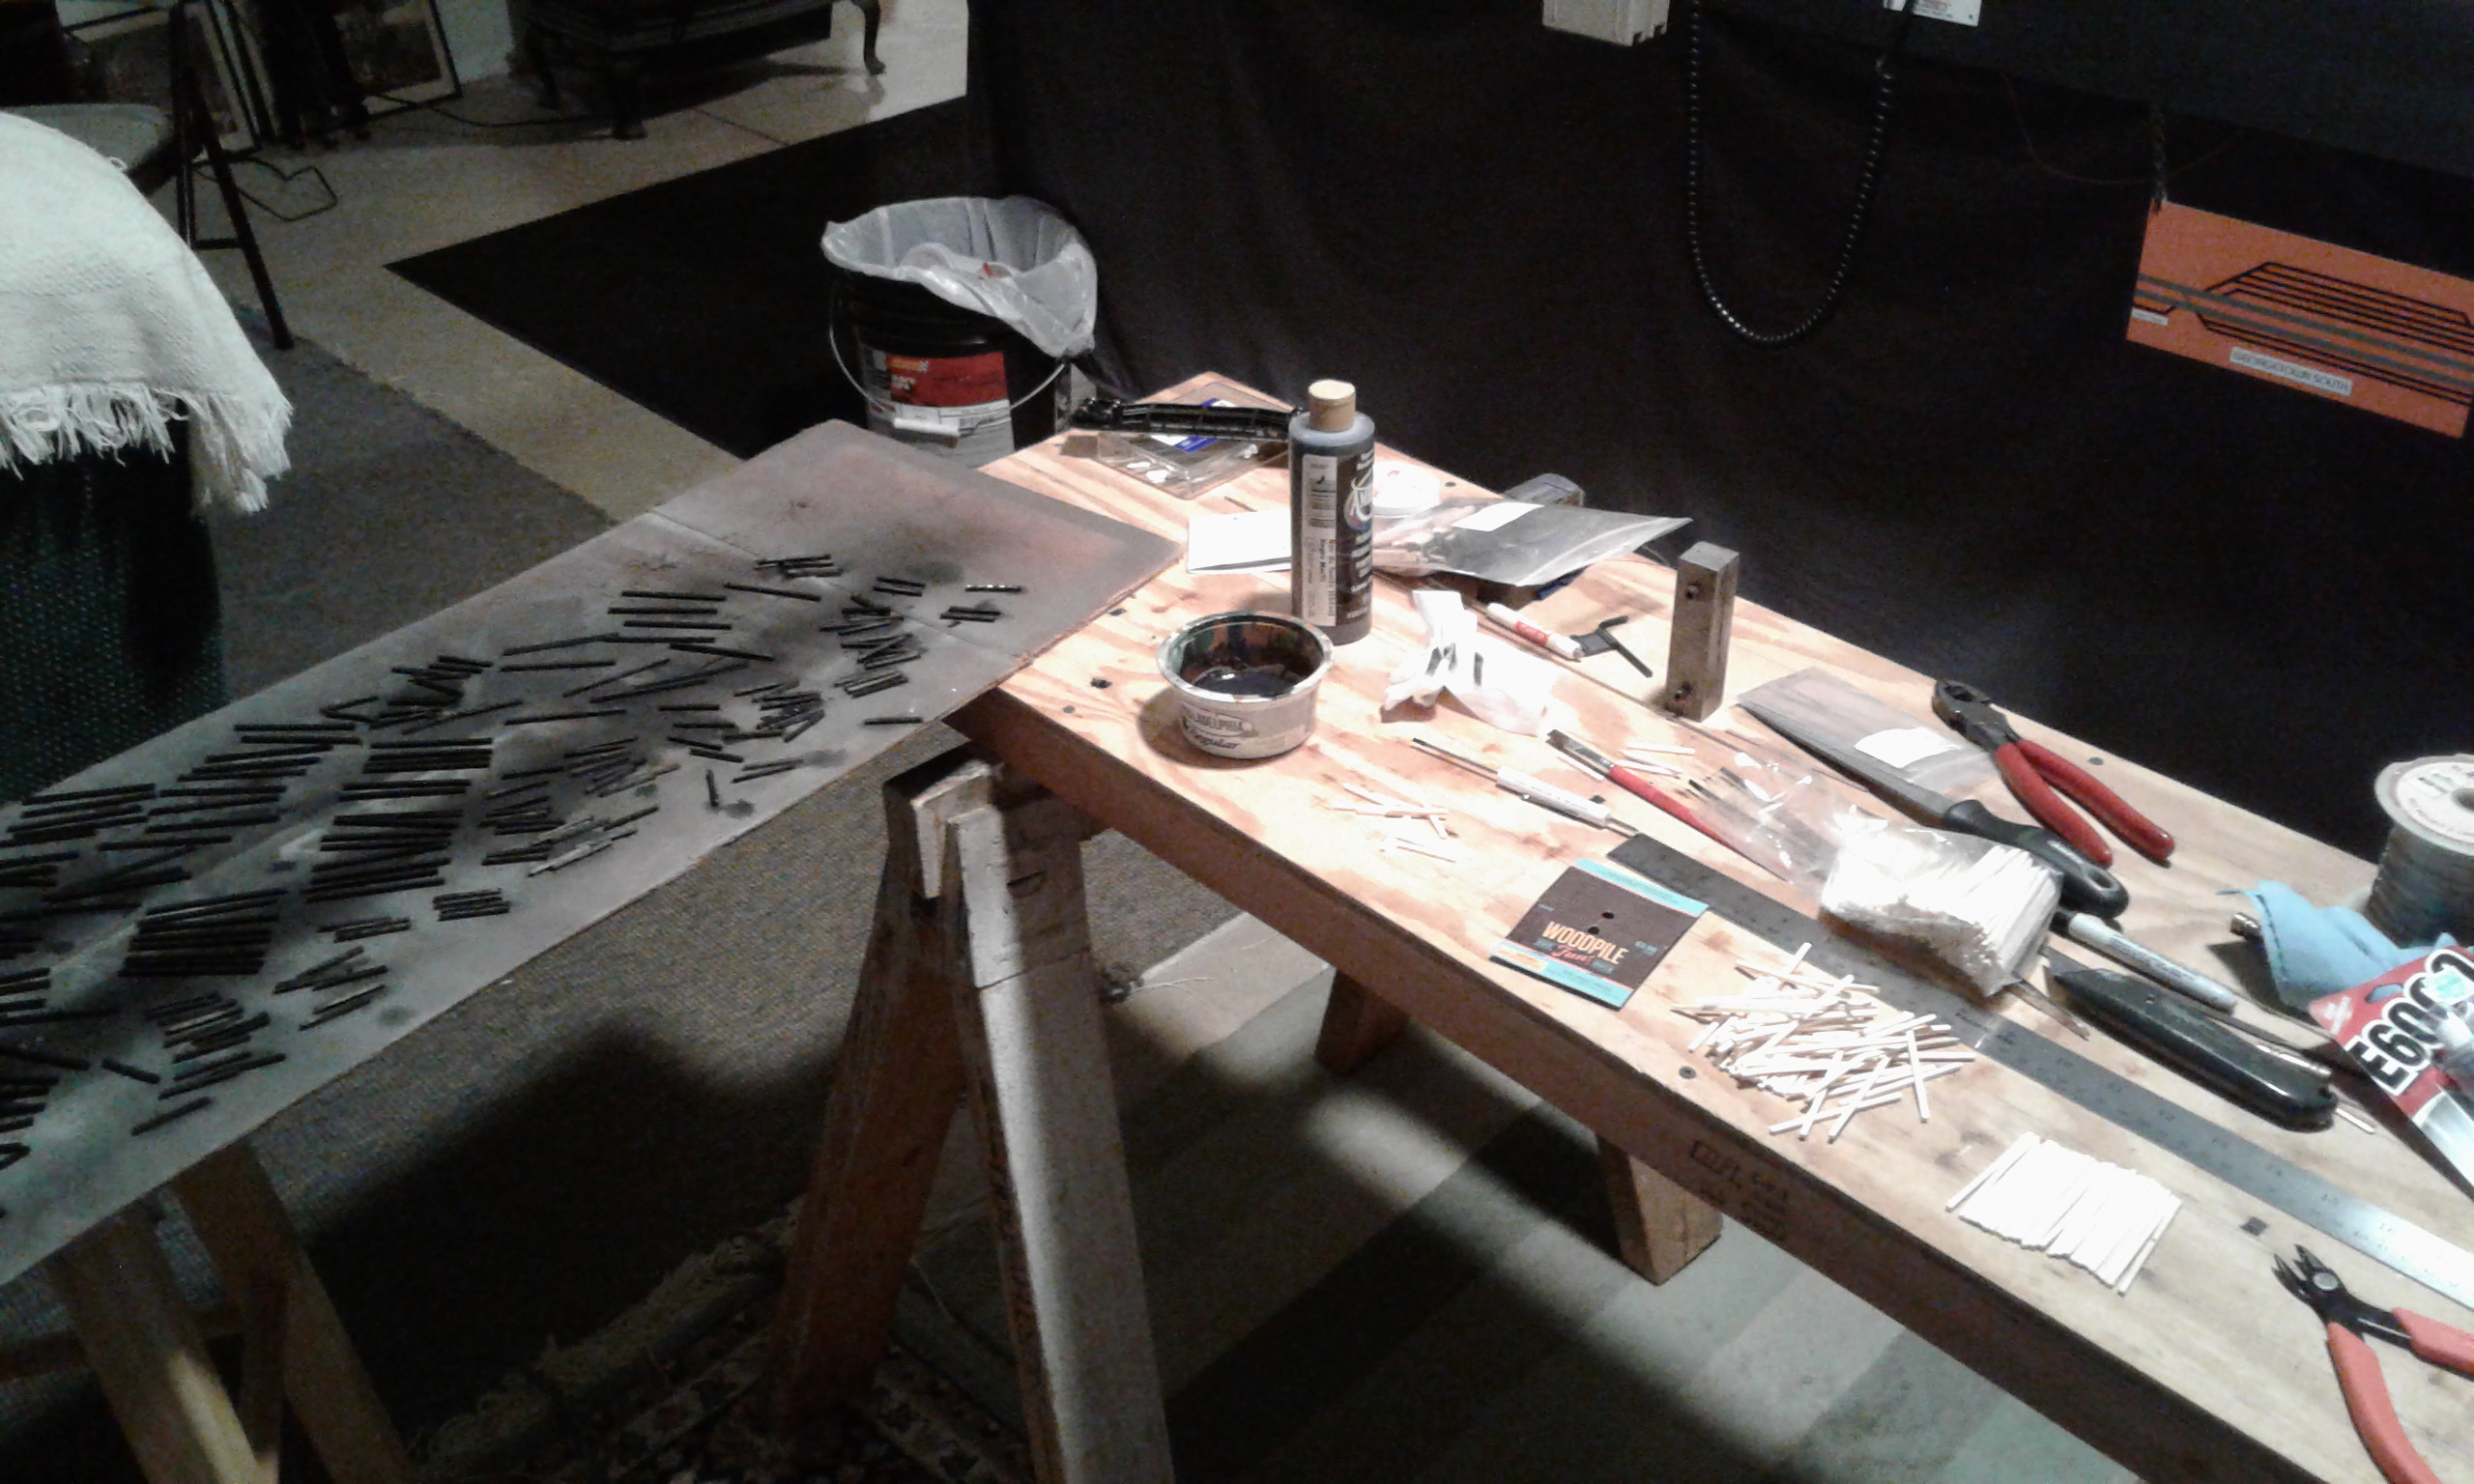 Painting the ties took some time. You wouldn’t think that a bunch of sticks would take three hours to paint, but it did!
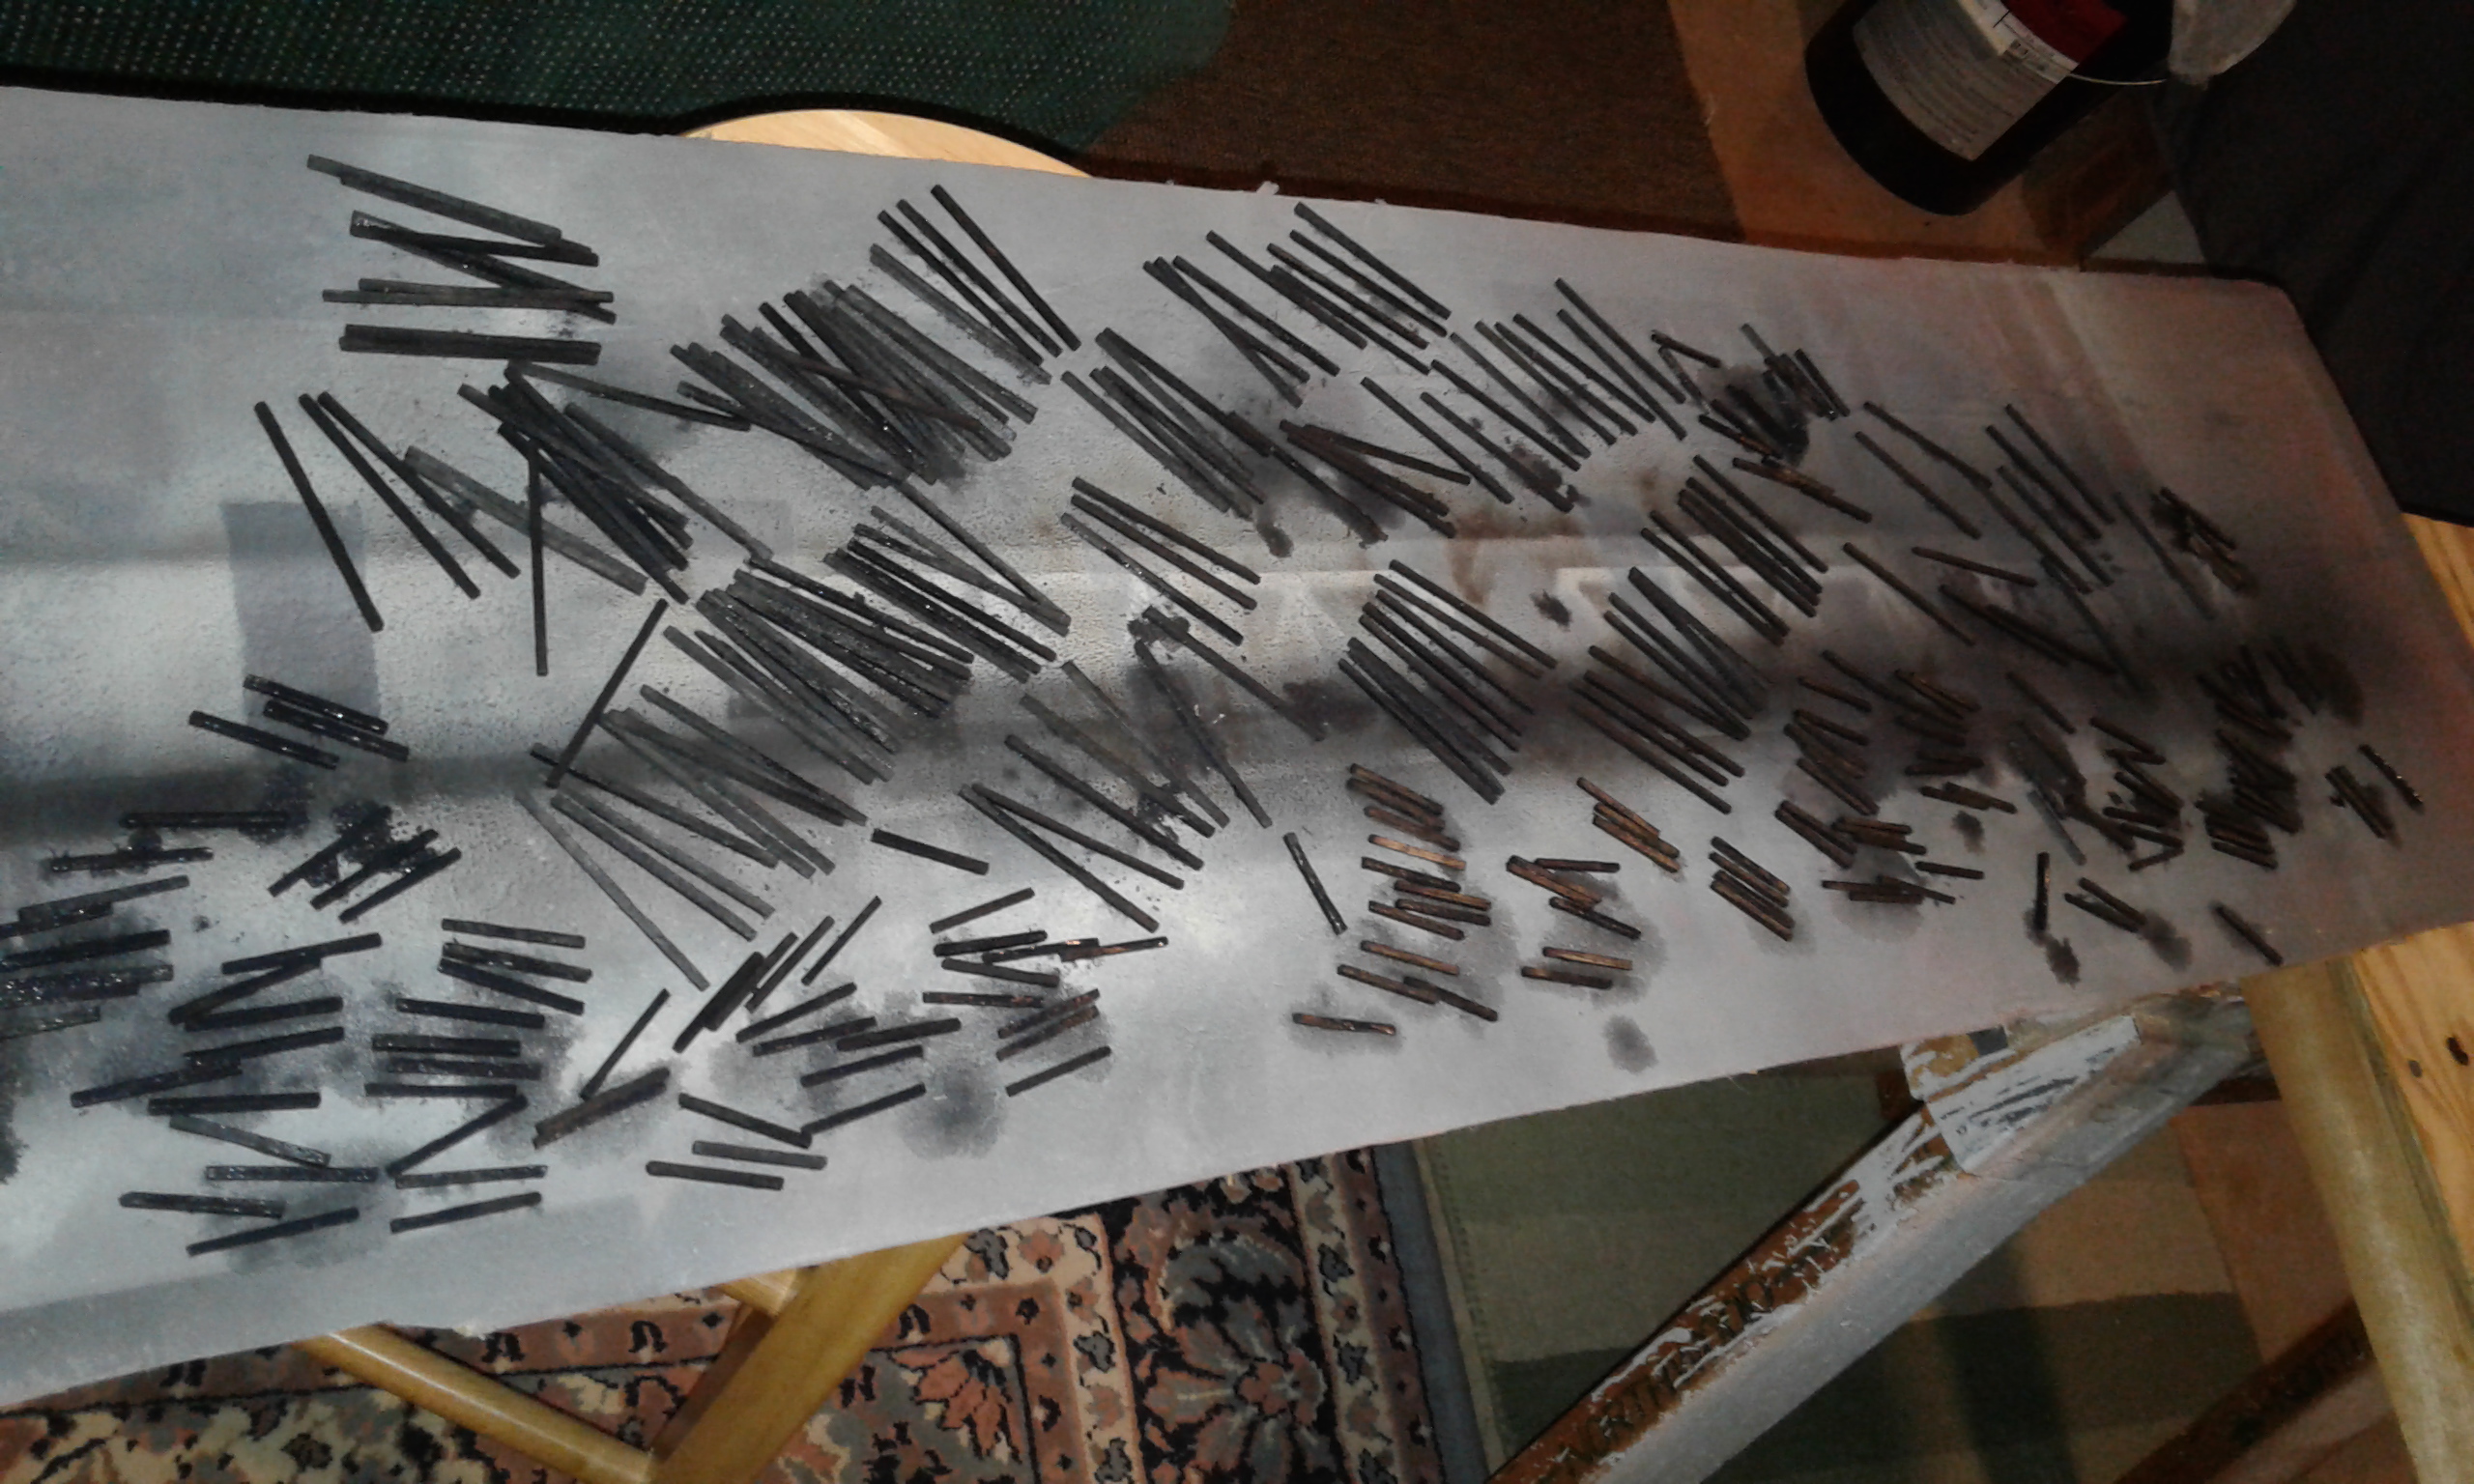 The cardboard was getting full, so I took a photo. I filled it up even more and let it sit overnight.
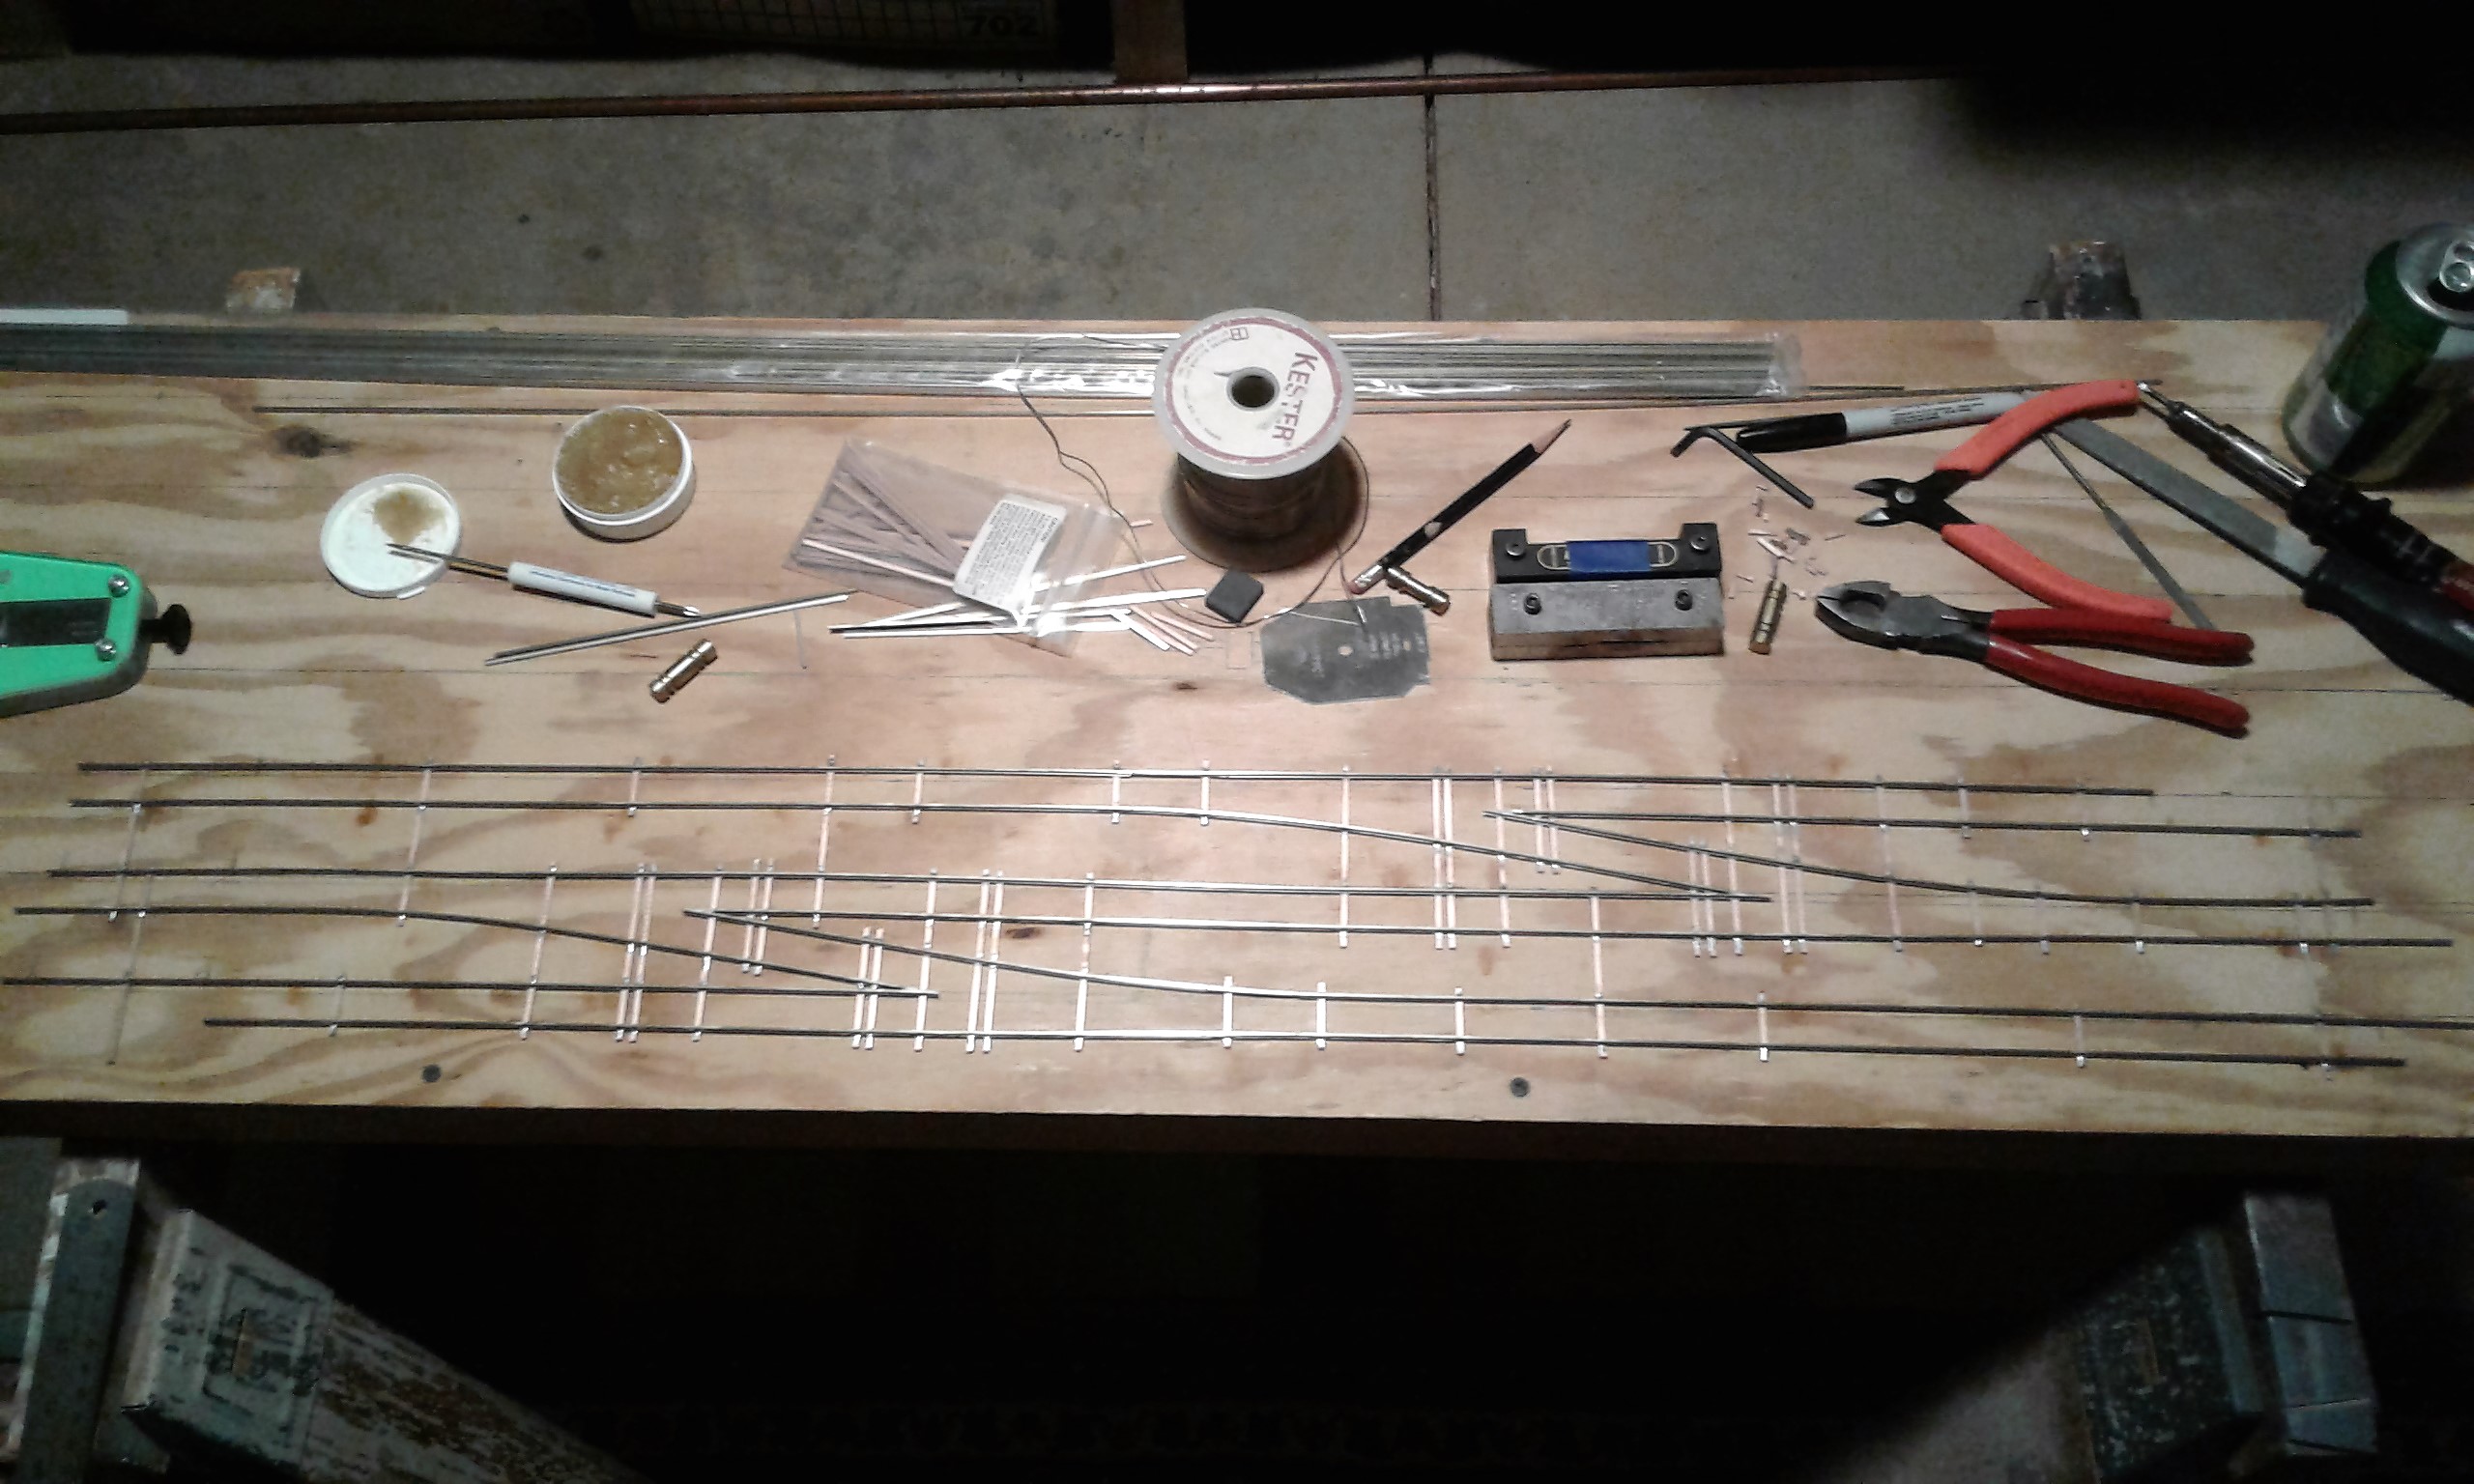
 This is the finished track that I have tested with an engine. You can look closely at the track and see all the cuts on the copper-backed ties. The copper-backed ties and the track will be painted soon. (22 hours)
Strong and straight bench work is a must.
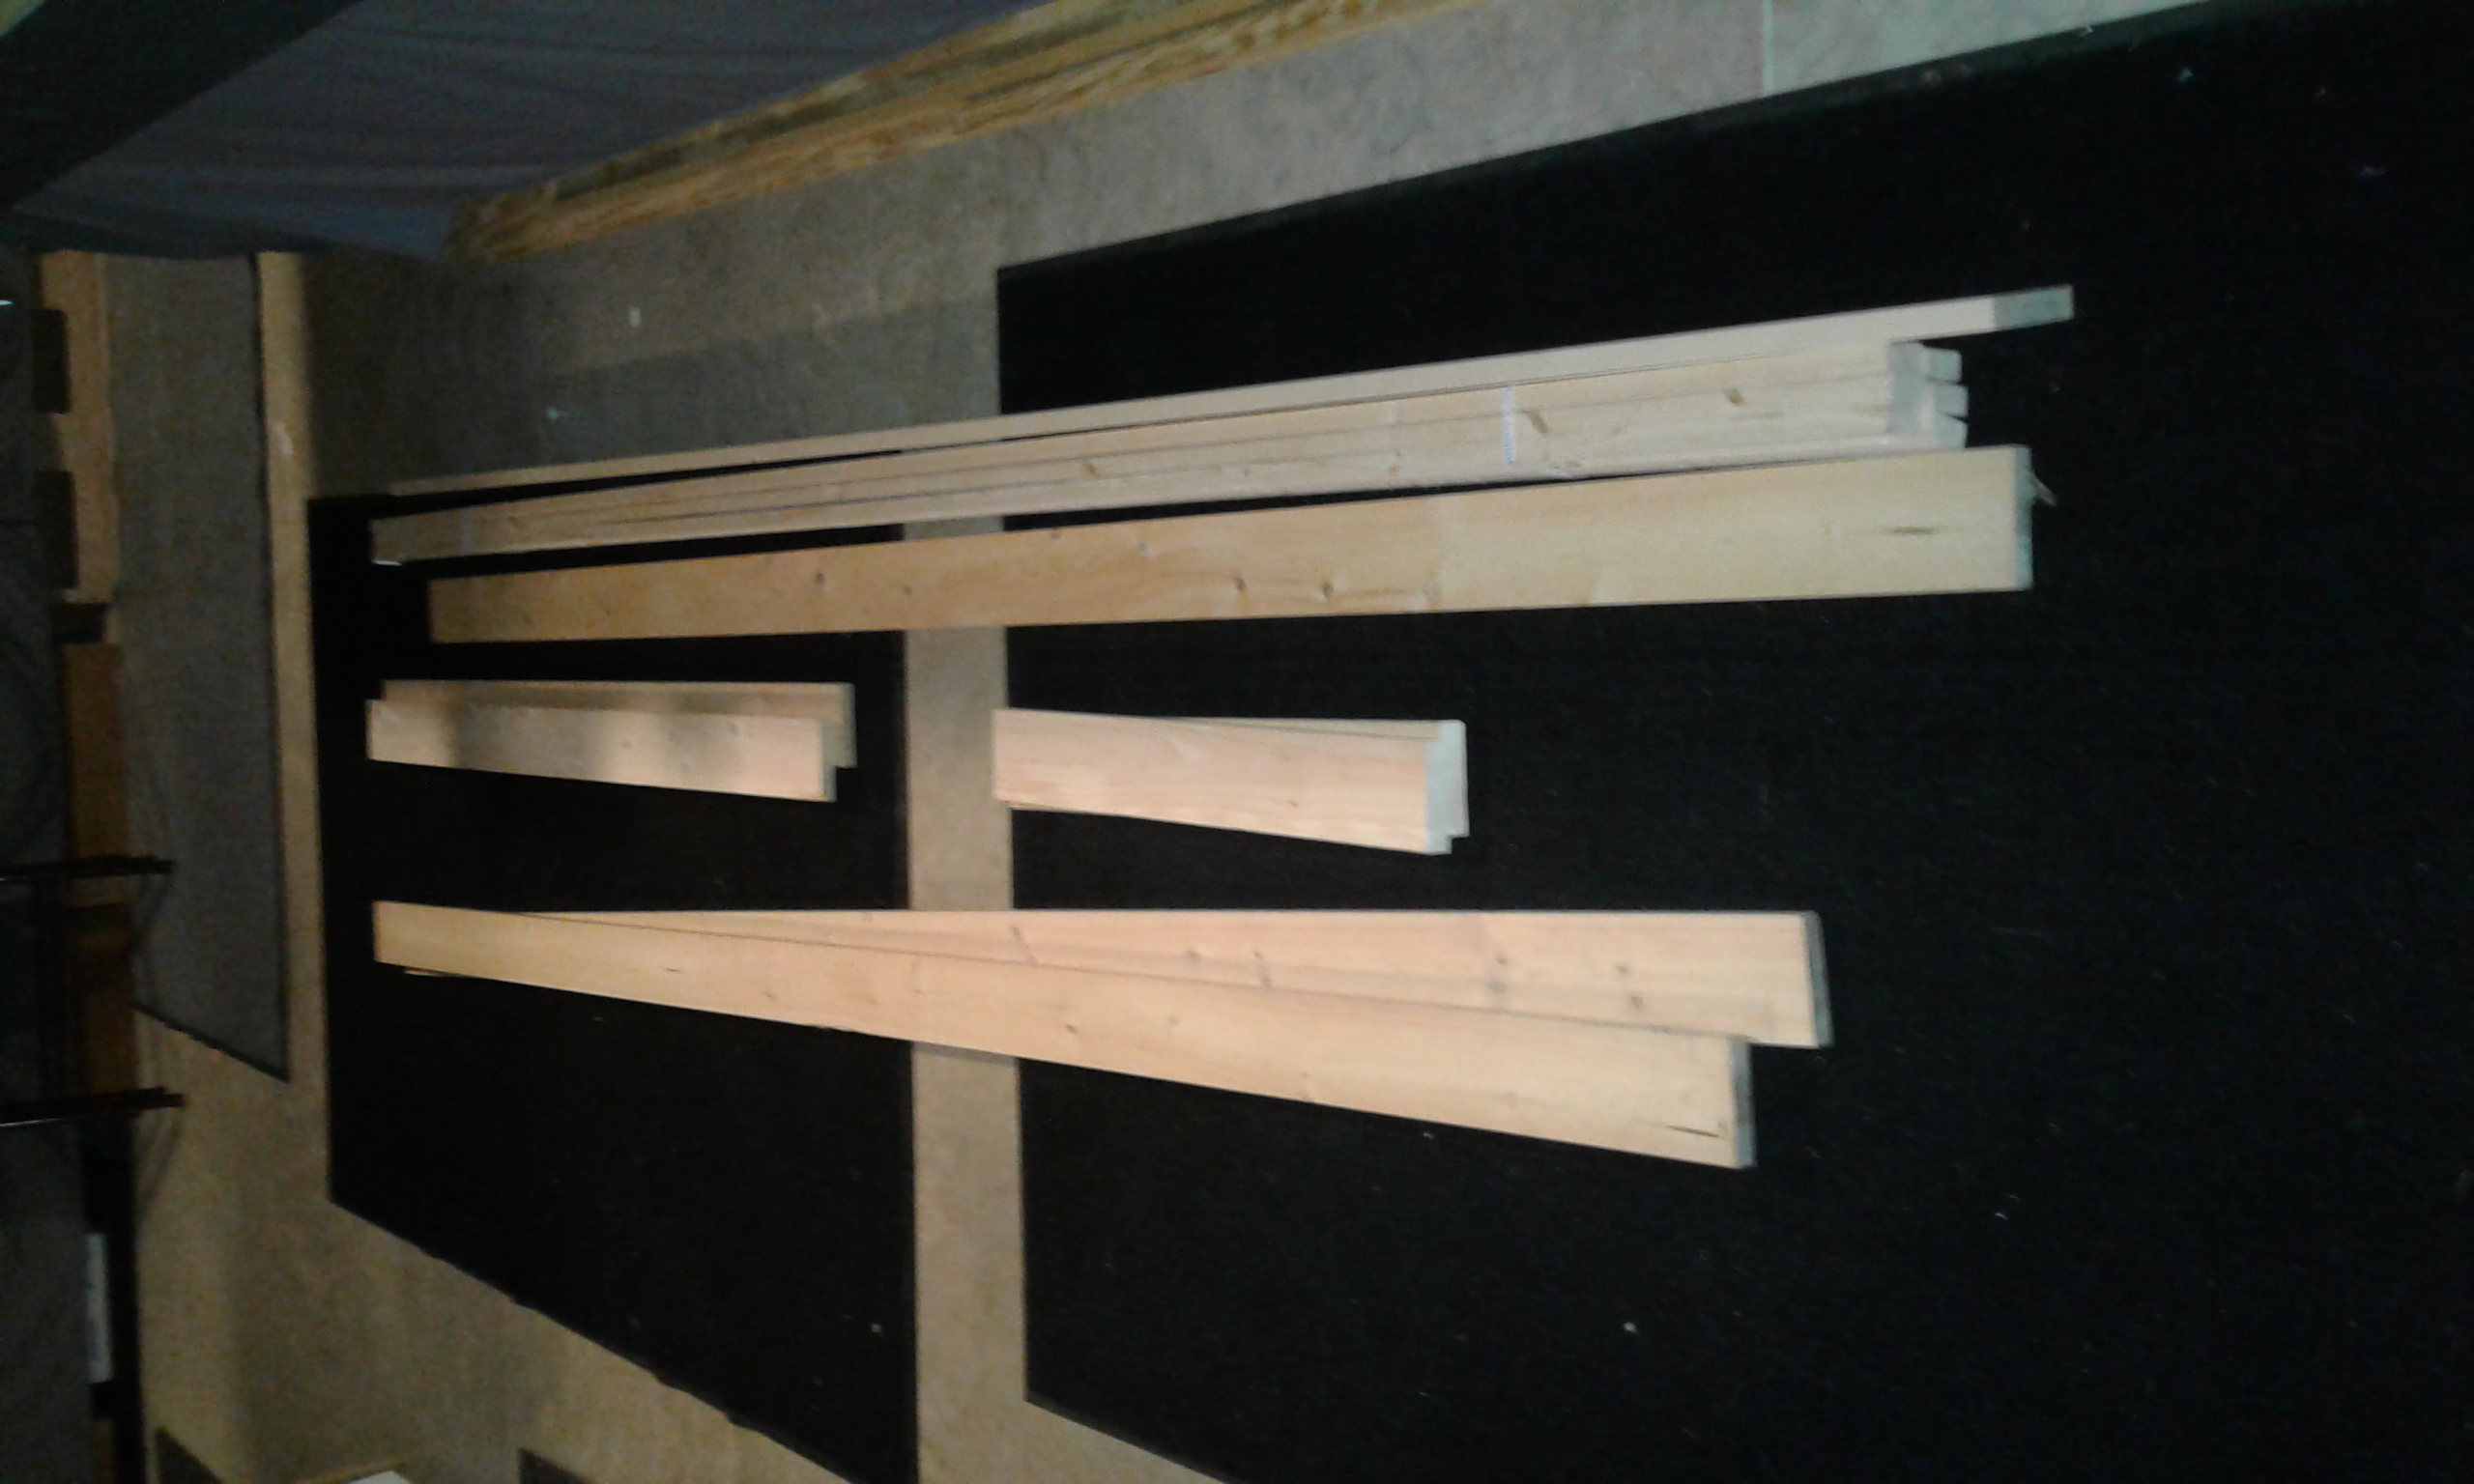 On the right is just some sticks of wood to work with.
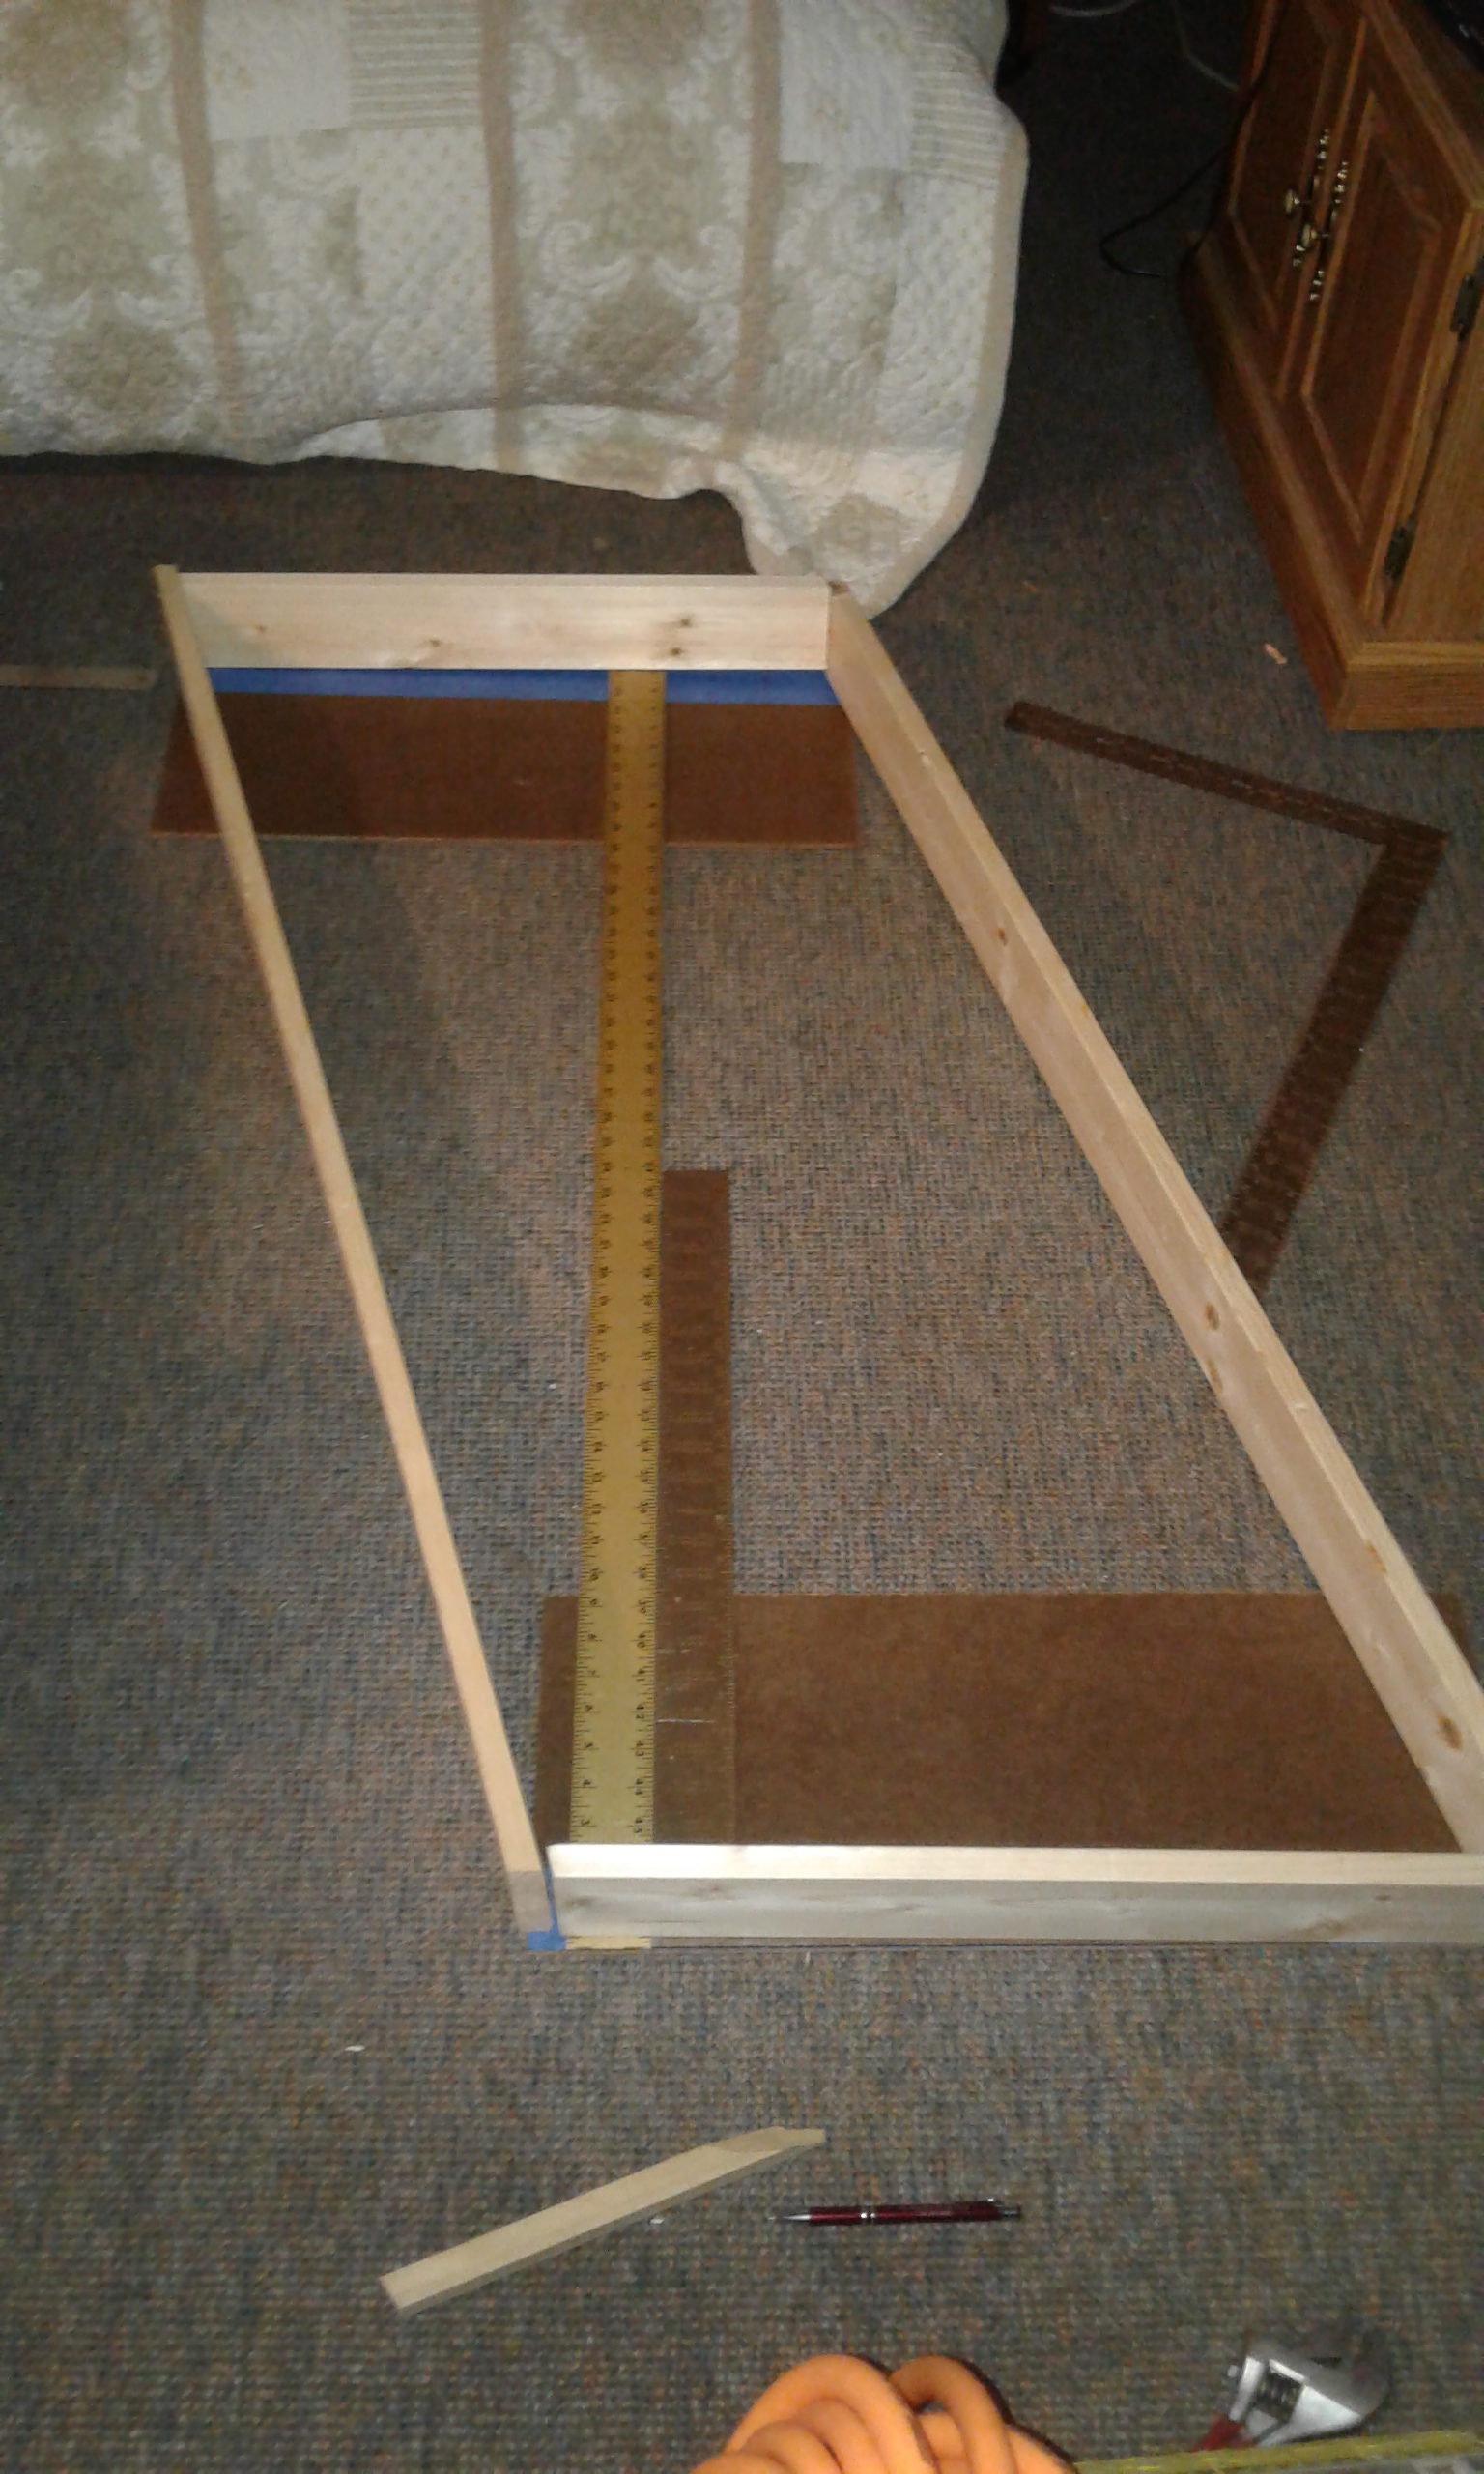
The 1x4s will be cut on a 16 1/2 degree angle to form the frame for the tracks to run over.
I set up one frame to give you an Idea of how it will look.
The straight edge shows where the track will be.
I cut enough wood for two frames. (added 3 hours)
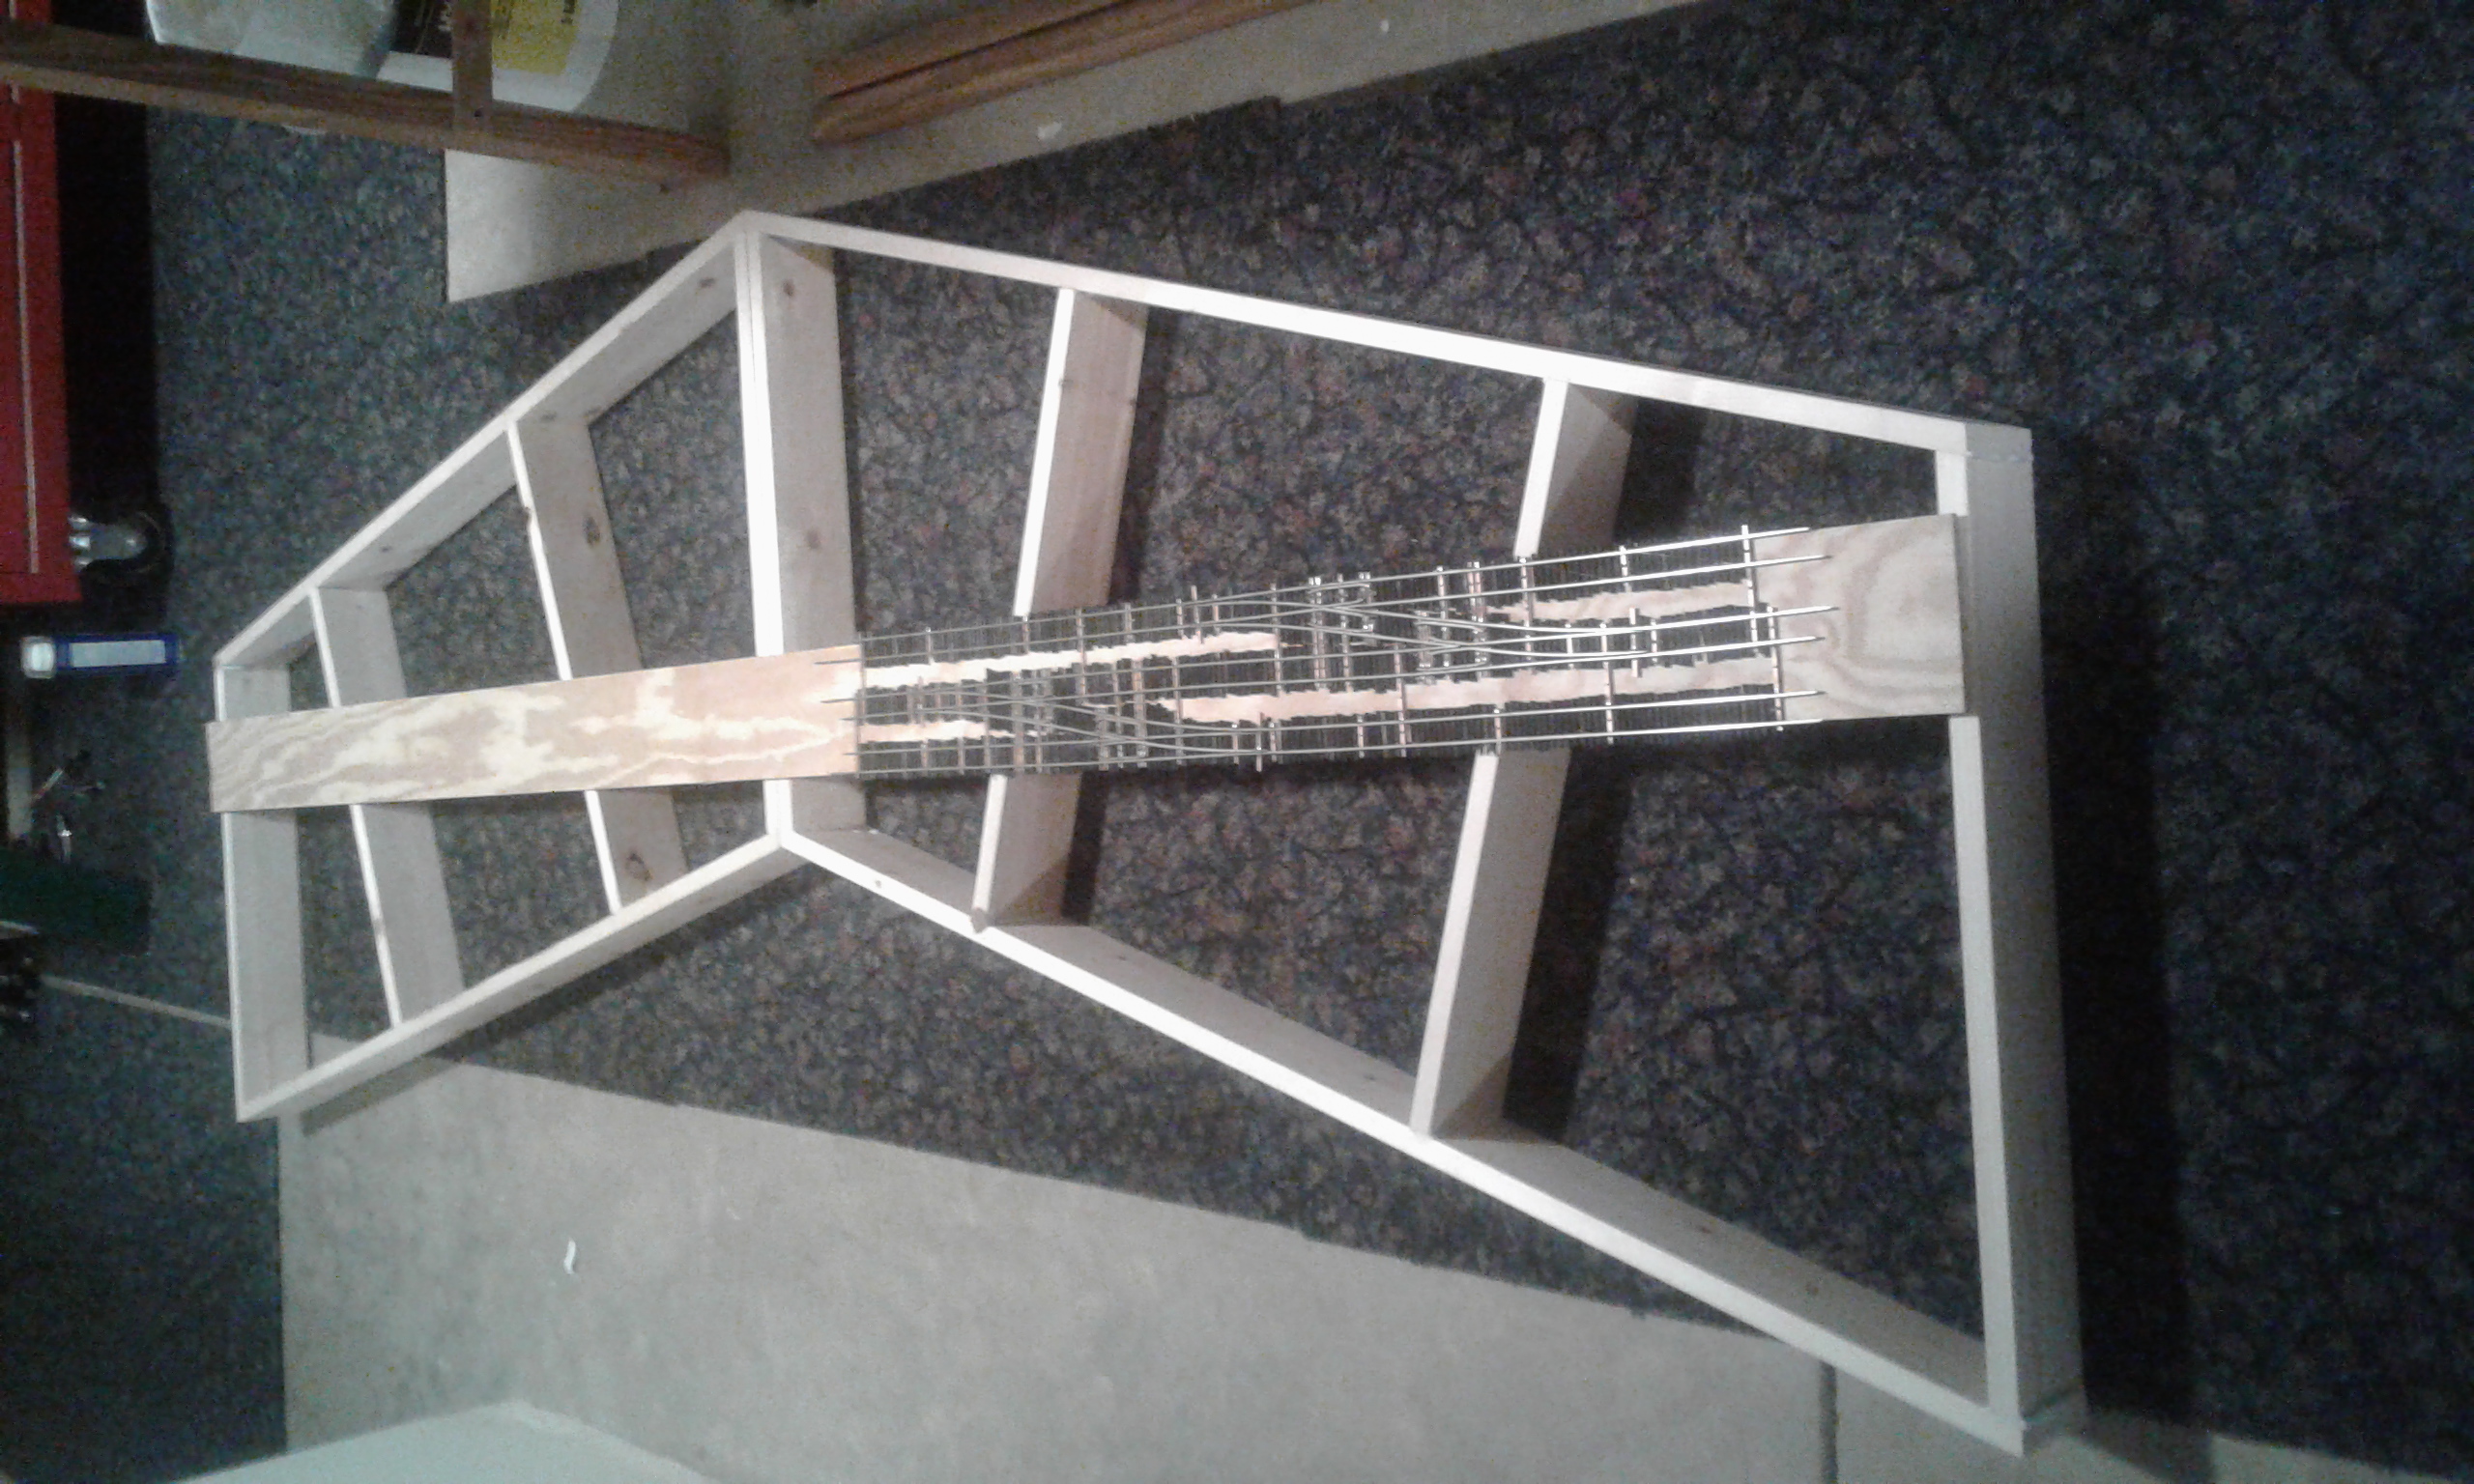
It looks strange together, but when the two are apart, the running from the outside edge to the inside edge will be solved.
Inside of the module is this end
Outside of the module is this end
Module number two is to return to two tracks or to stay on the three-track system that the club will be using.

When starting out the module, layout the photo that you are going to follow like the design that I’m using. The templates are used as a guide. I drew lines on the board to set everything up.
Hard to believe that it’s December all ready. I started in August.
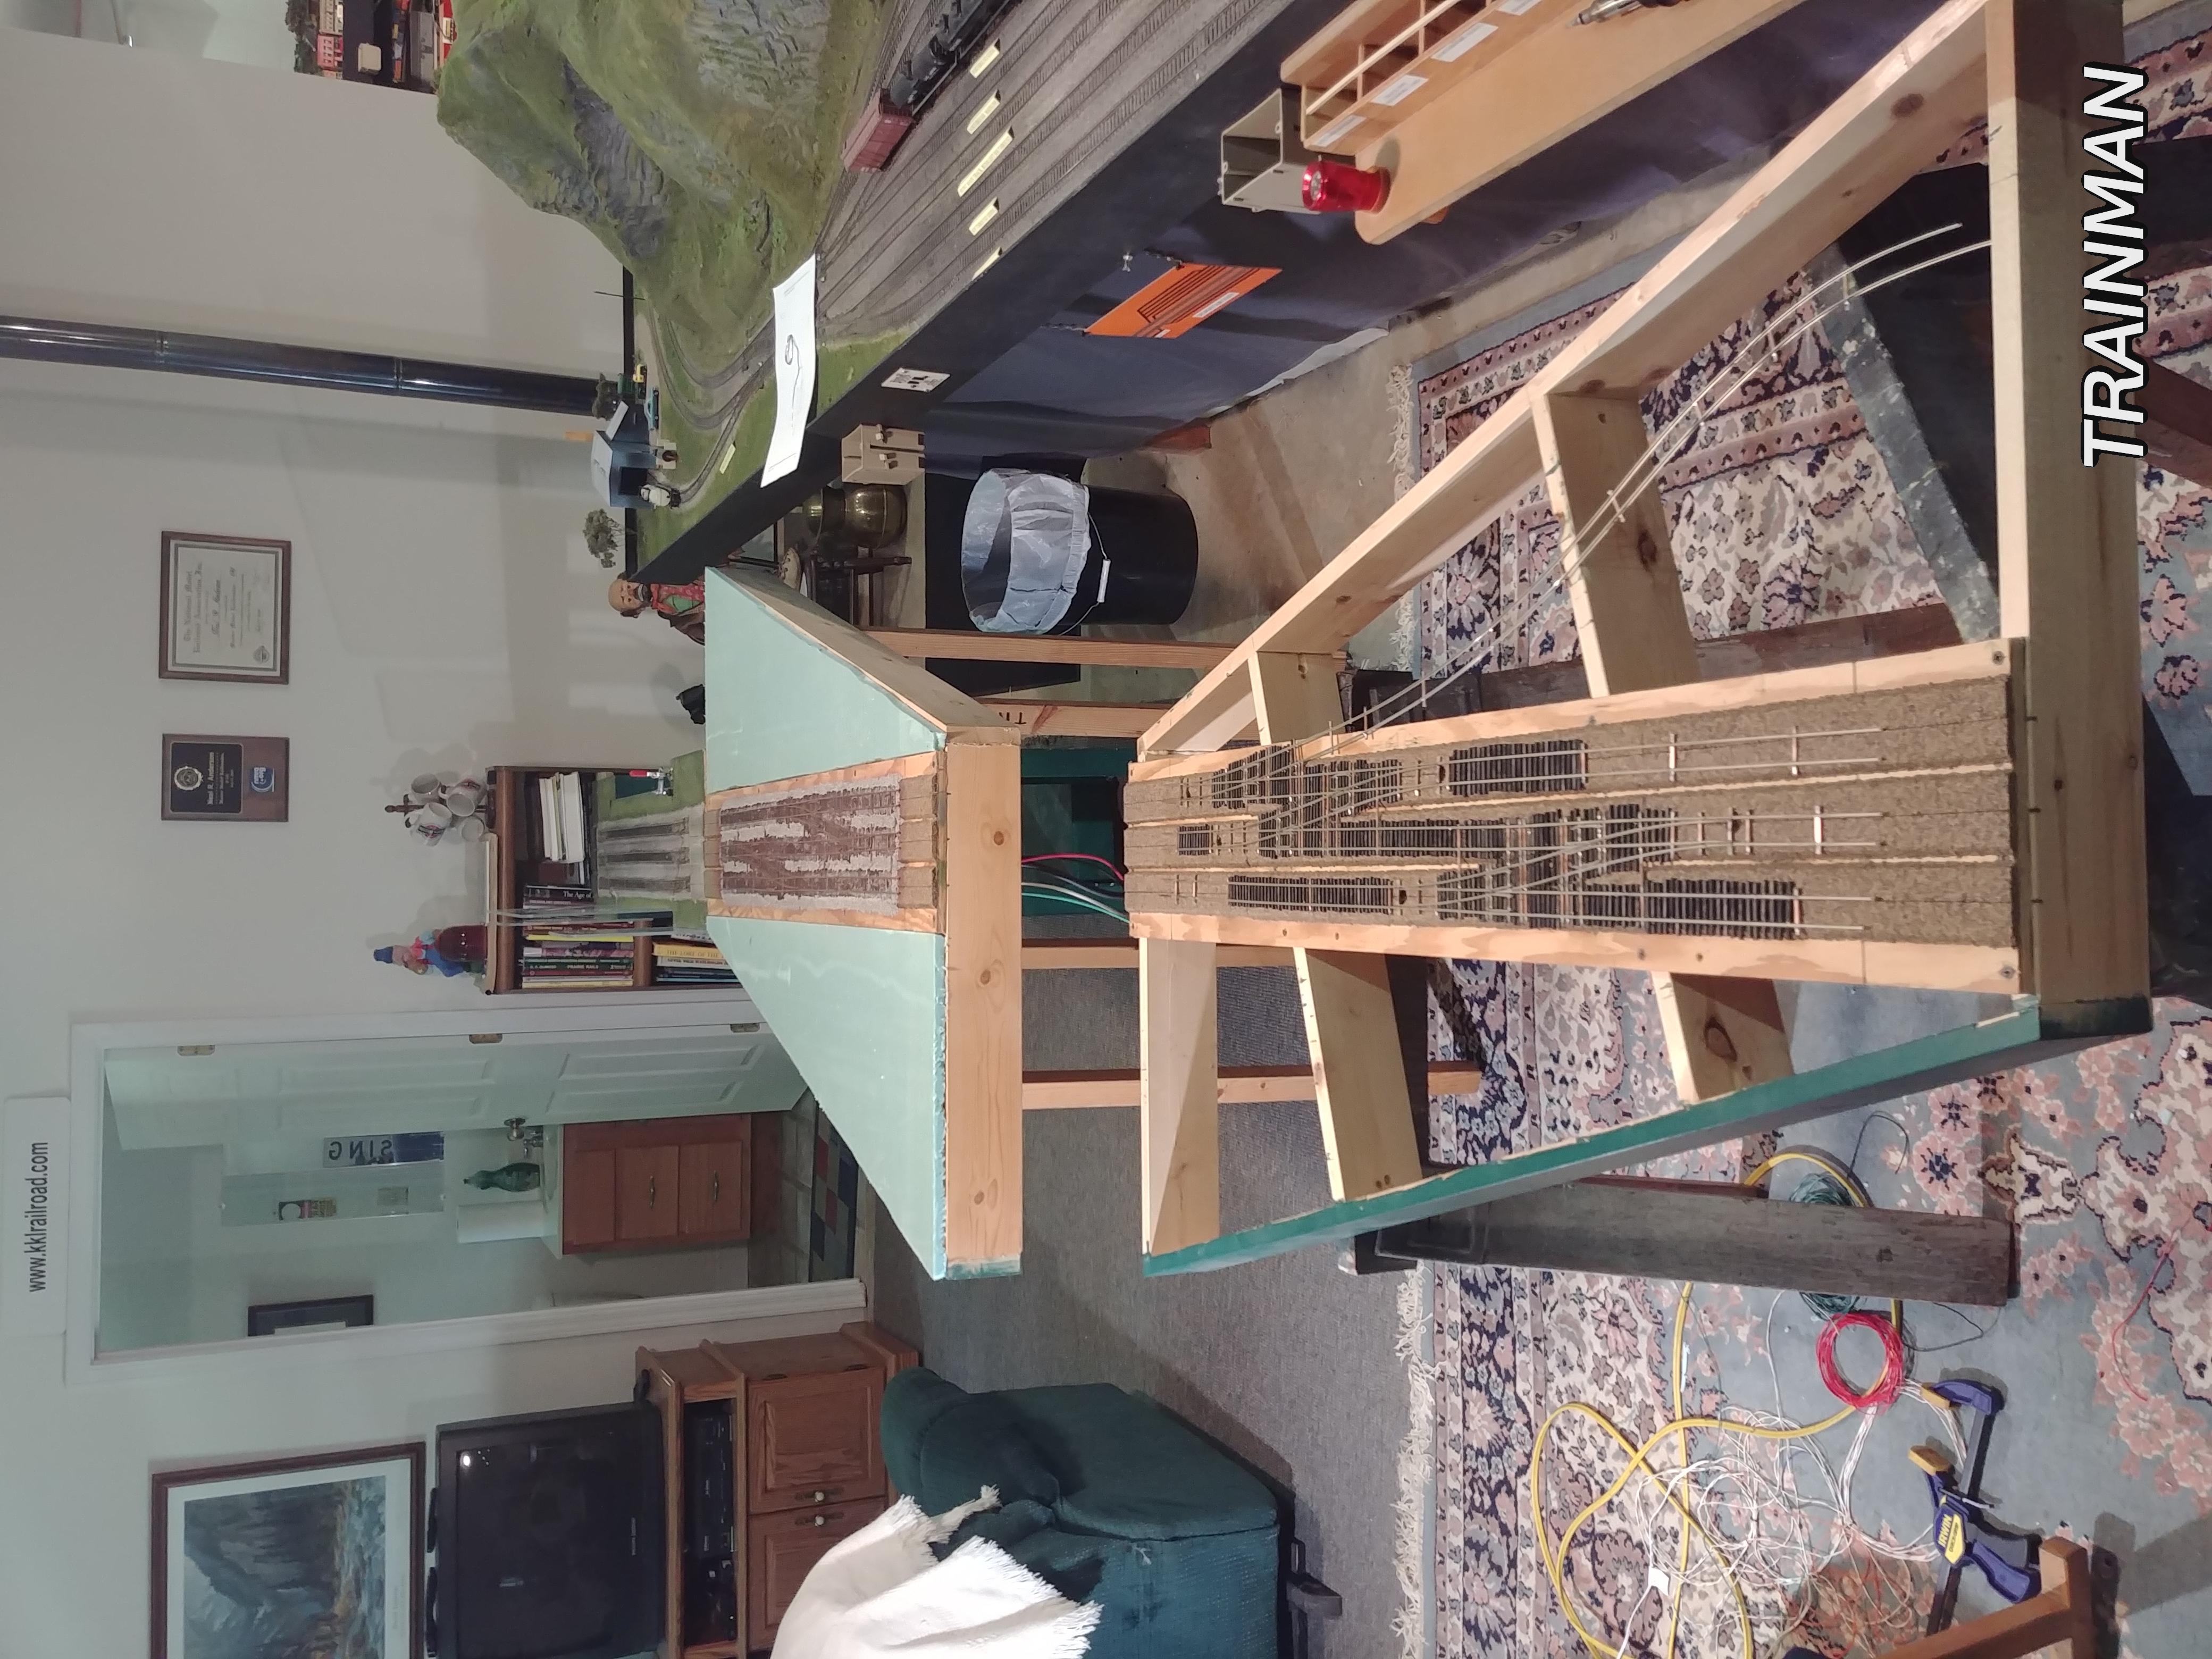
I’m starting on the other section. The switches are going to the left on the cross-over. I’m building this one to do just the opposite of the first module. It will have three tracks with a turnout on the back for a rear track.

After starting the alignment of tracks I got tired and quit for the evening.
 I finished the track clearances that I had to have. One of the sets of points are set up to be installed on the bottom track. The second set are in the filing tool. You can also see the rear track that turns away from the group of straight tracks. It takes 45 minutes to file one set of points. Only four more to go.
All the switch points are in place and the guide rails have been added. The switch point throws need to be added for the movement of the switch points. The track has copper-backed ties holding the rails and I will have to cut the copper on the top so the rails are not shorted electrically together. The process of painting the ties and mounting them down was covered above.

The lower board is 1/2 inch plywood. The track will be set on cork roadbed. The front of the module has been painted the club’s green color.
The rail ties are still missing at this time on module #2.
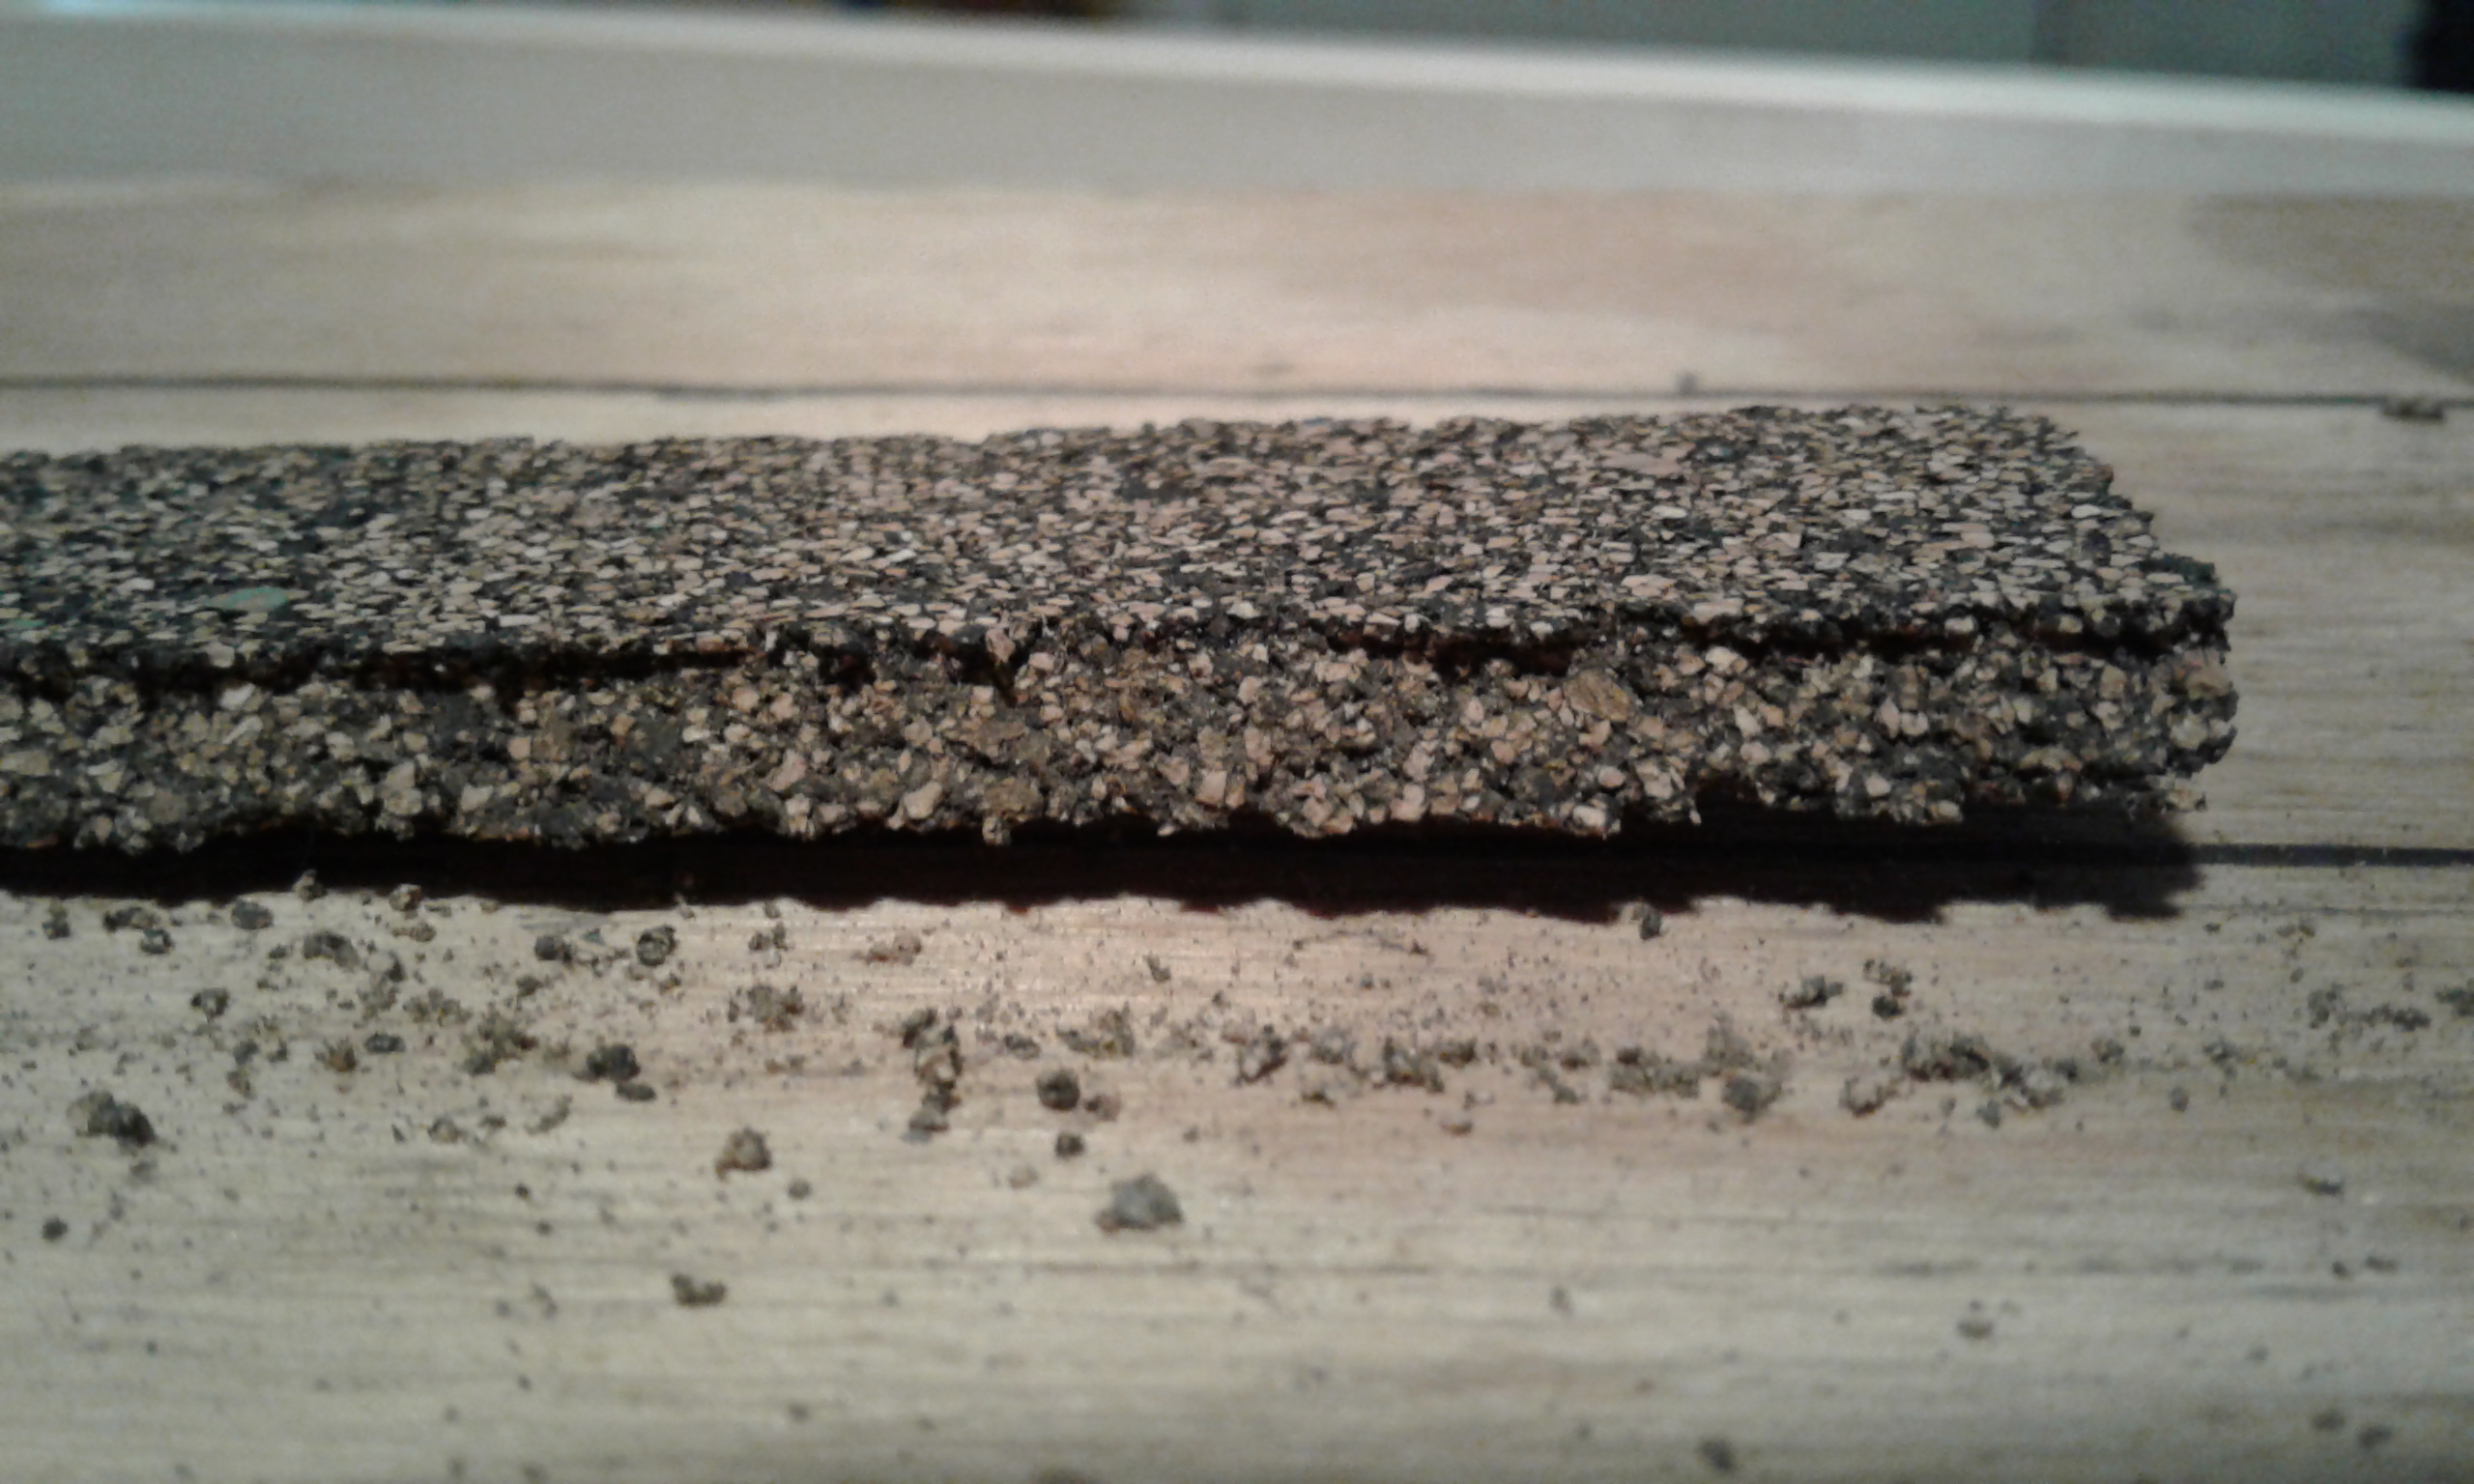
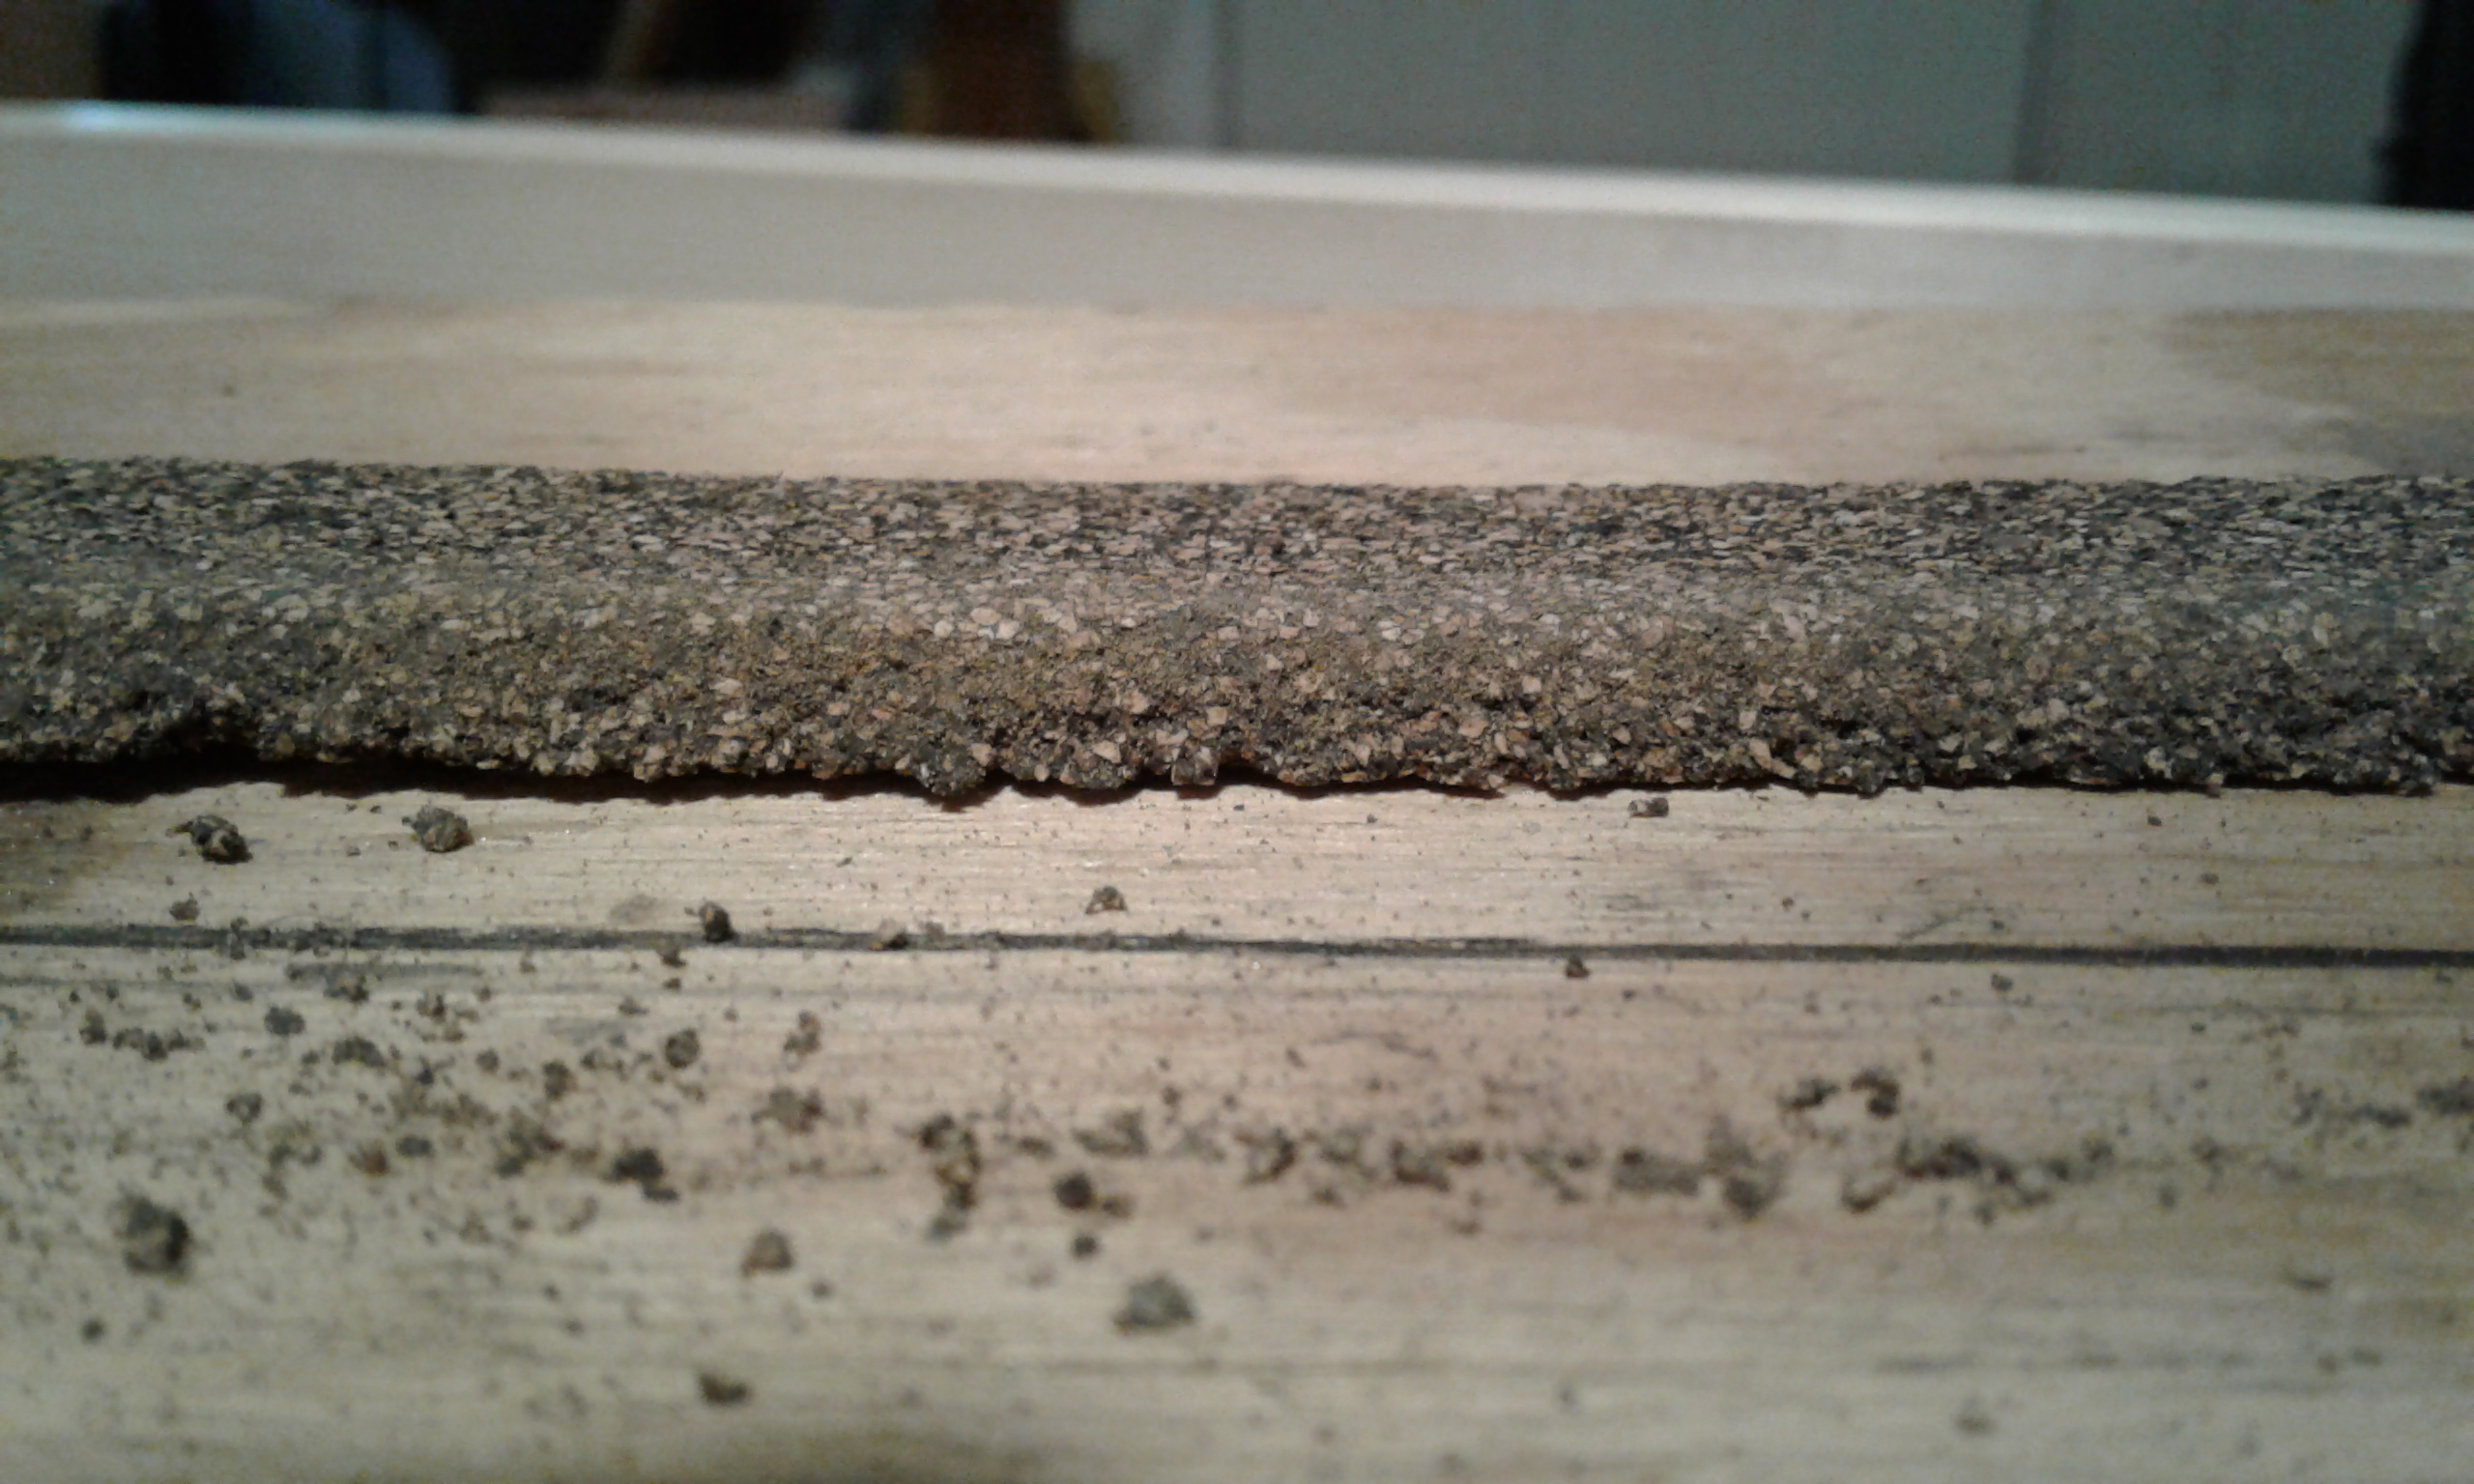
When you split the cork, make sure you clean the edge by sanding it.
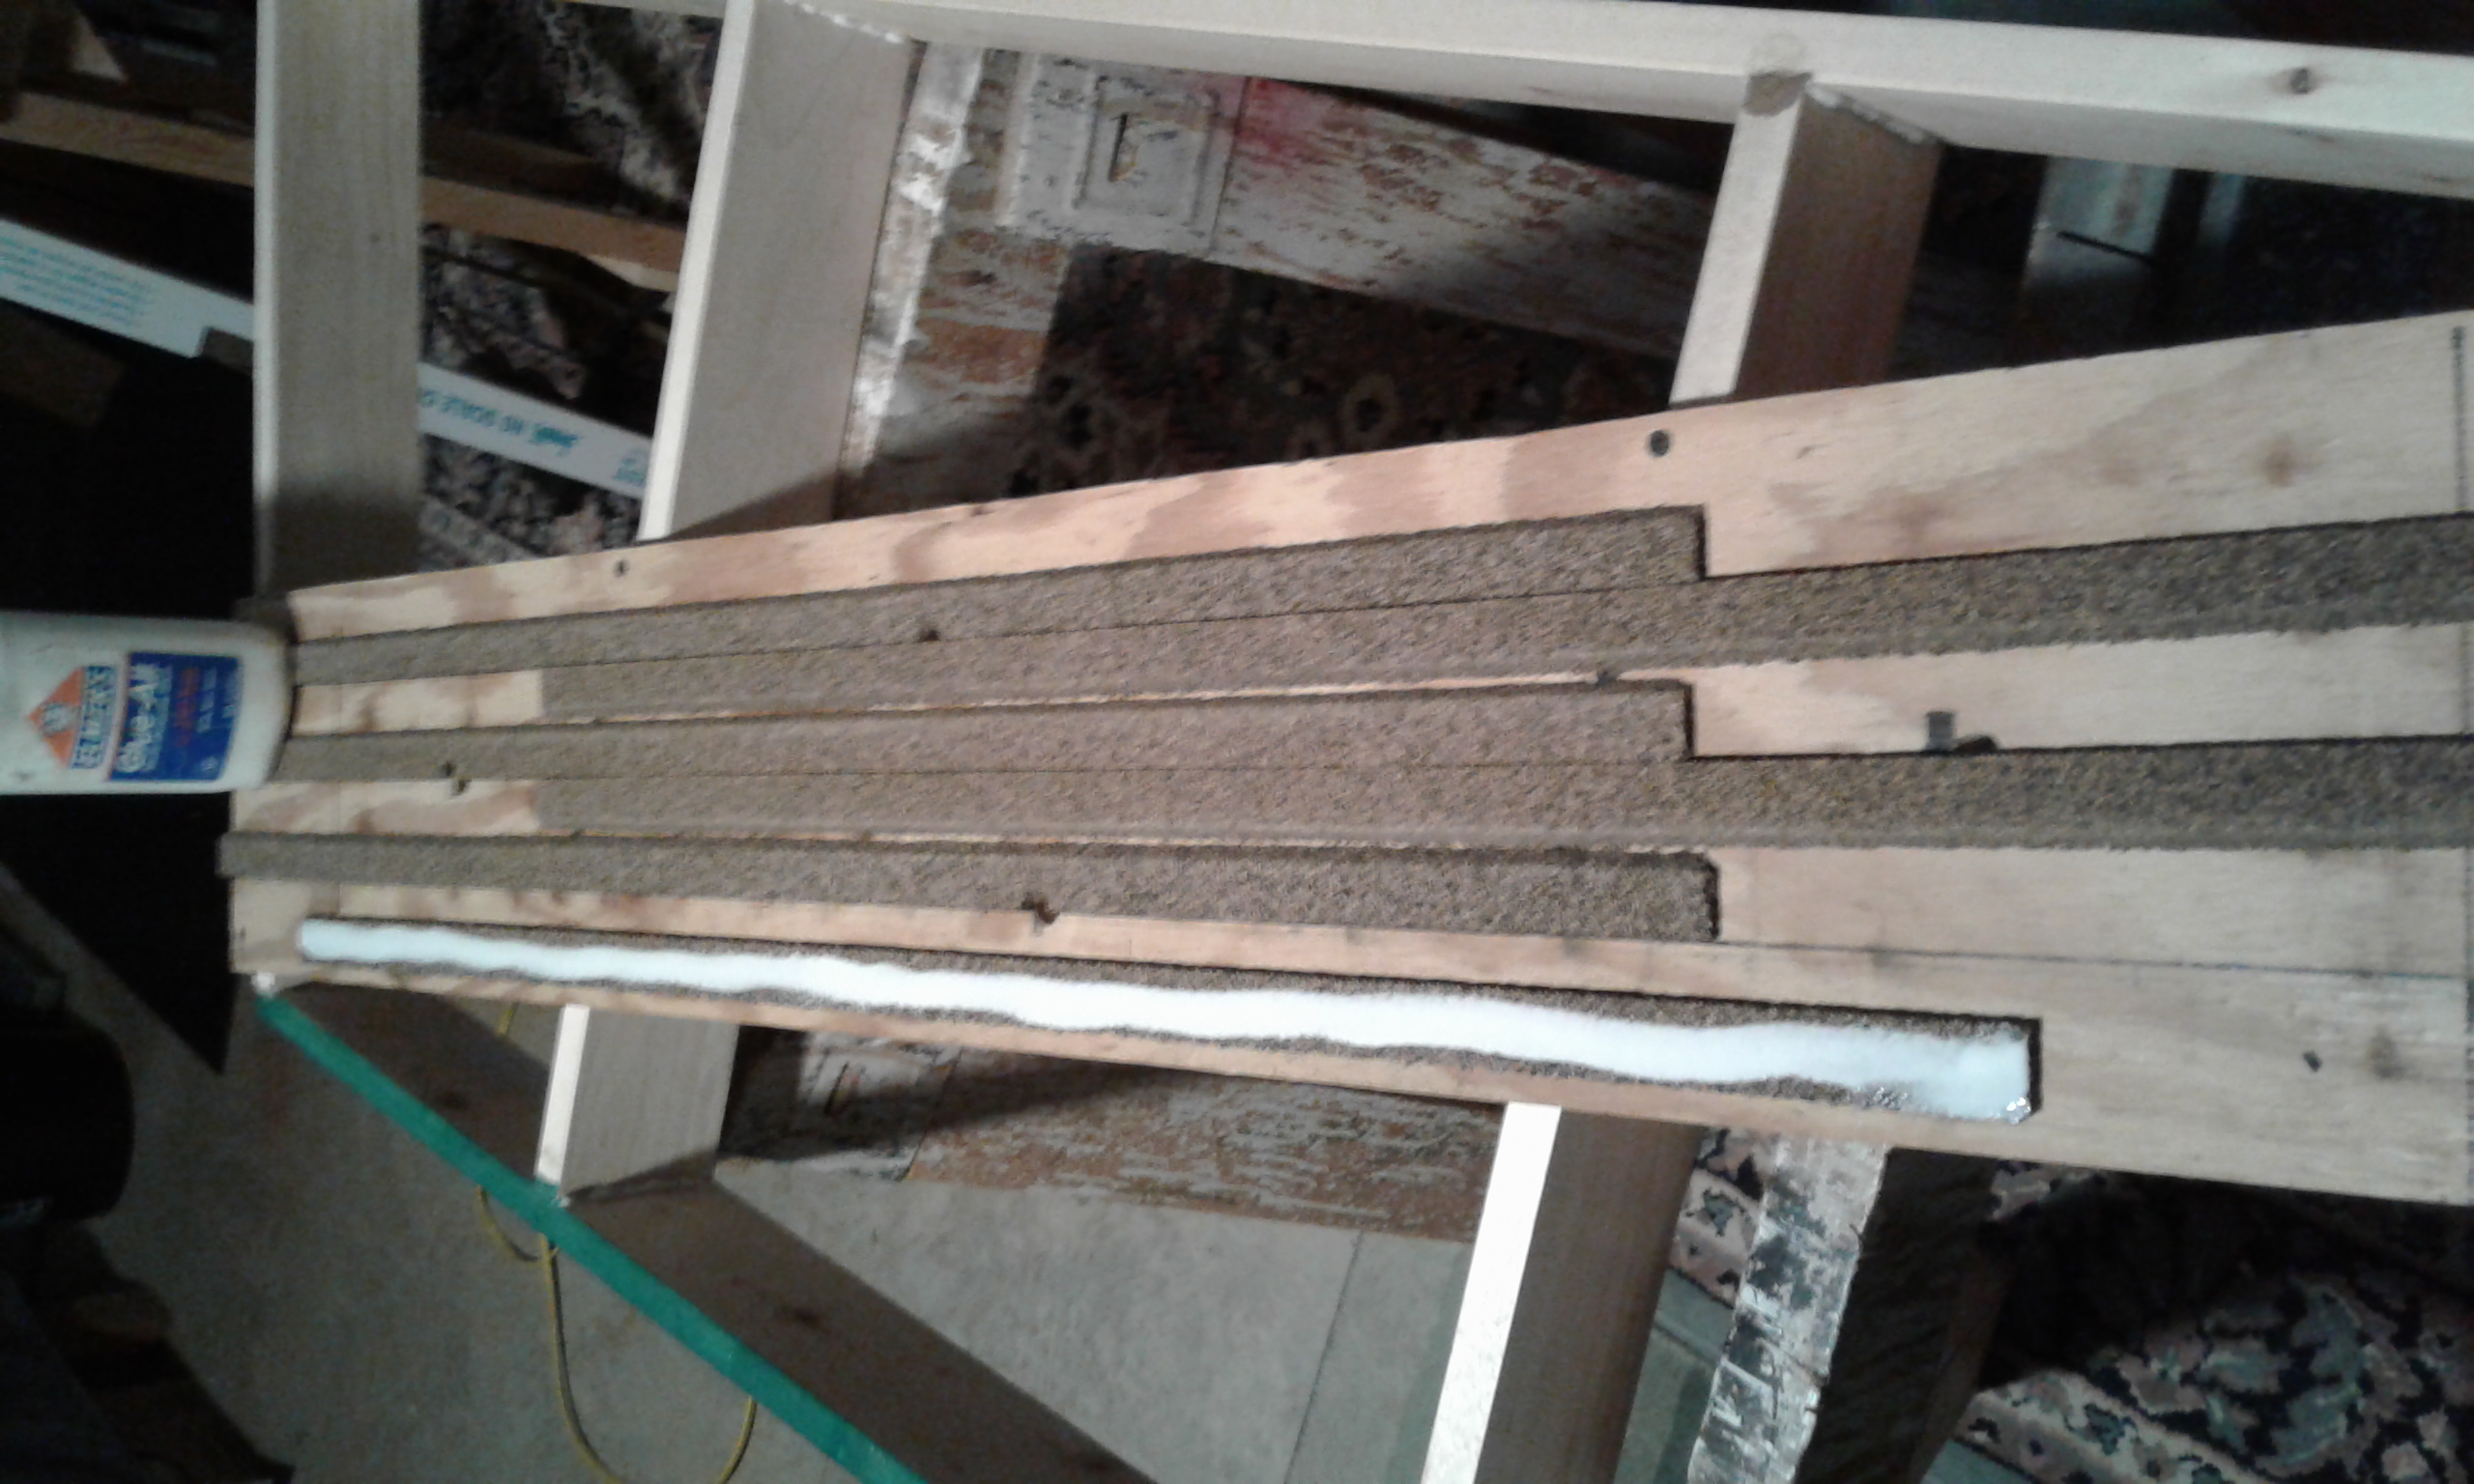
Next will be mounting the plywood to the bench work for the track to sit on. The track needs a solid base to sit on, and I will be making the module light weight so the wood will be under the track only. The cork is glued down using (Elmers) white glue. I put one bead of glue on the cork and smooth it down with my finger.The cork will move around so use weights to hold it down till it dries.
Thanks for reading and visiting my web page.
Talk about taking my time. March 2020 I started working on the ballasting of the track.
By May of 2020 I worked on the second transition.

Added some ties to the bottom. Made legs for both modules. Started back to working on them the next year.


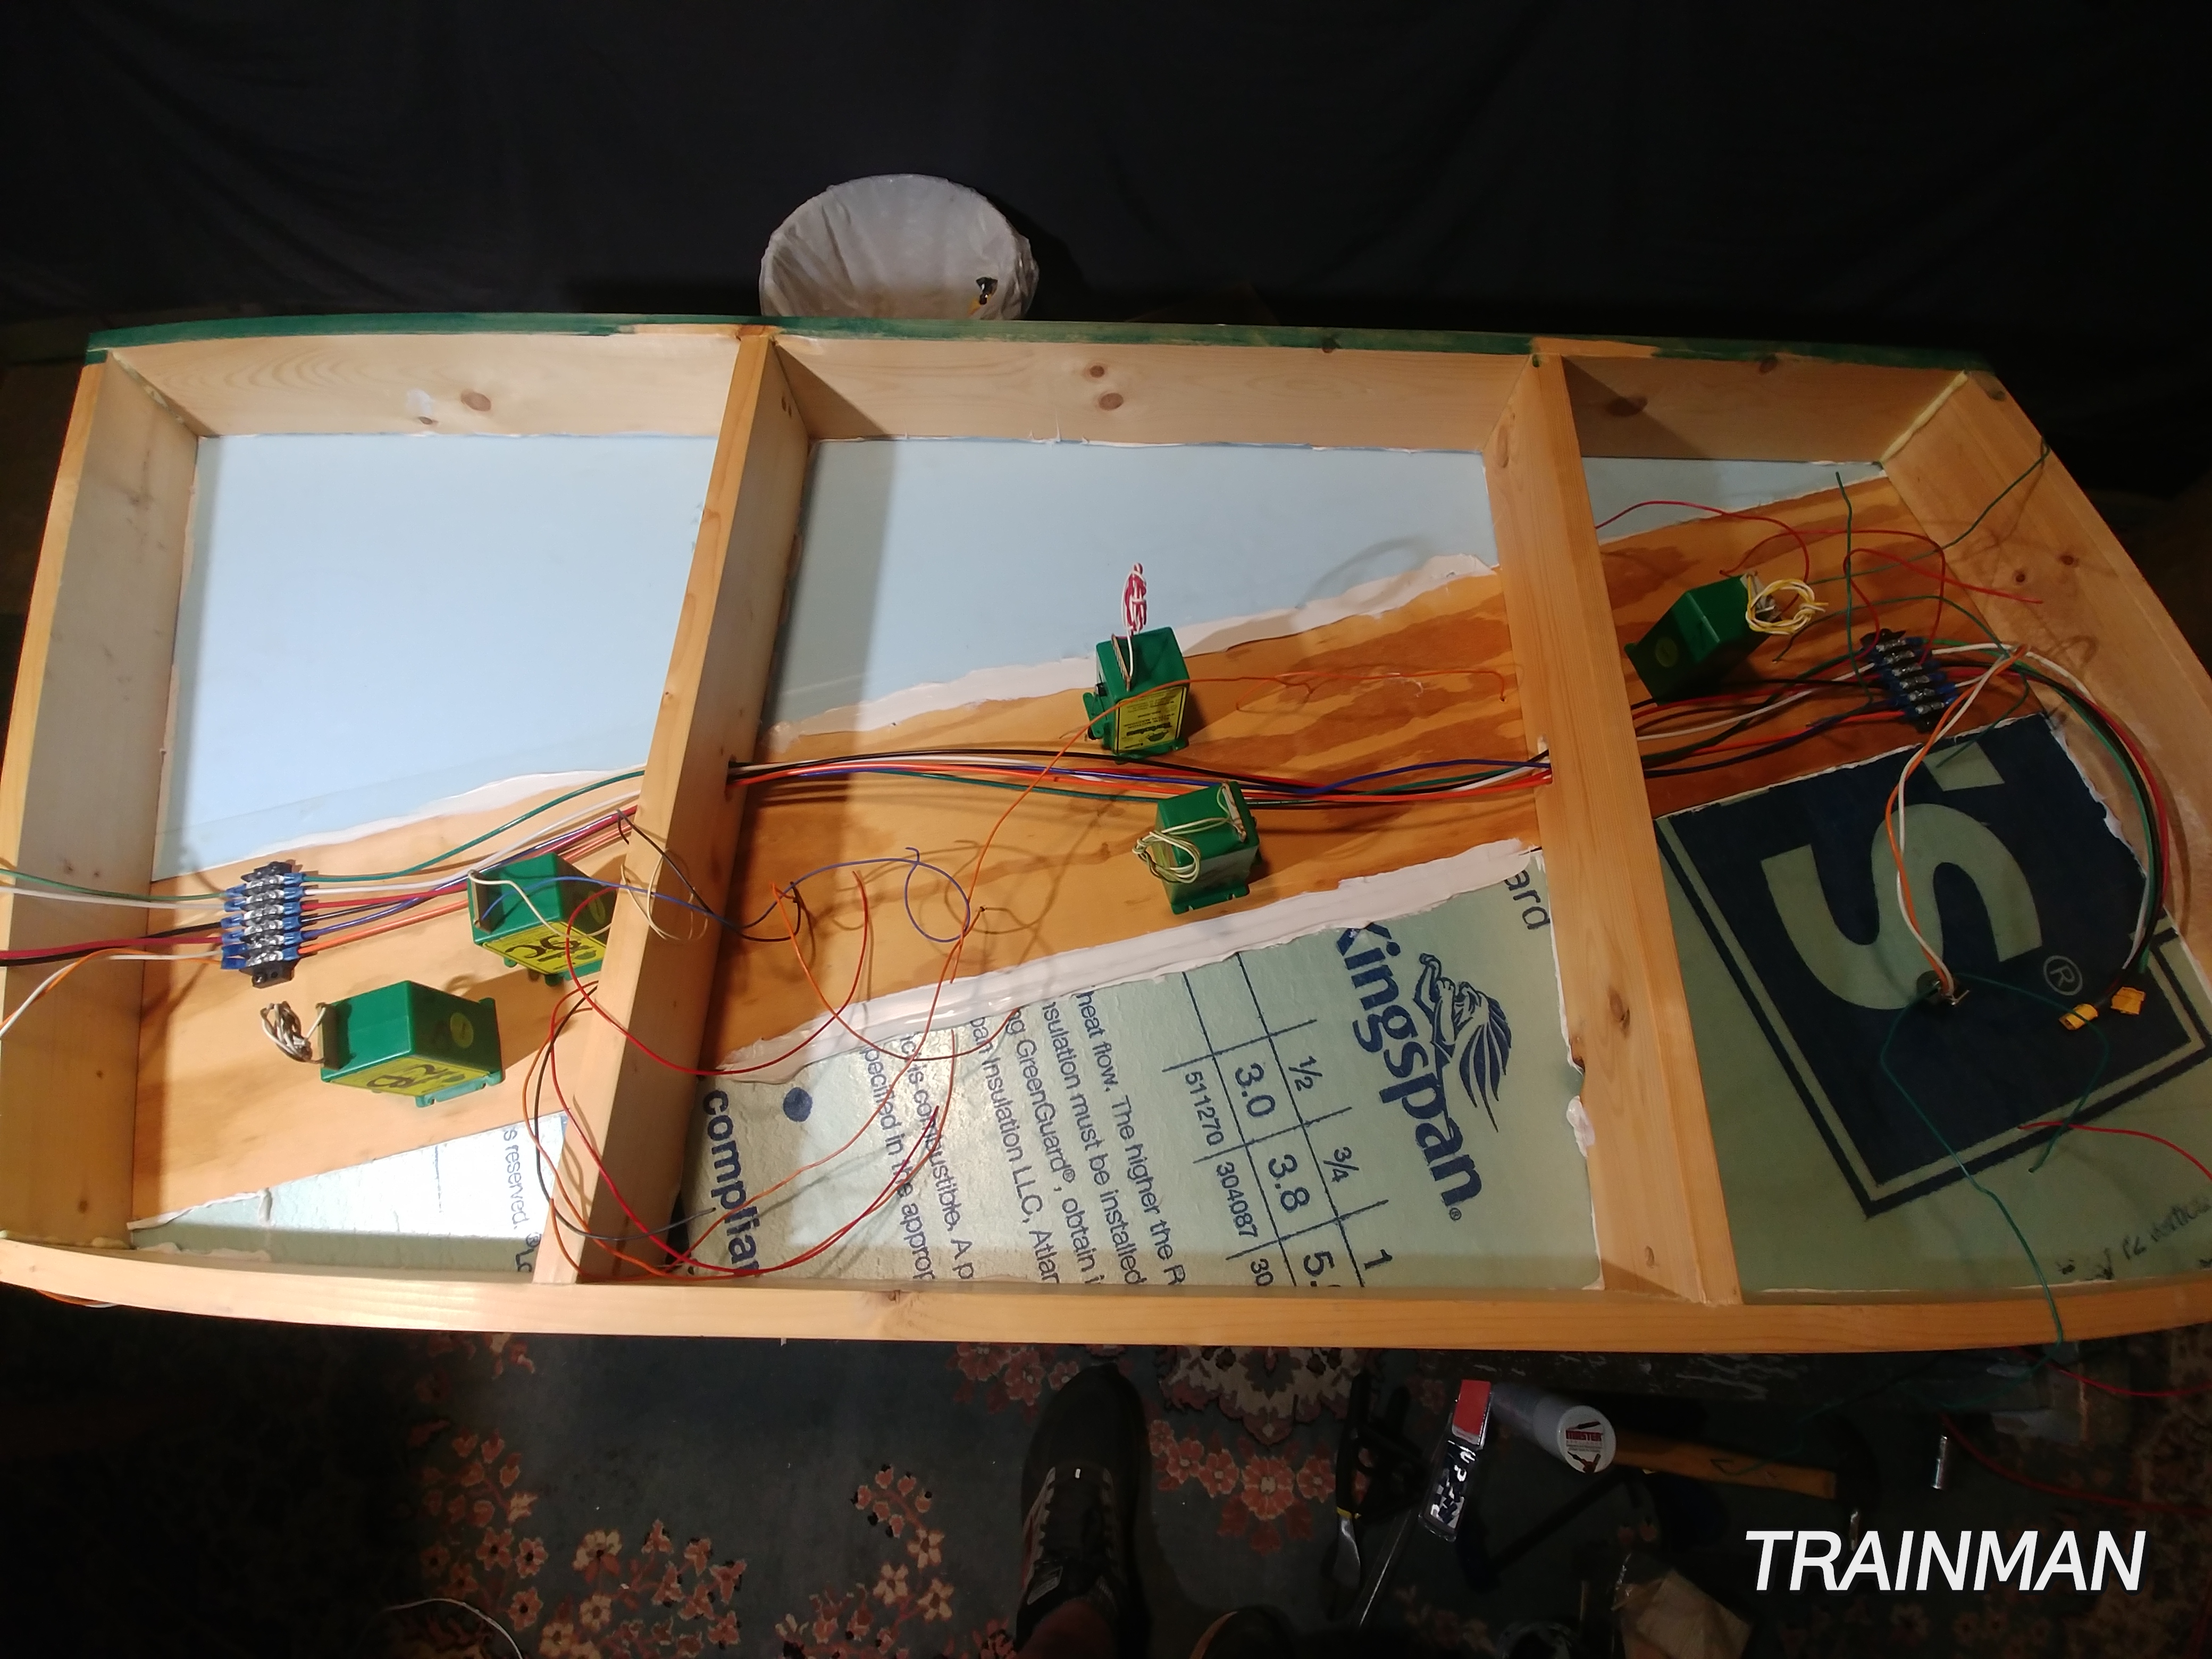
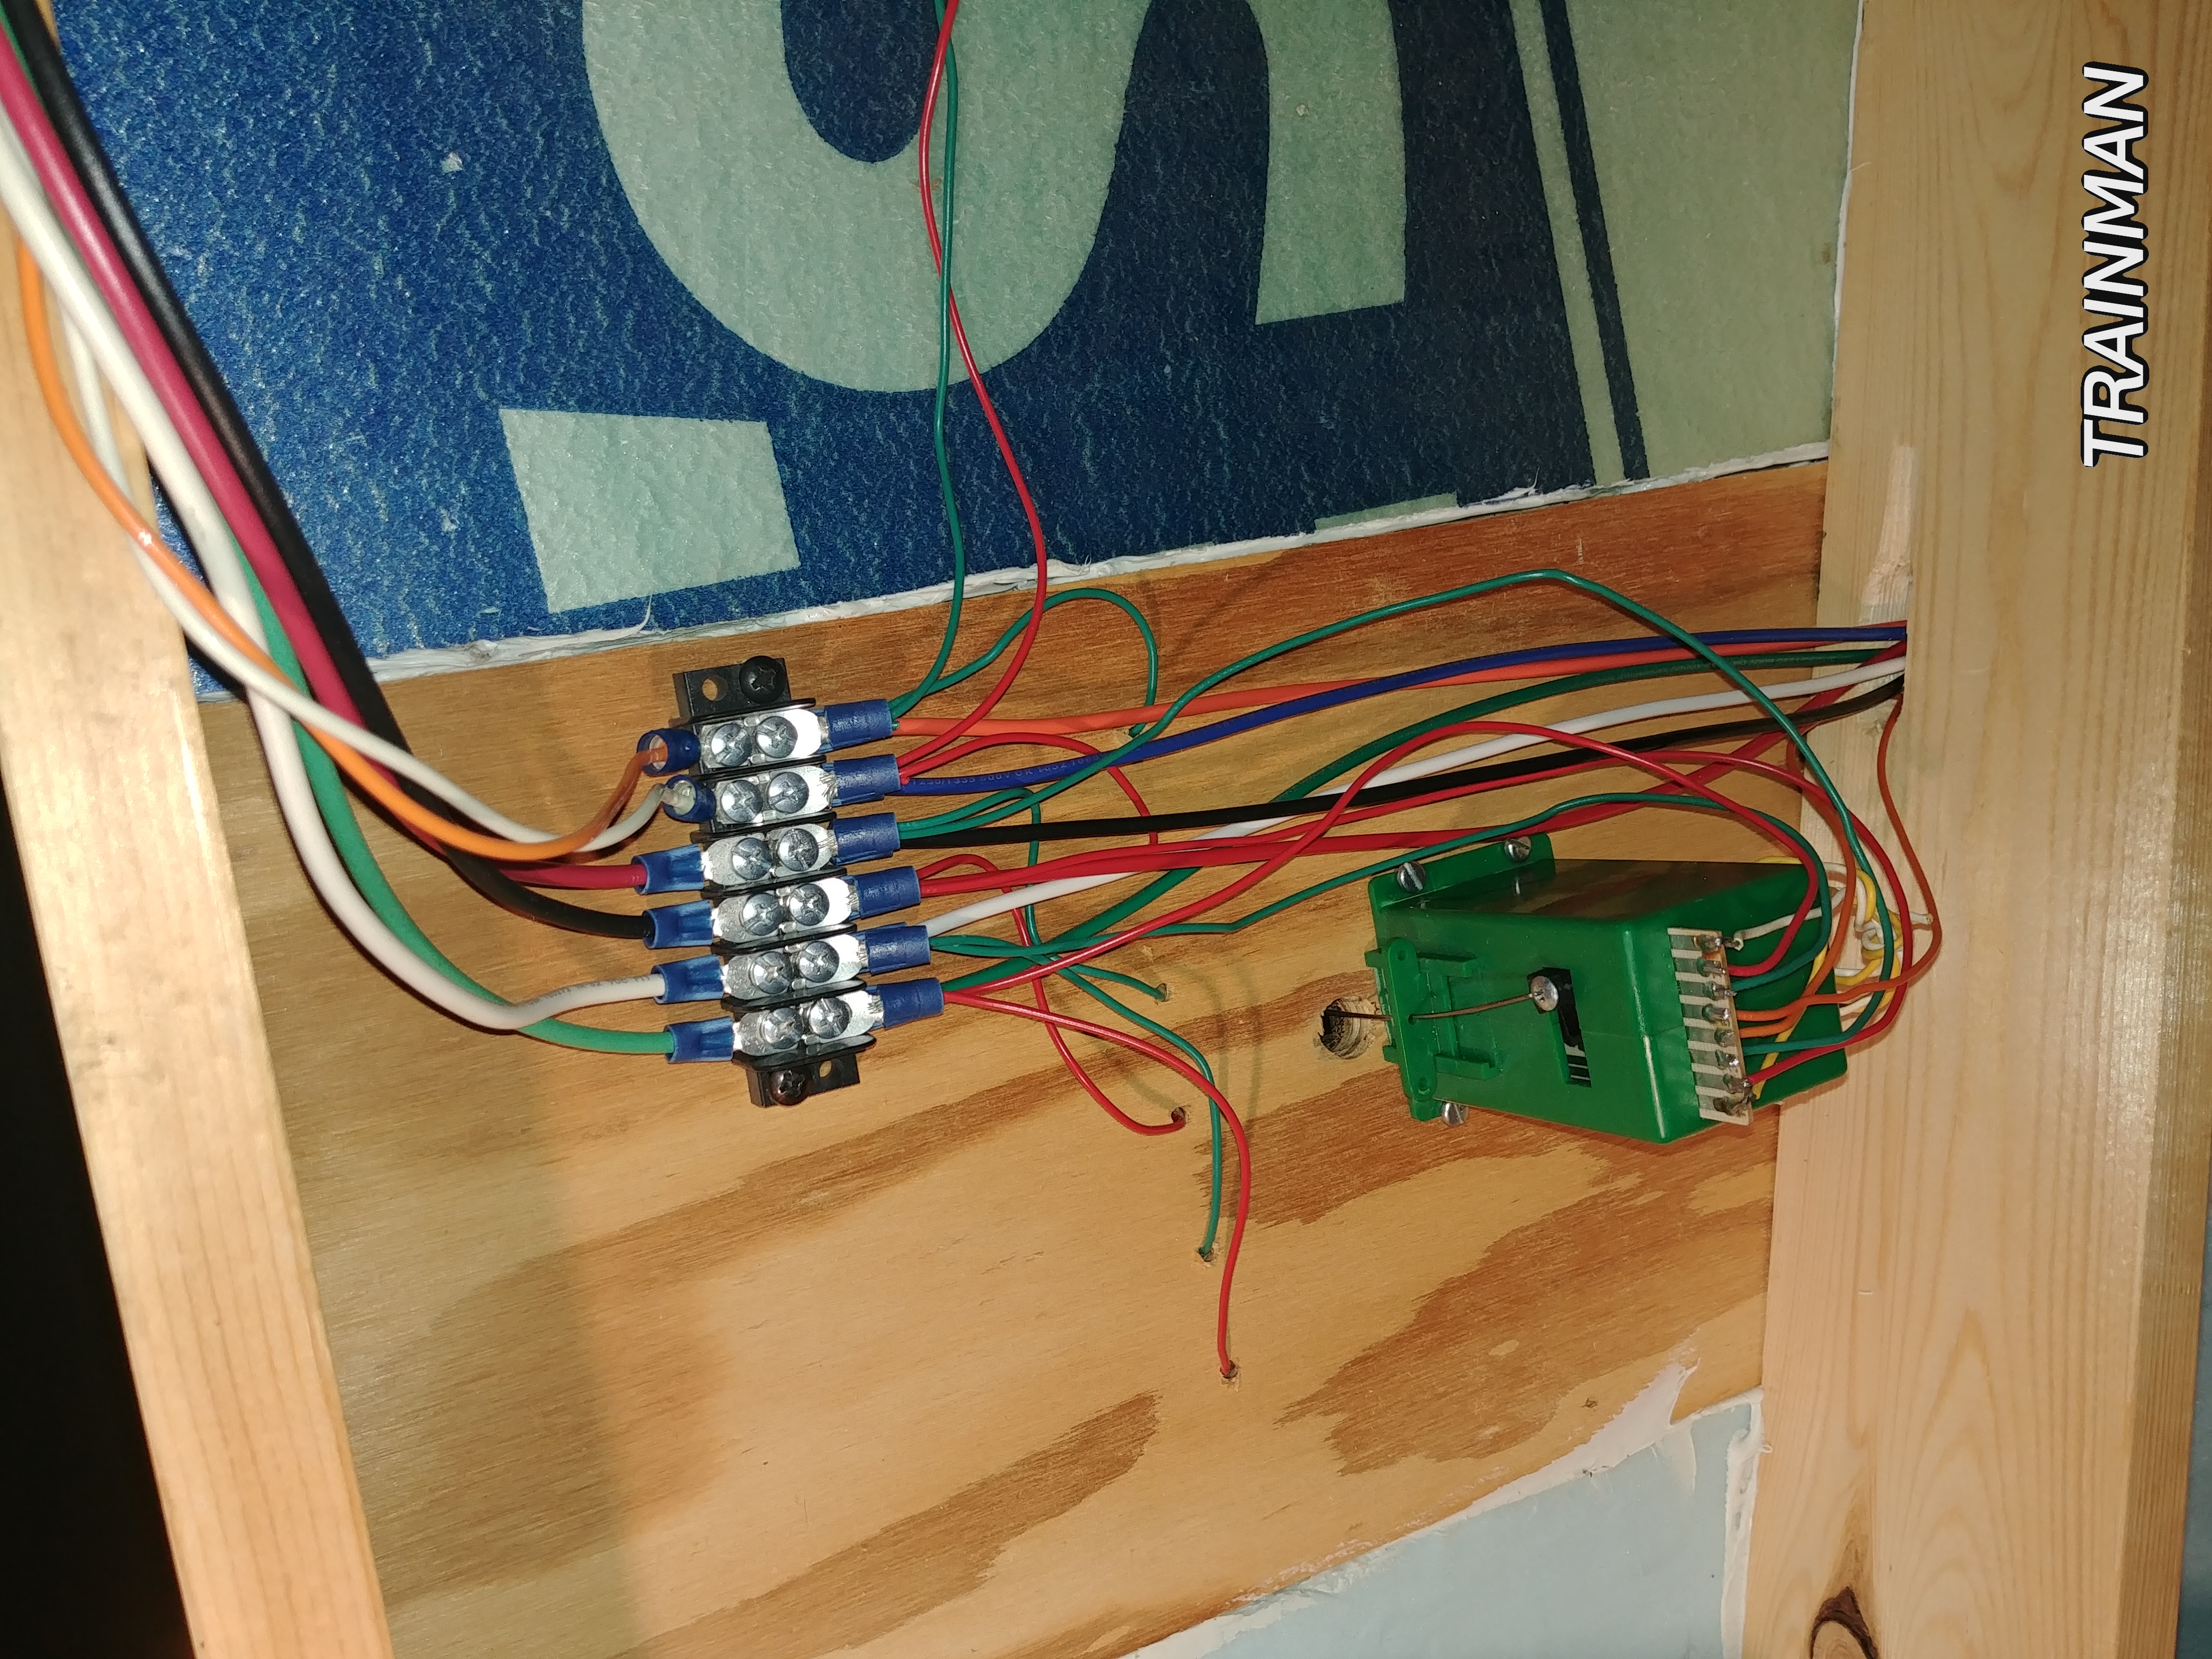
Both modules have switch machines under them. With the wiring done it’s time for the scenery to start.

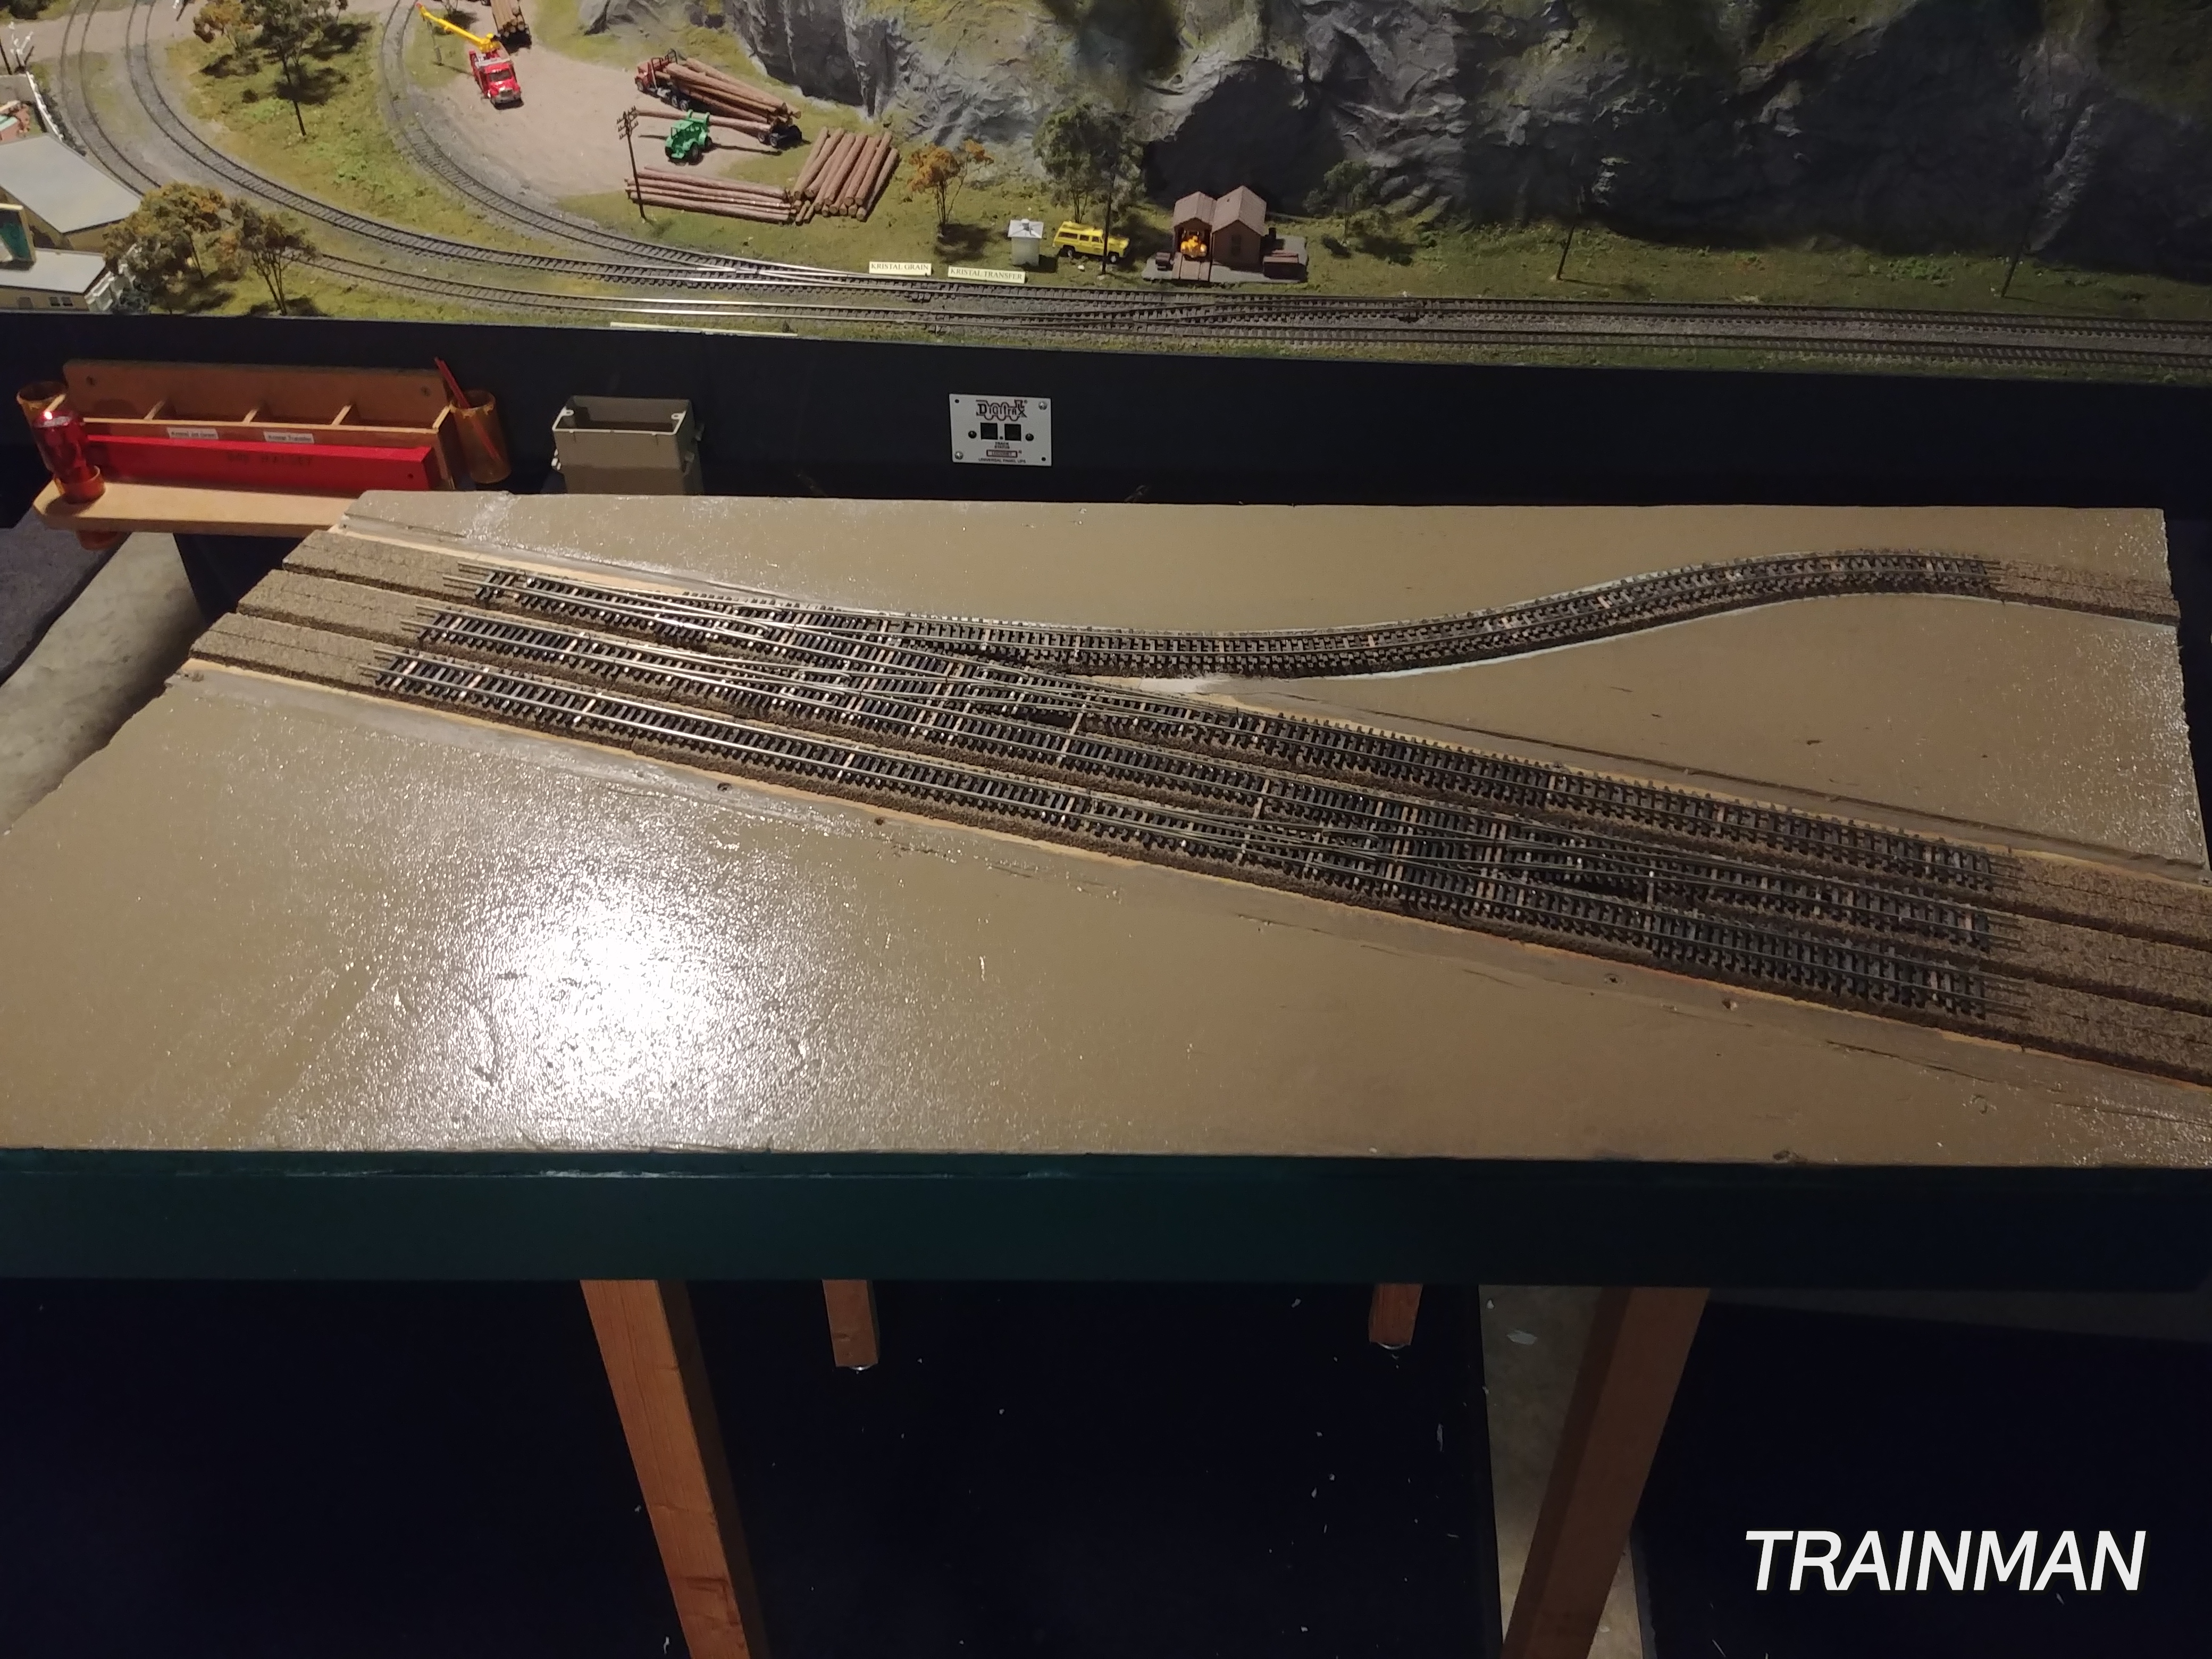
Time to weather the rails on the right and put down the ballast.
Awesome site Neil. Kinda hard to break away and go to bed.